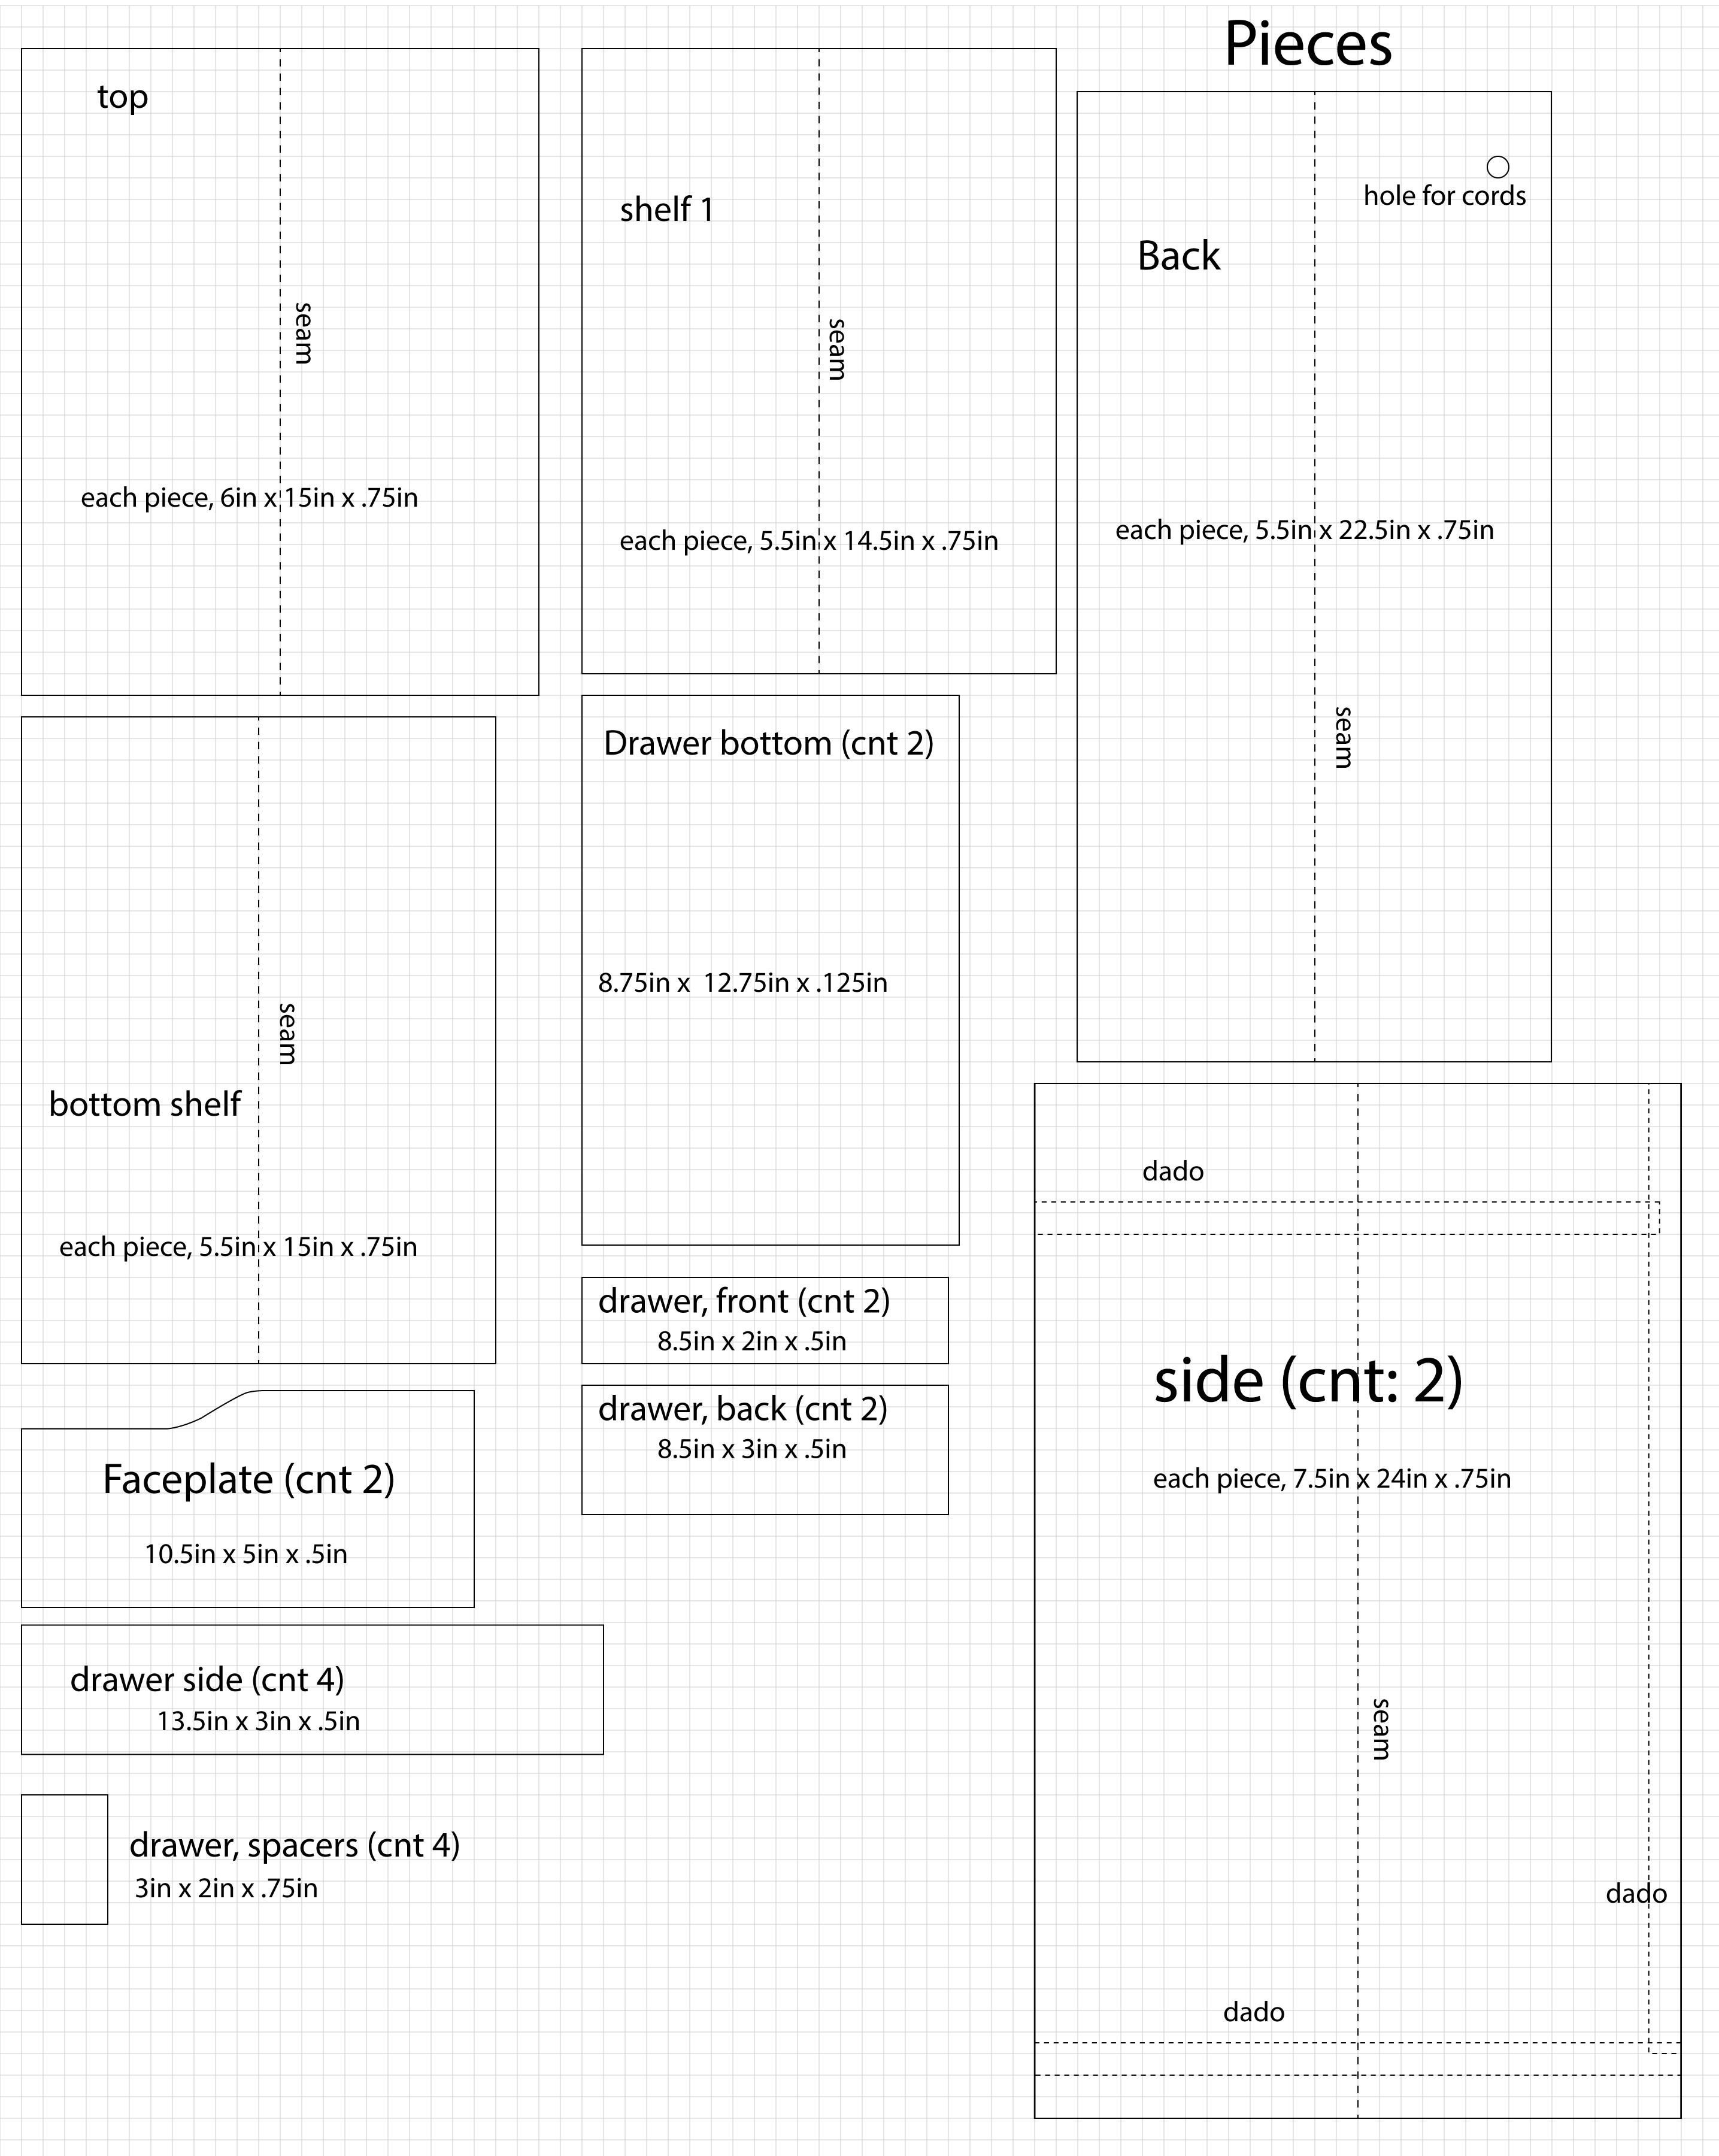
Introduction
I designed matching nightstands, this page shows how I built them.


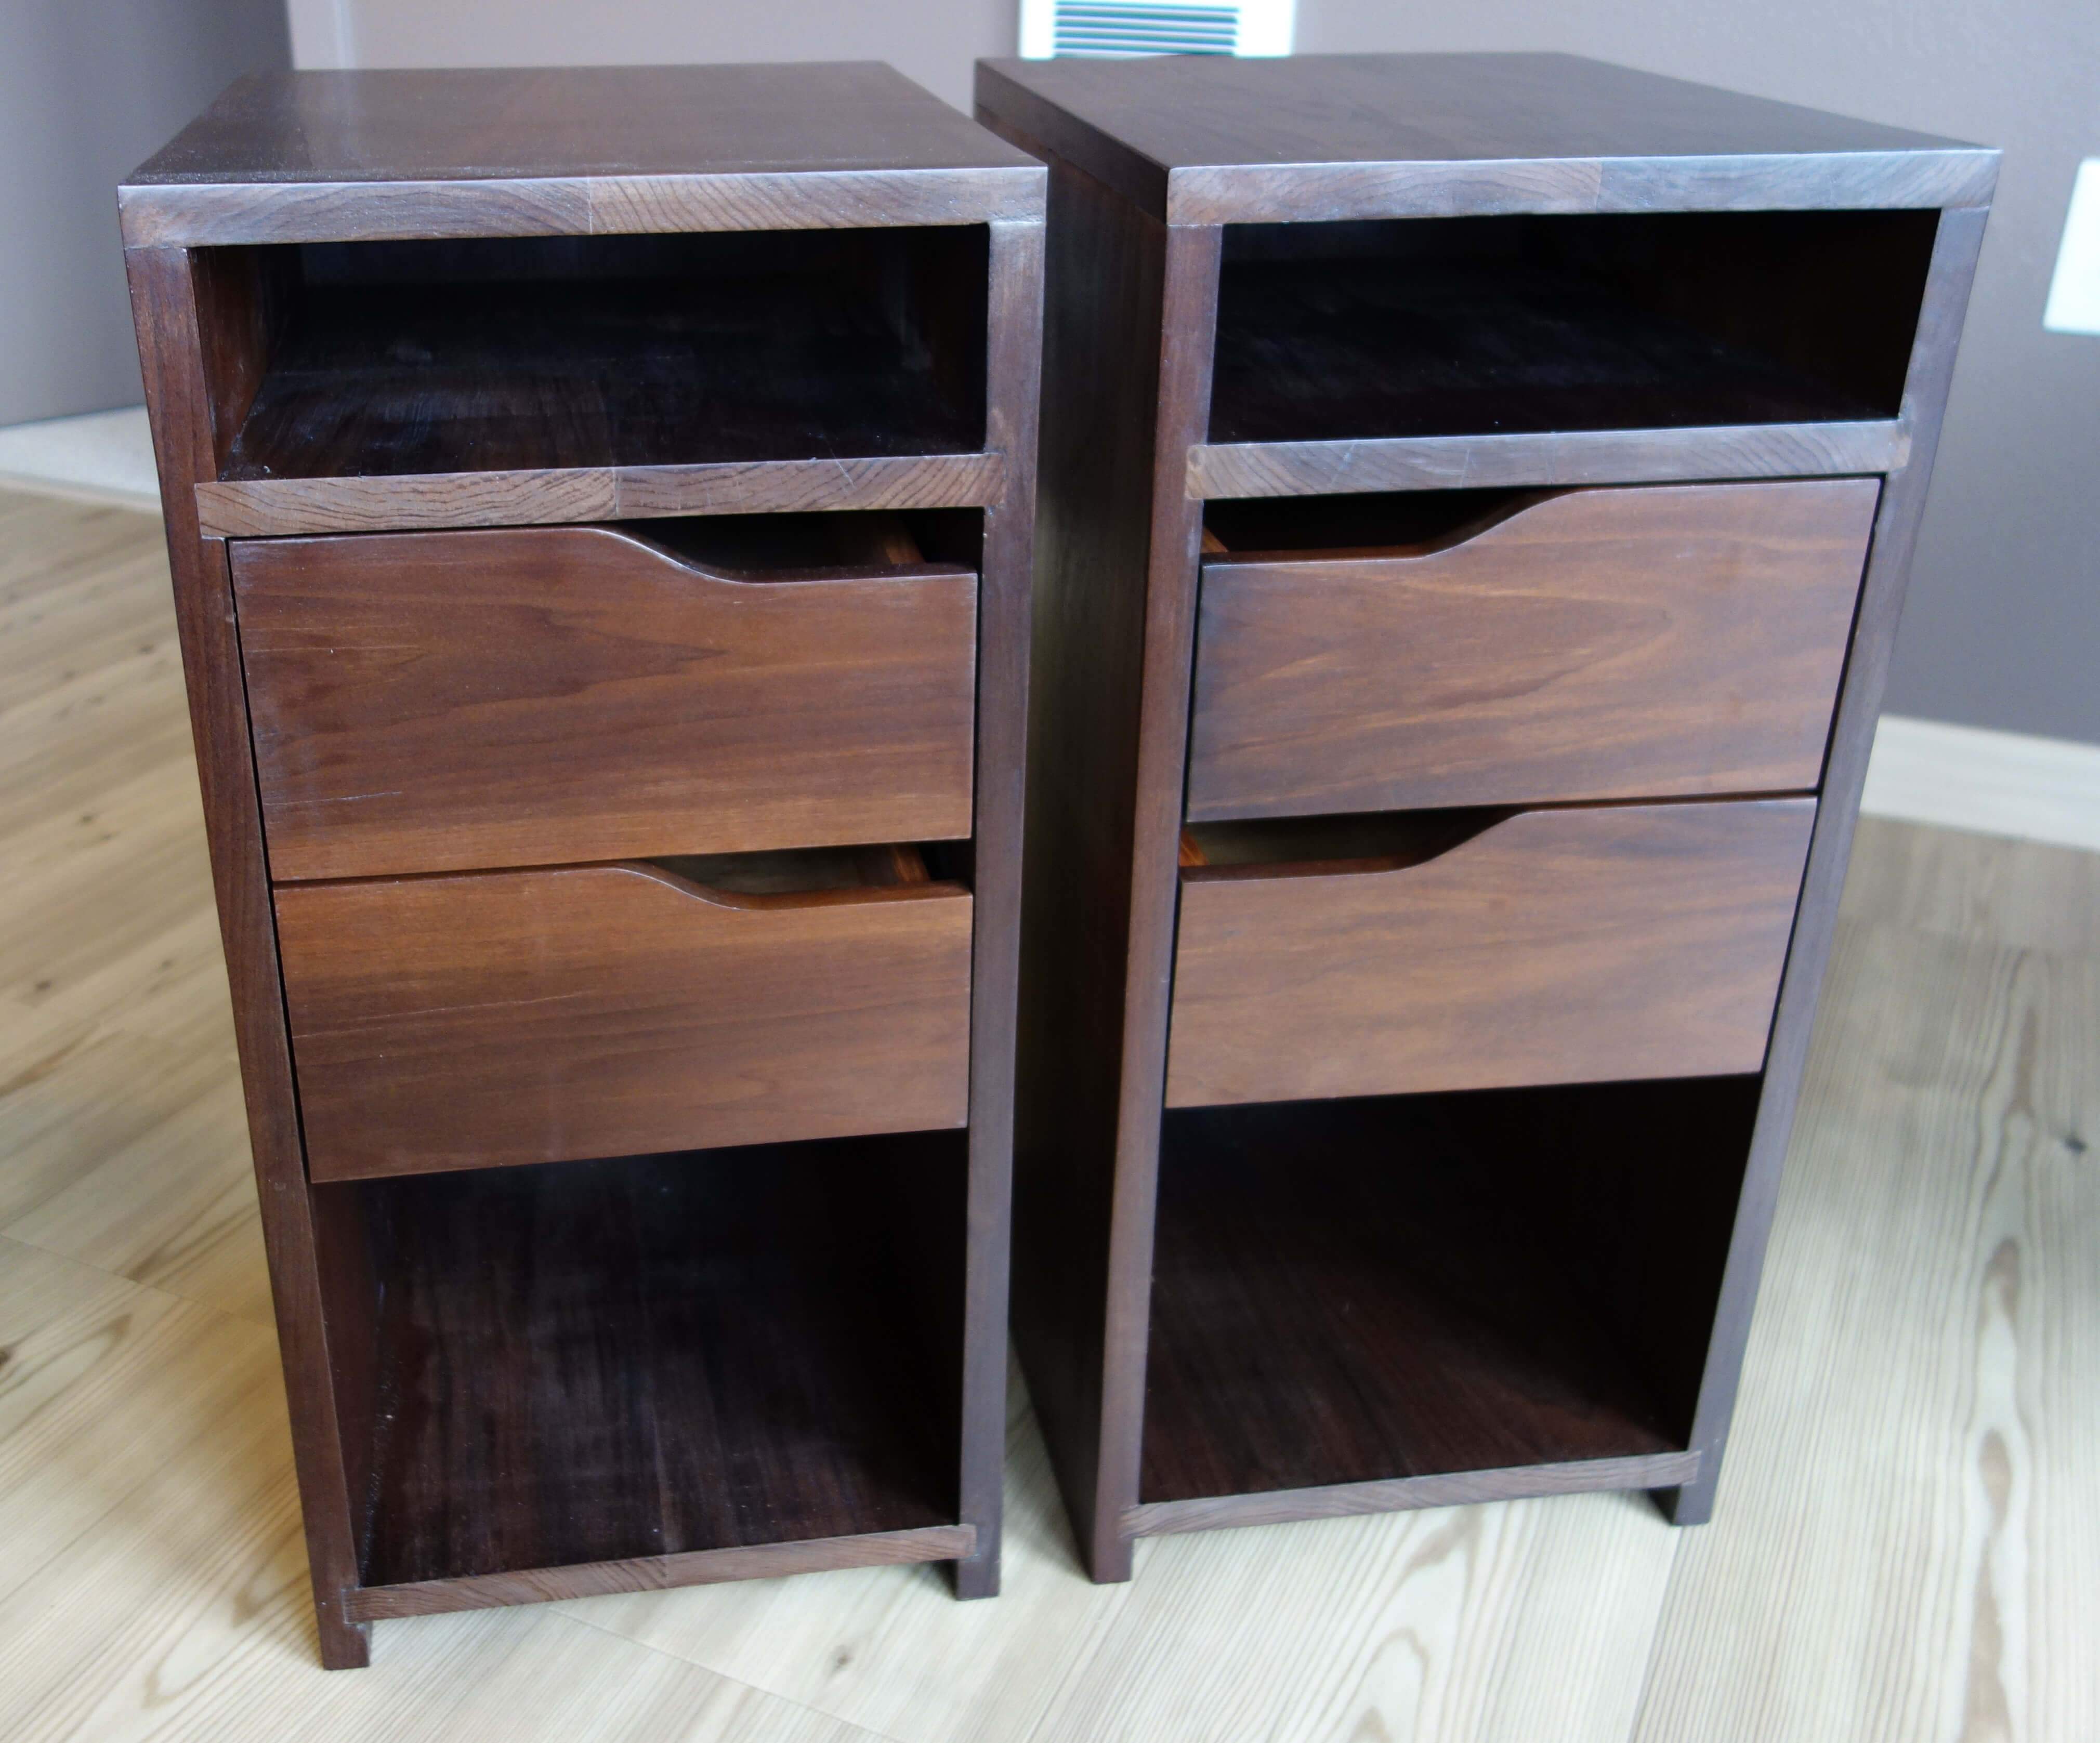
Pair of finished nightstands

Lumber
I wanted dark wood that was inexpensive and easy to work with. I went to Crosscut Hardwoods in Seattle and it was amazing. The staff was super helpful and directed me to roasted poplar. Poplar is normally a blonde color, but they put it into a kiln and it turns a dark brown throughout. Nearly all of the water was removed in the roasting process and then the lumber was cut, so there is very little warping. Also, it has a nice campfire smell.
The lumber was 8-10 inches wide and a full inch thick, which is thicker than I was looking for, but something remedied with a planer.
I bought jatoba (Brazilian Cherry) for the sides of the drawers, mainly because it was already a 1/2 inch thick and I liked the color contrast with the roasted poplar.
I bought 1/8 in. mahagony veneer plywood for the bottoms of the drawers.
Construction
I spent a full weekend with my dad in his shop creating the nightstands.
Edge Joining
We had to edge join many pieces, but we wanted to get them to the basic length and thickness first. We used a 12 in. planer to bring the thickness from 1 in. to 3/4 in. This was a lot of work.
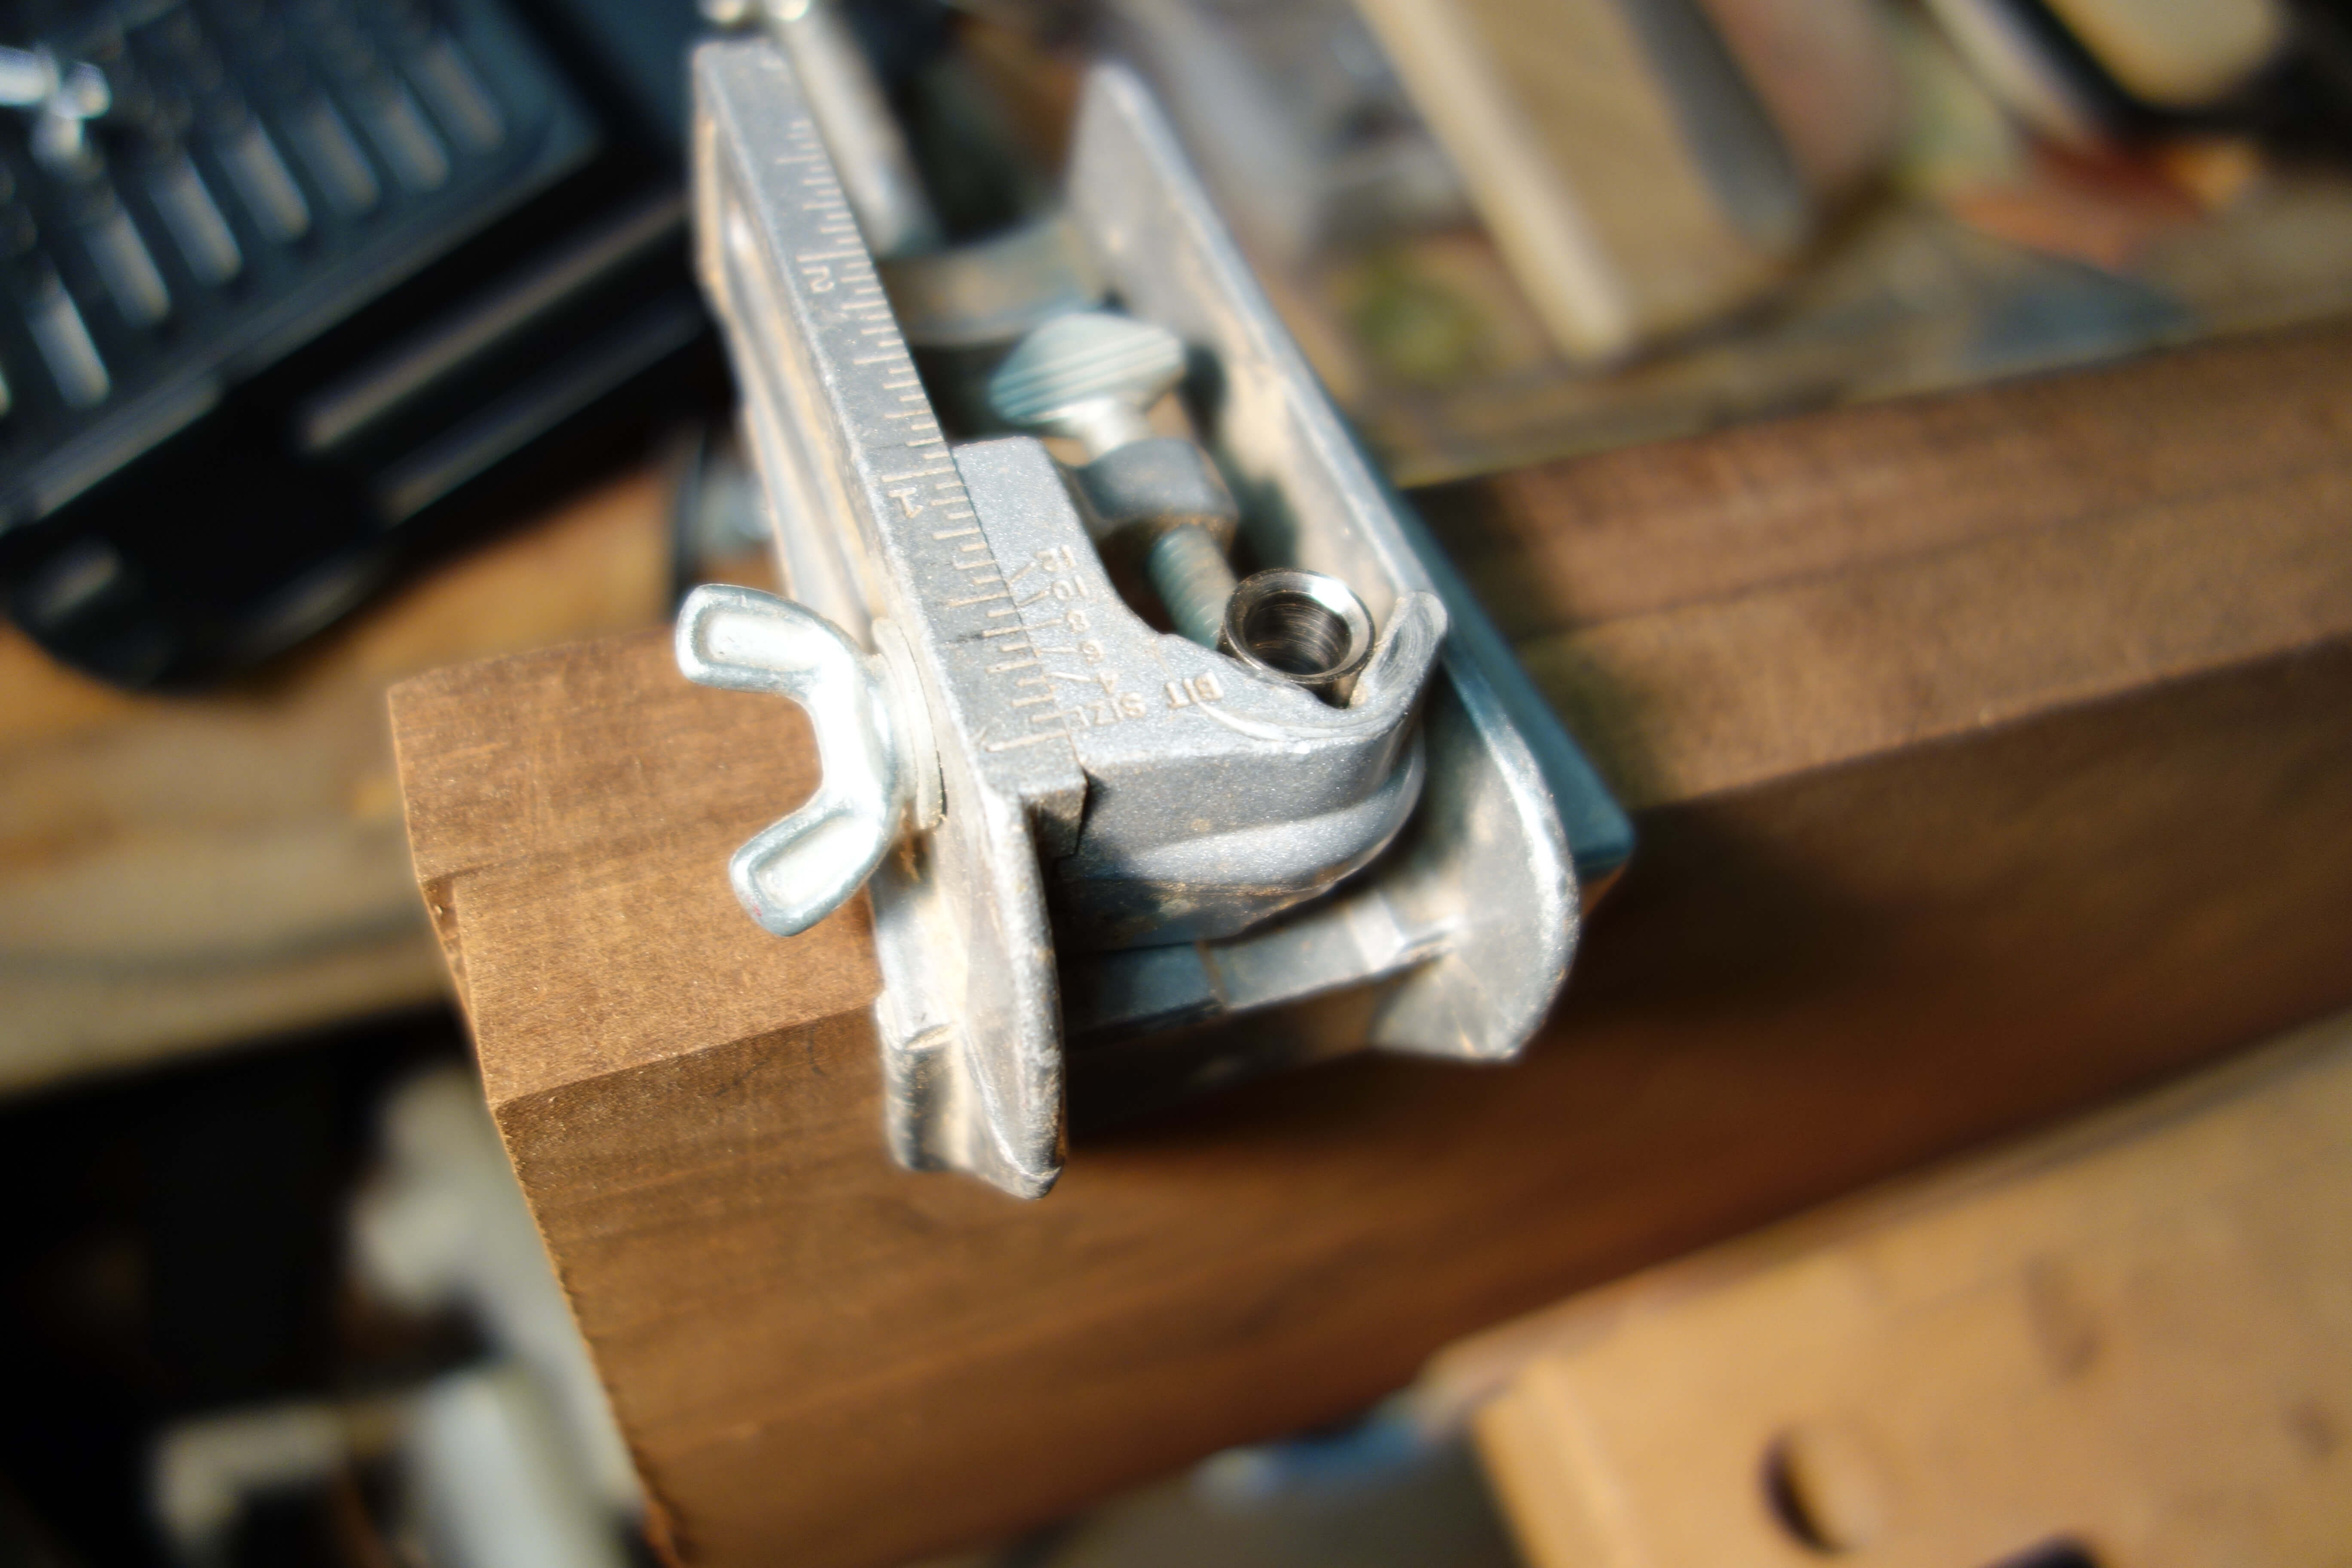
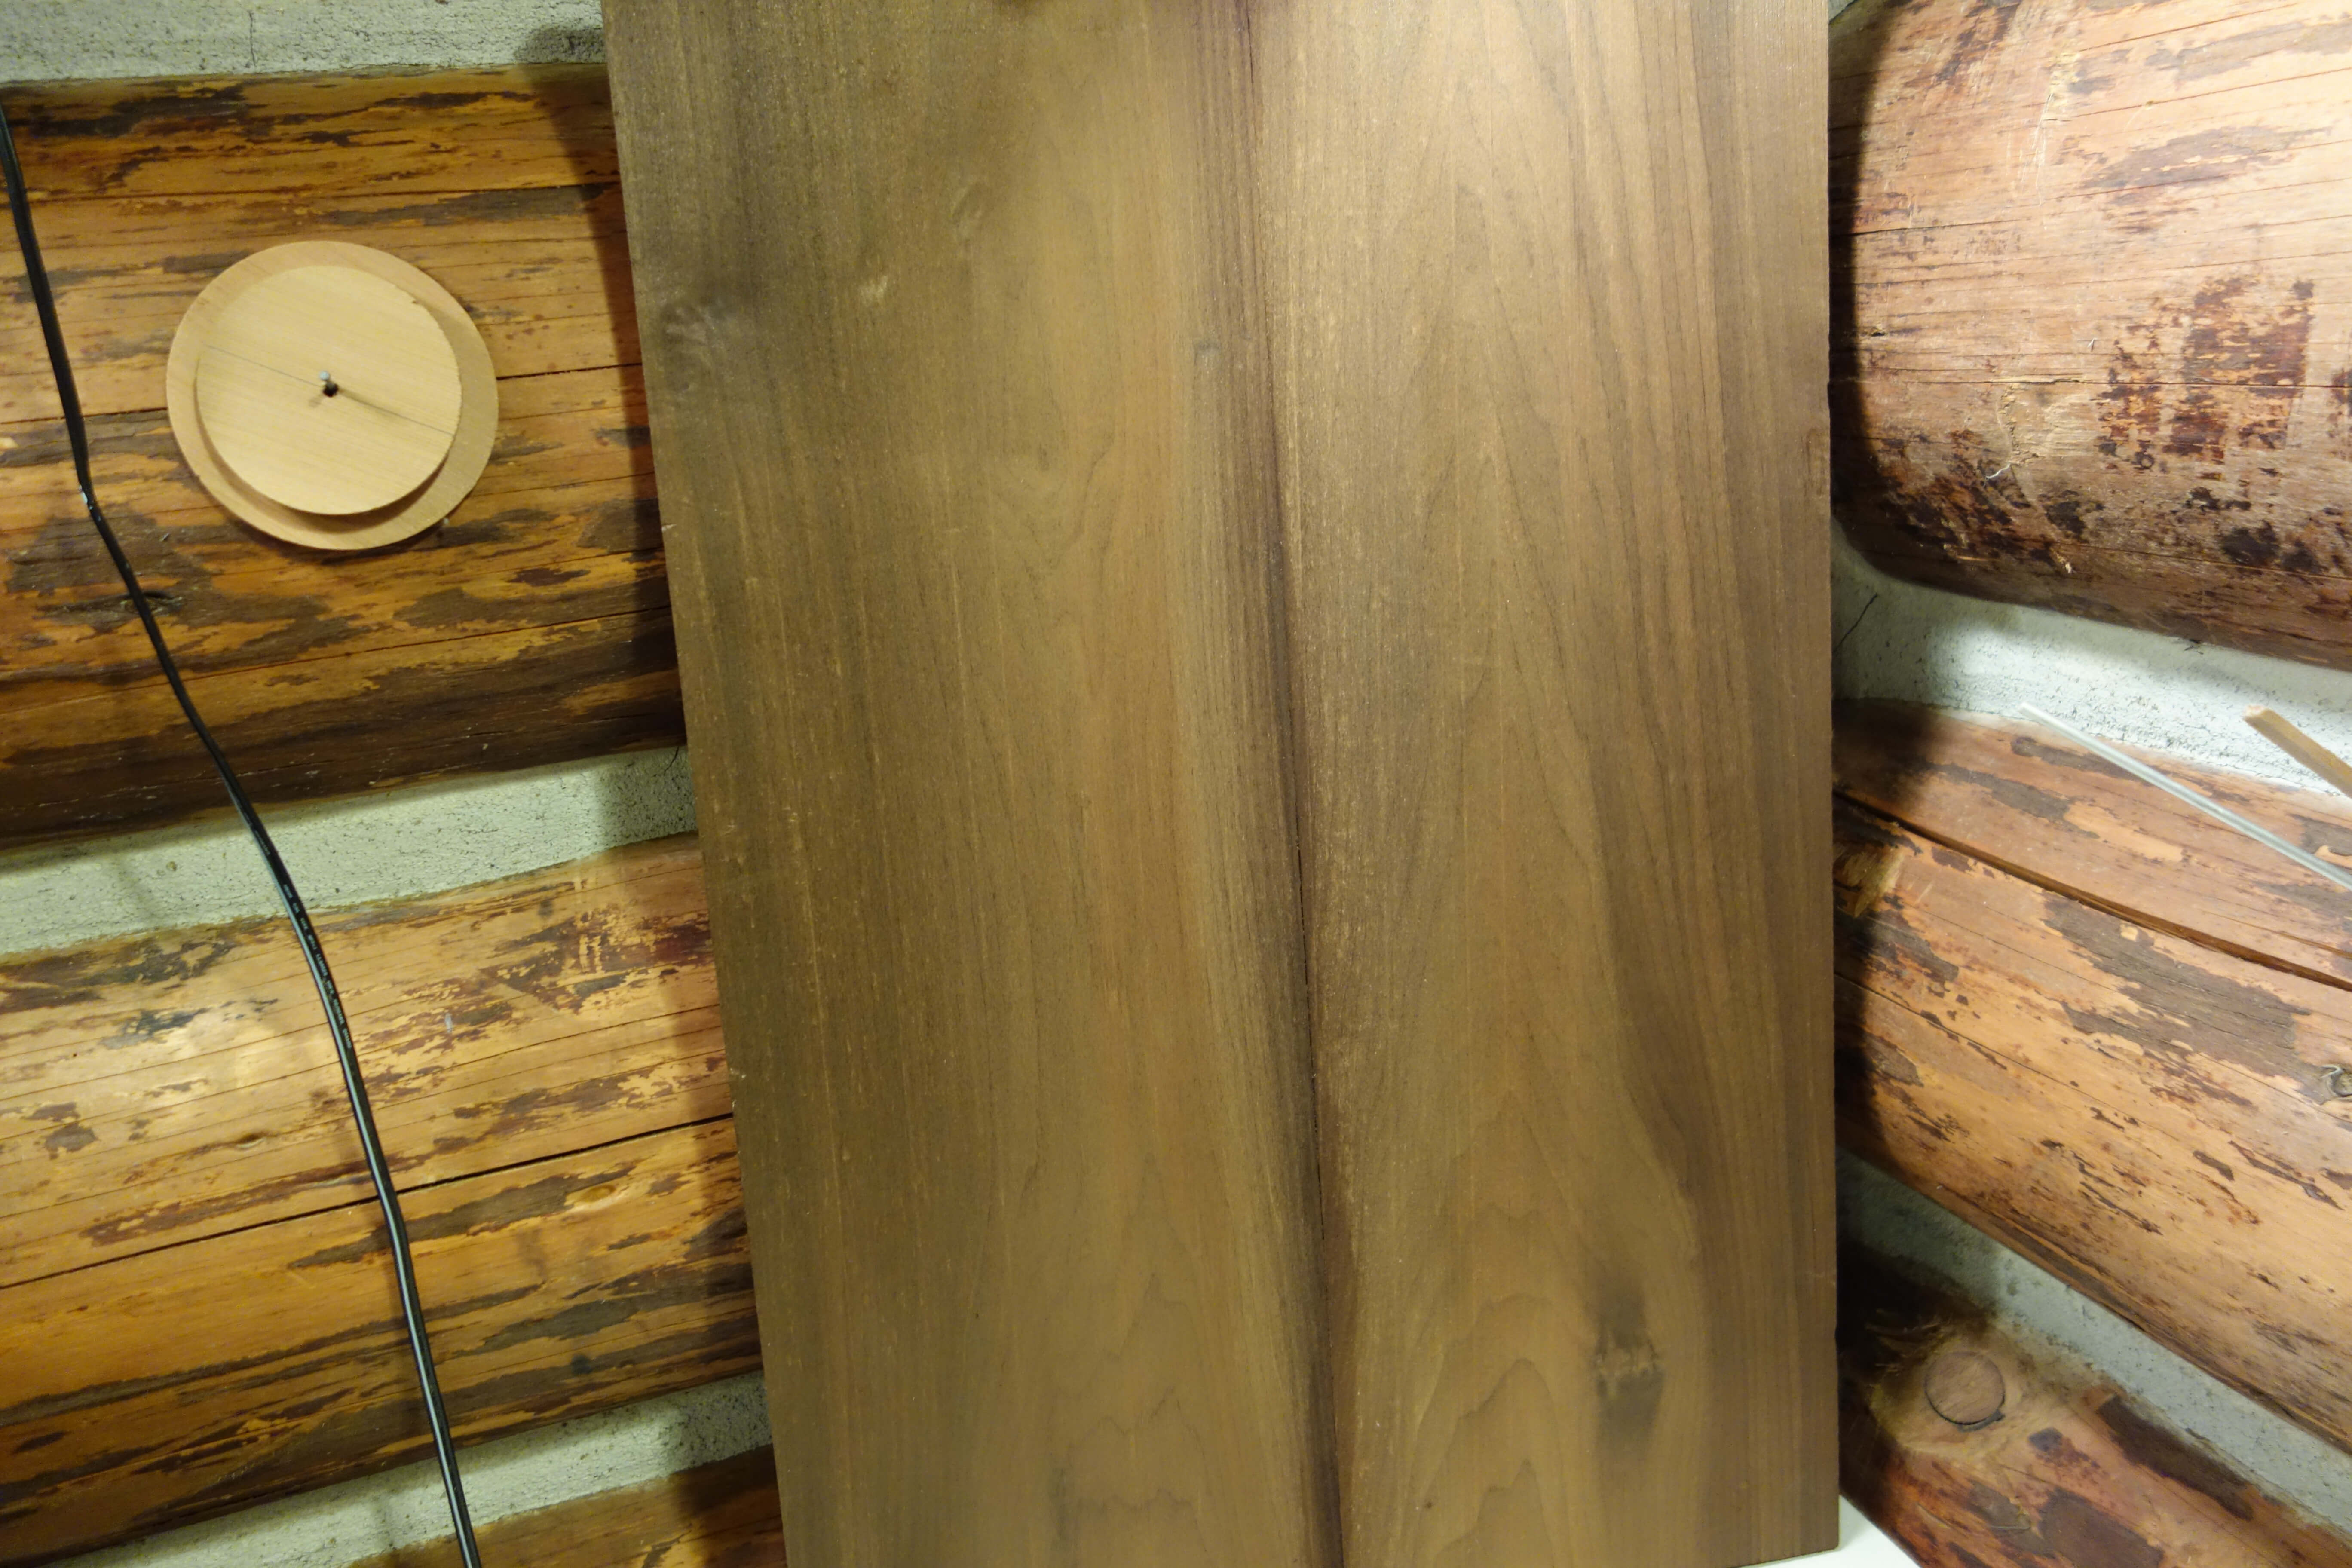
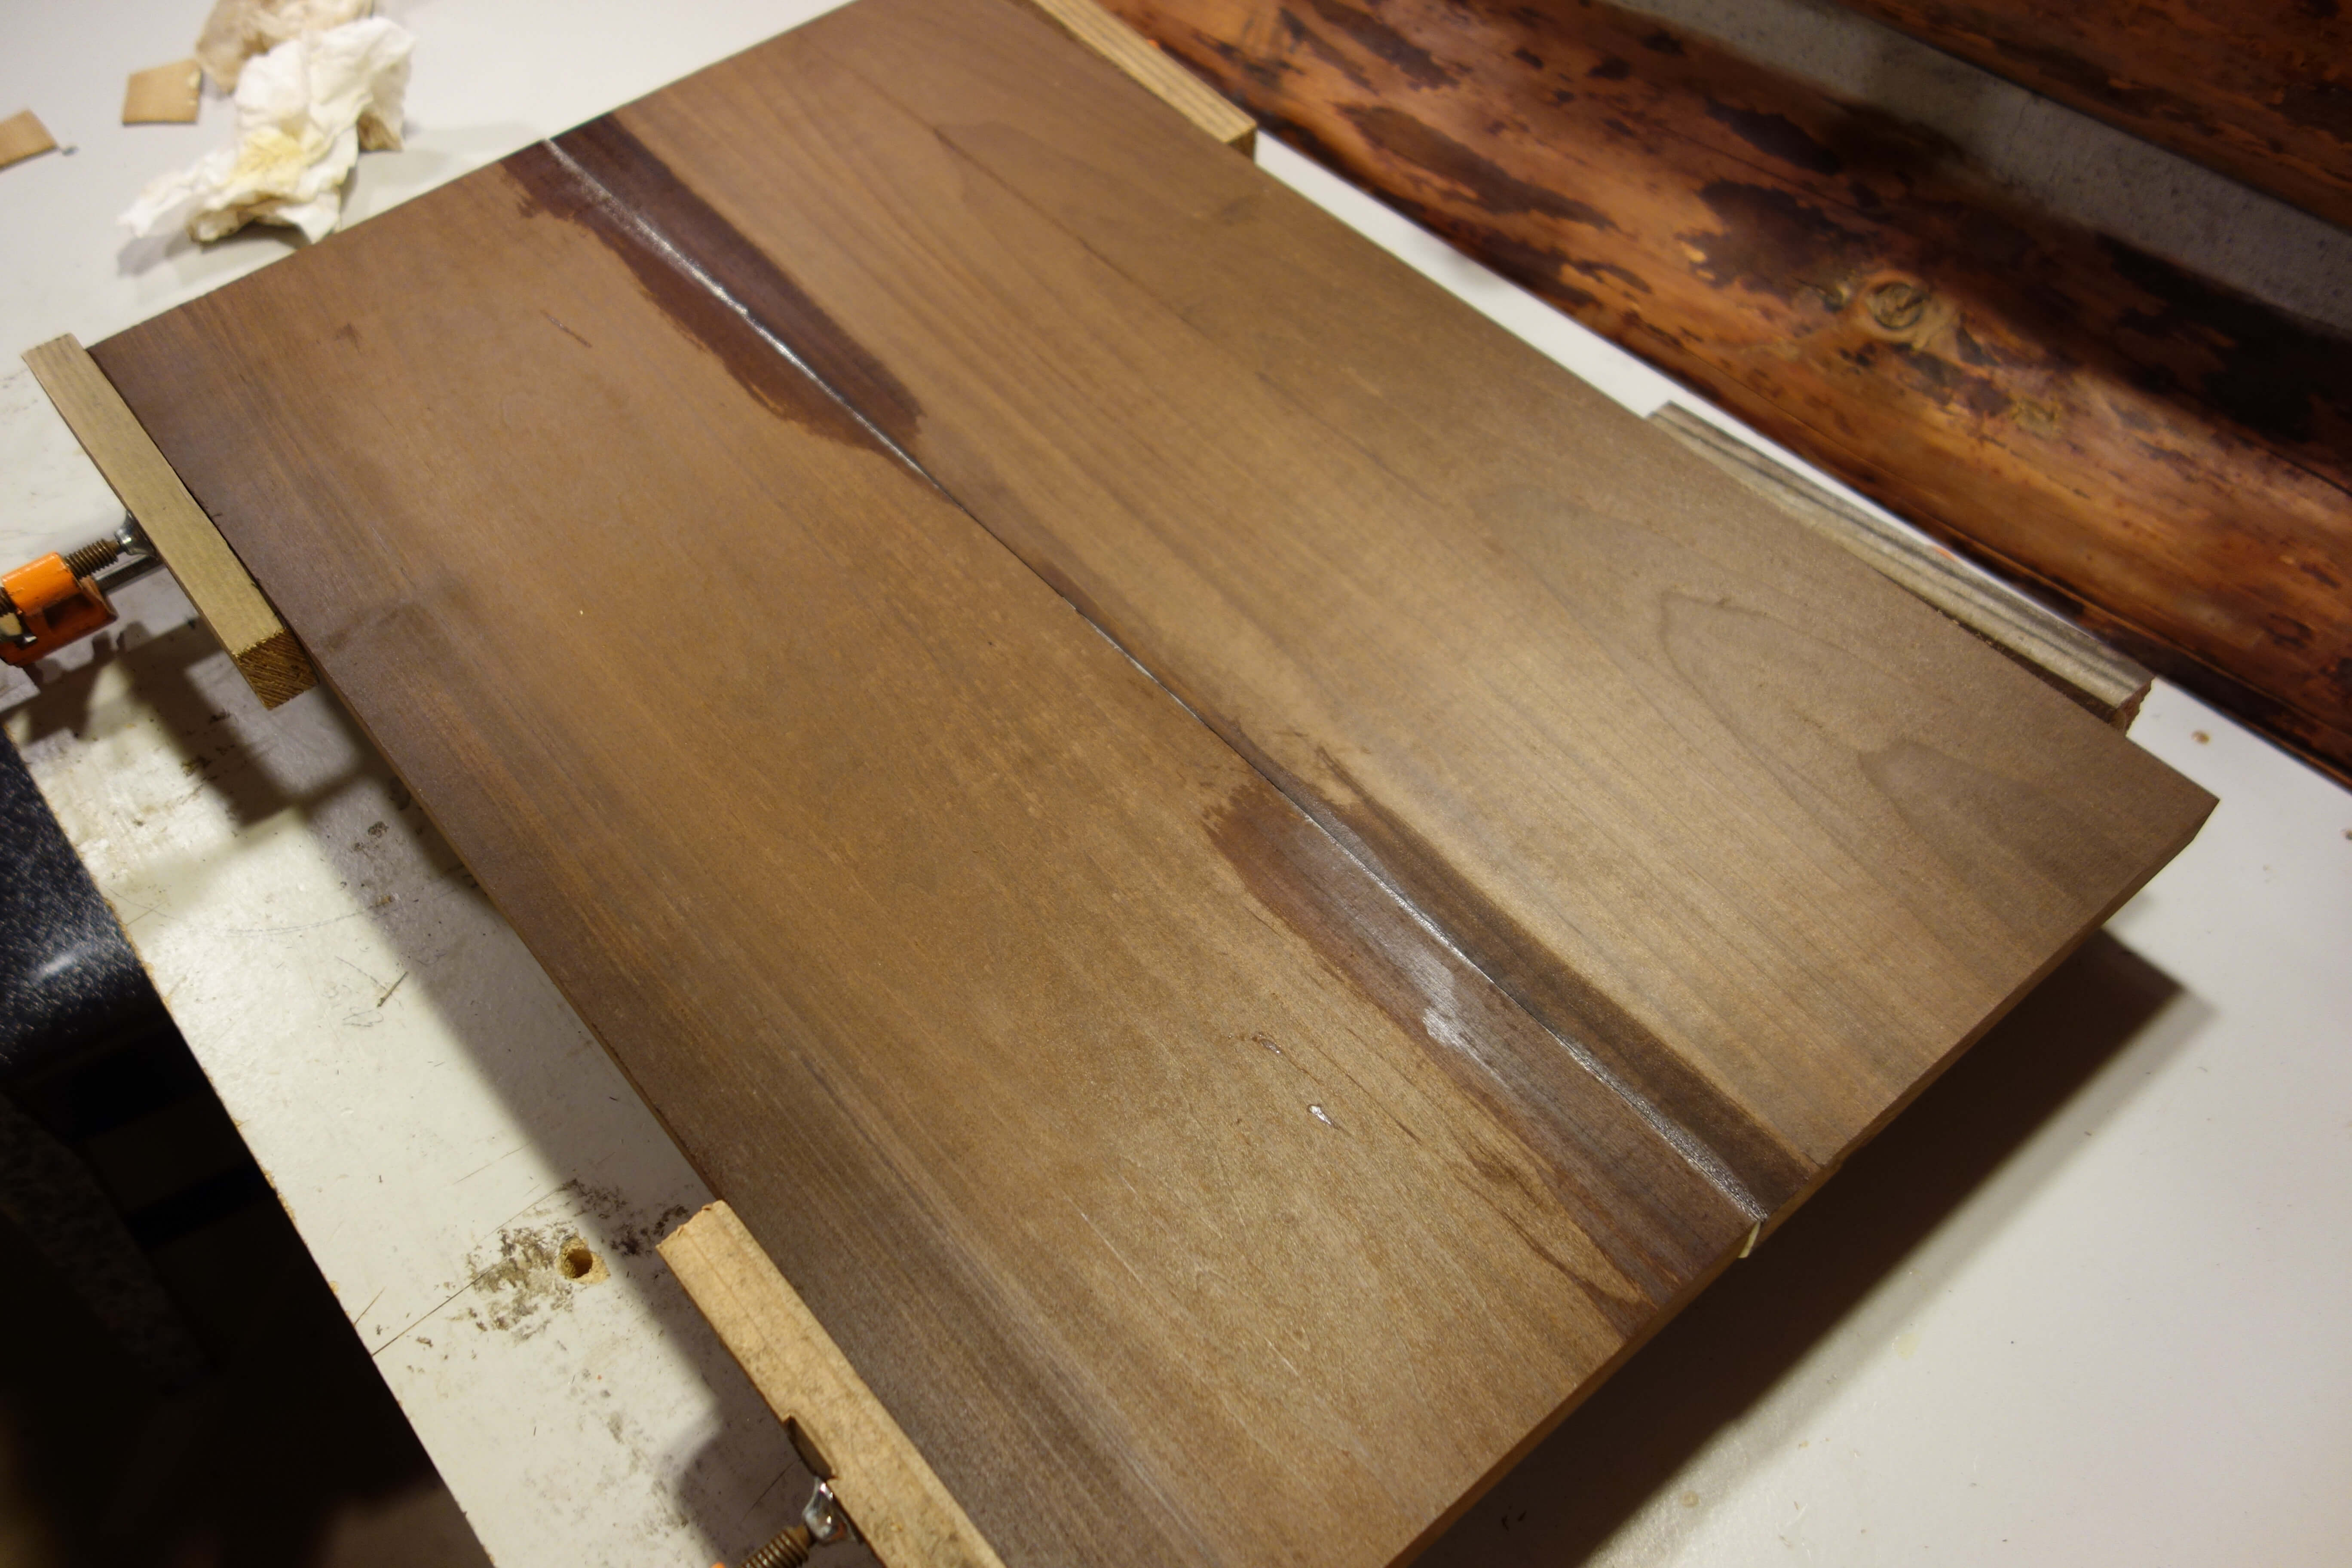
We drilled holes in the edges to receive dowels, then glued the pieces together and let sit over night.
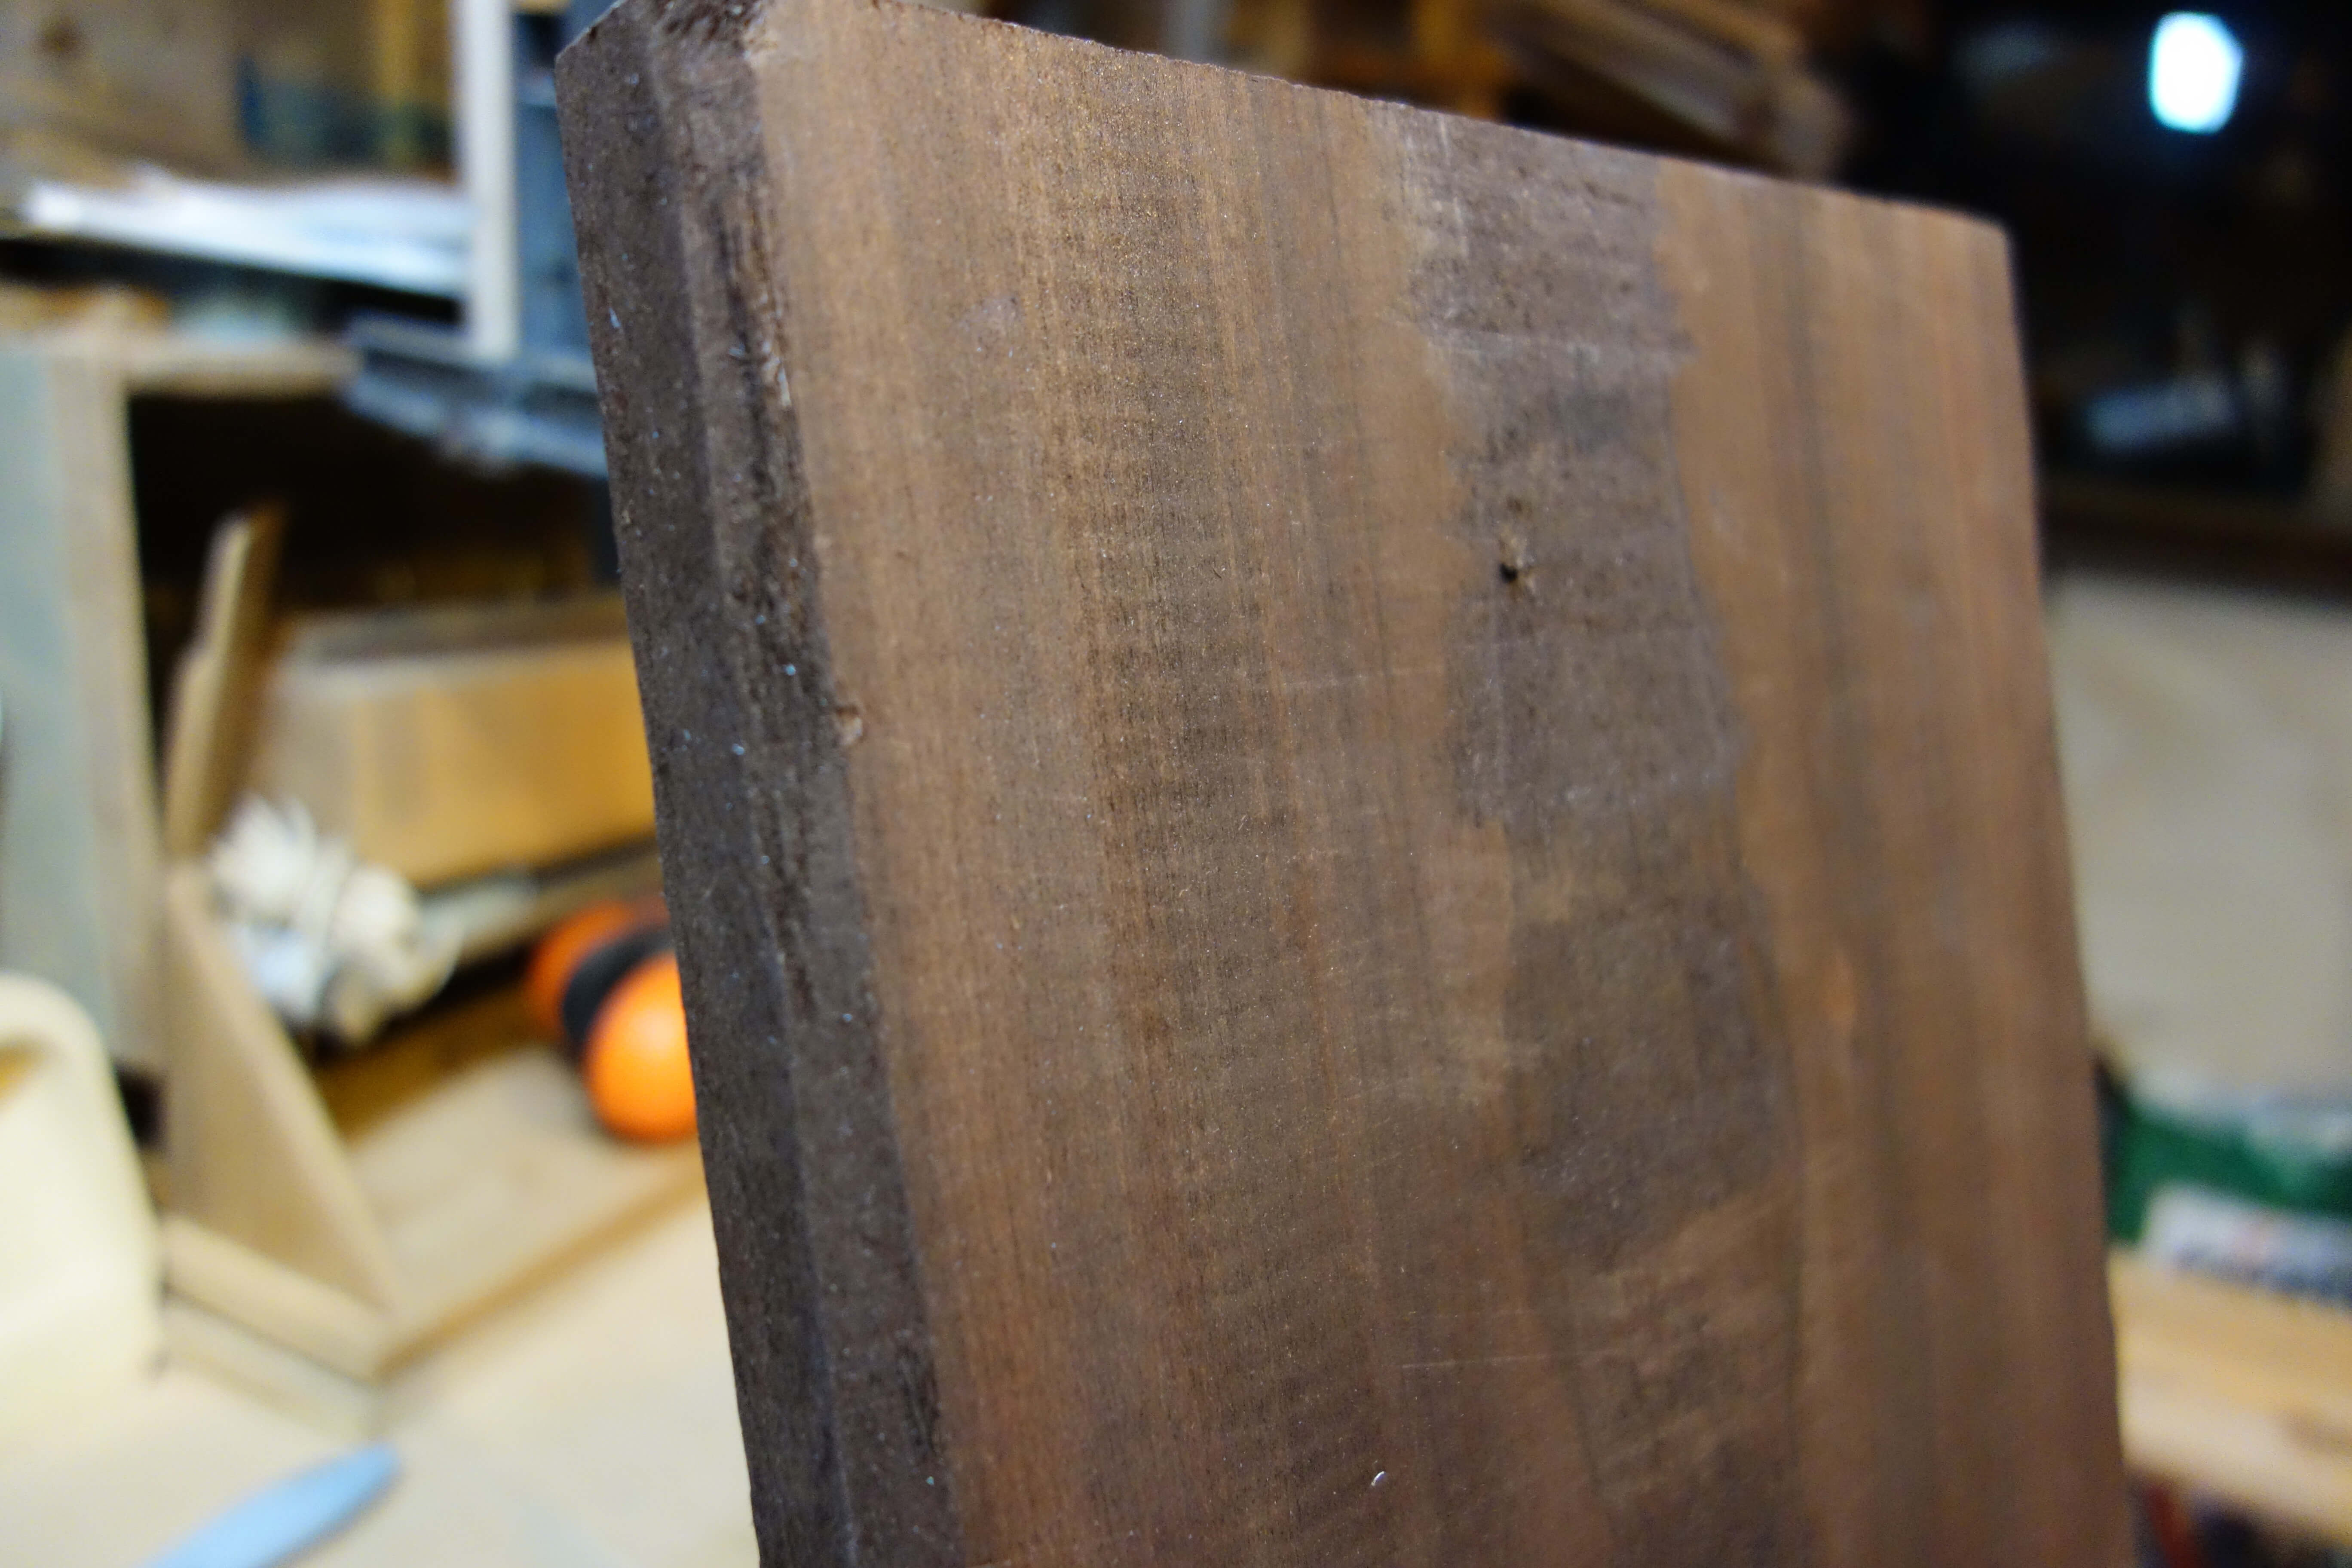
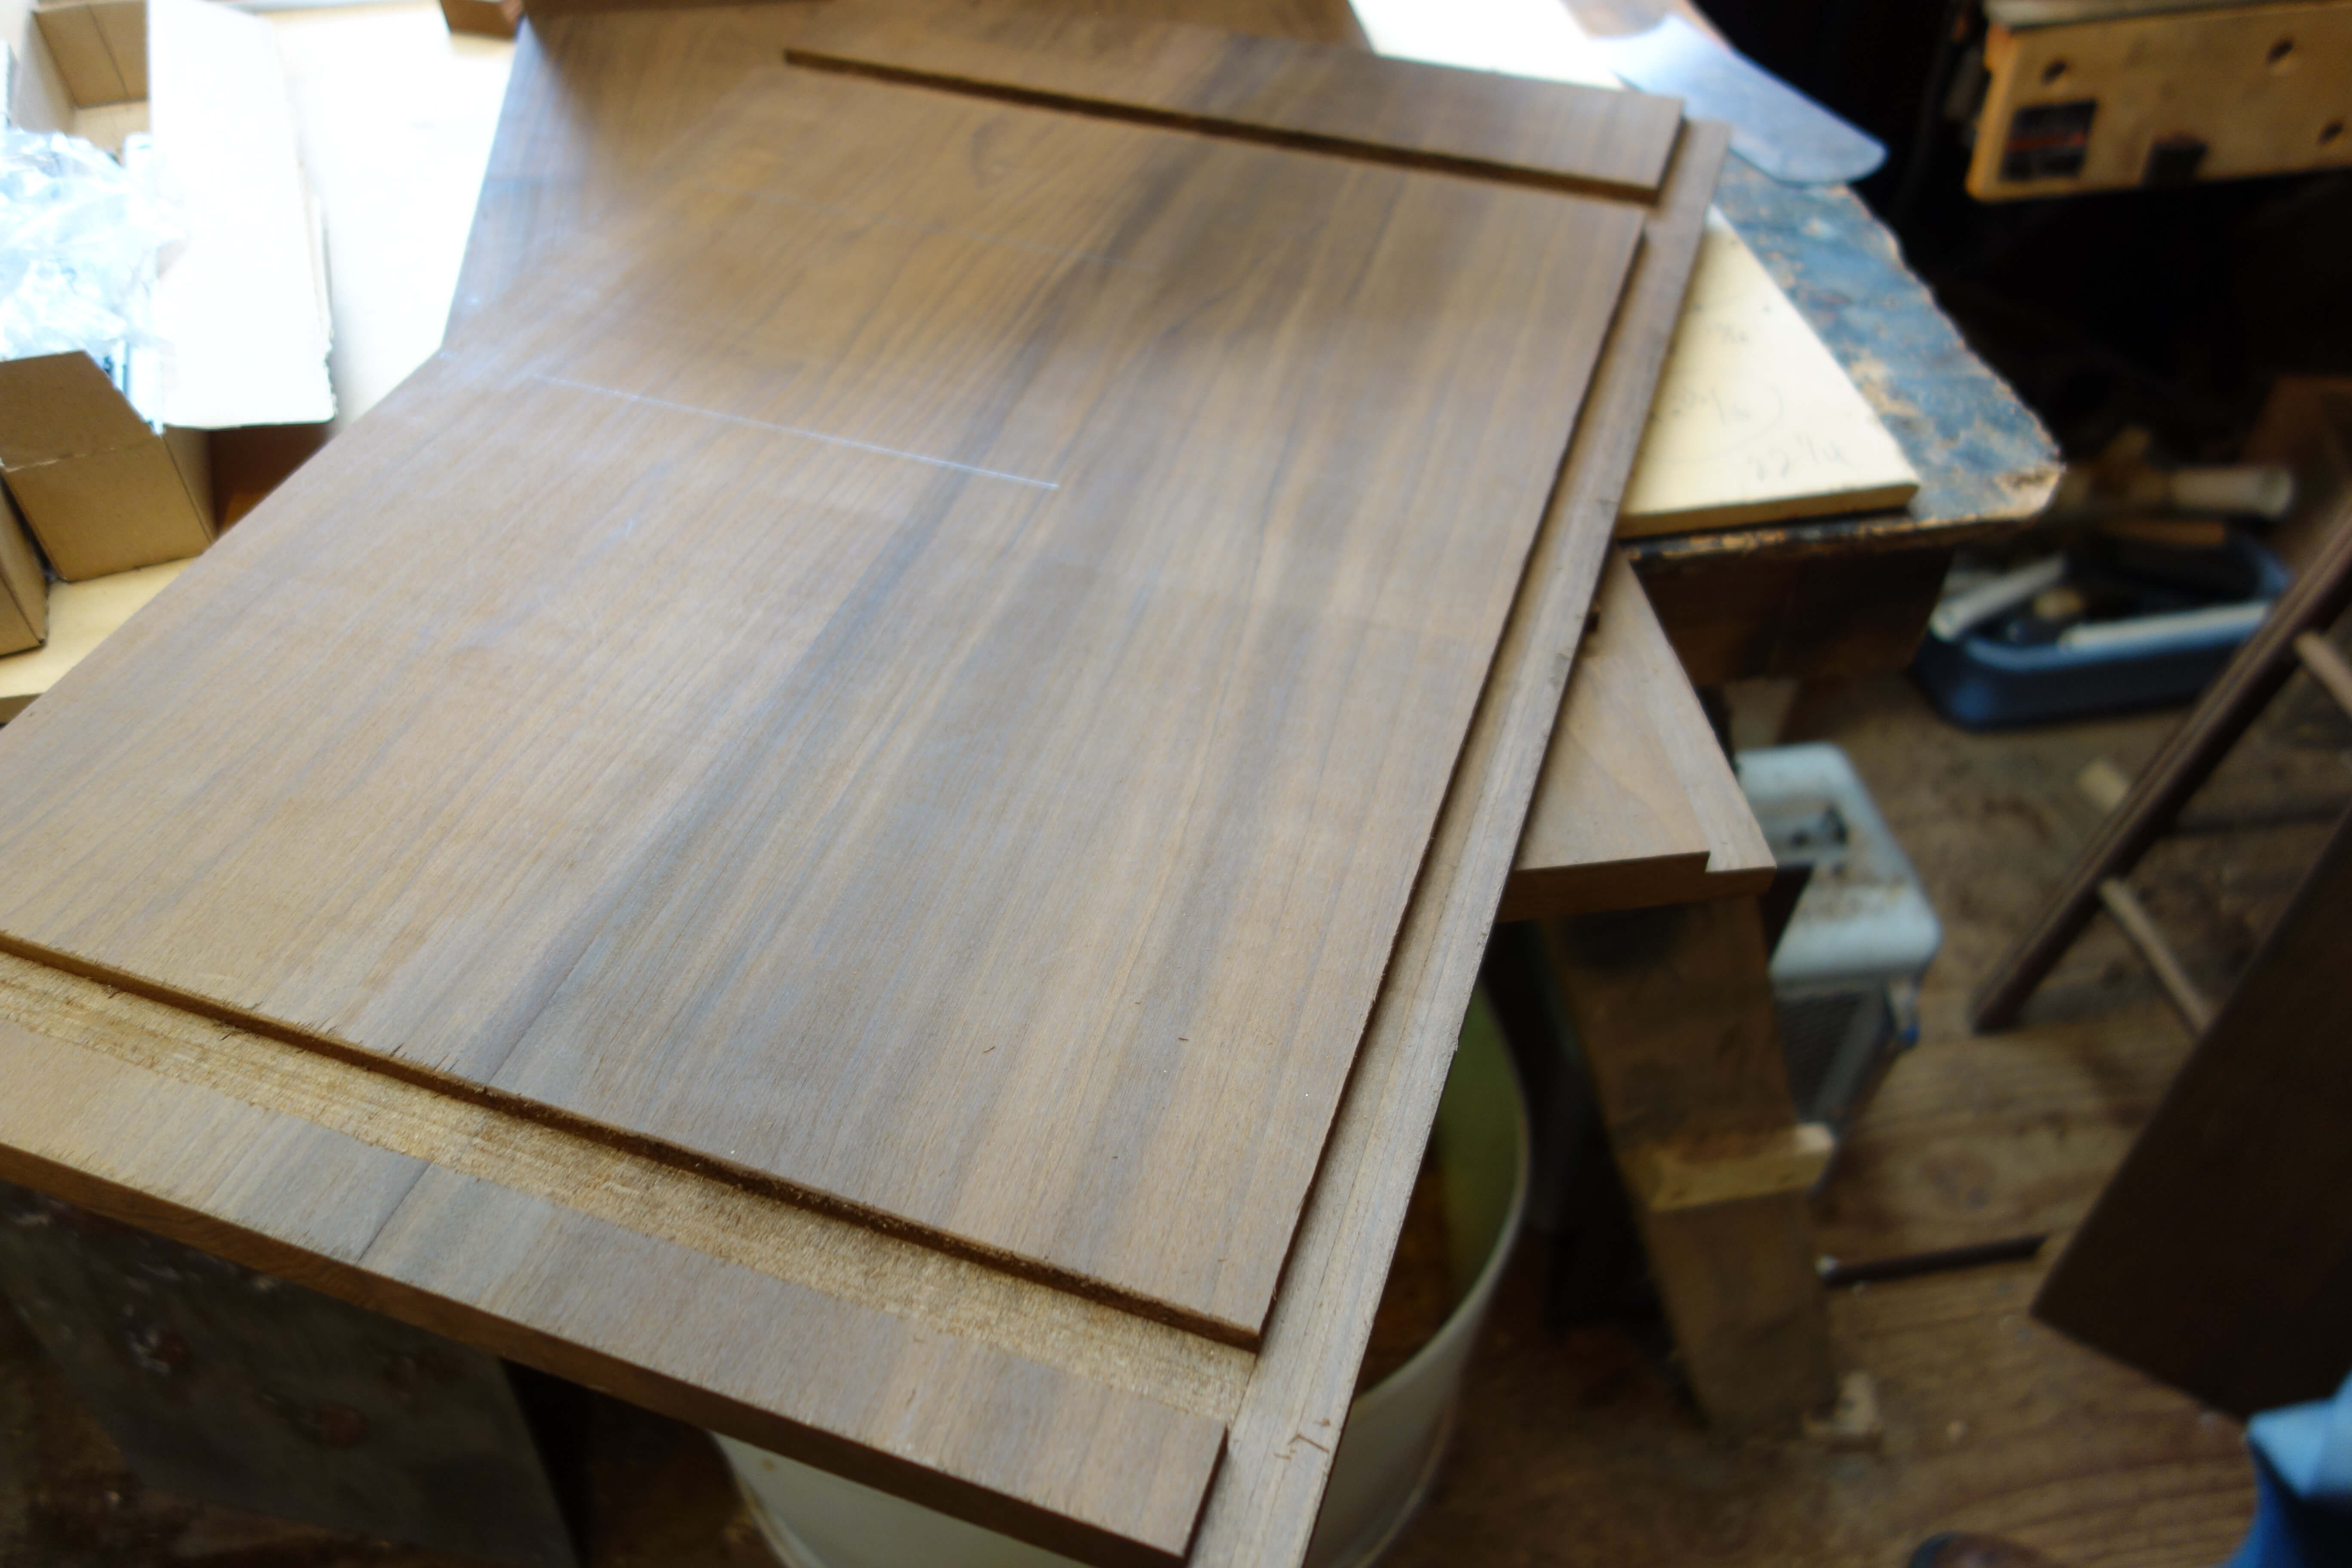
Doweling jig ready for drilling. Edge joined piece with the glue wiped off. Edge joined pieces right after gluing
After the glue was set, we cut the pieces to the exact dimensions. We used a thickness sander to smooth out imperfections of the joint, remove glue residue and get the pieces to the desired thickness.
Drawers
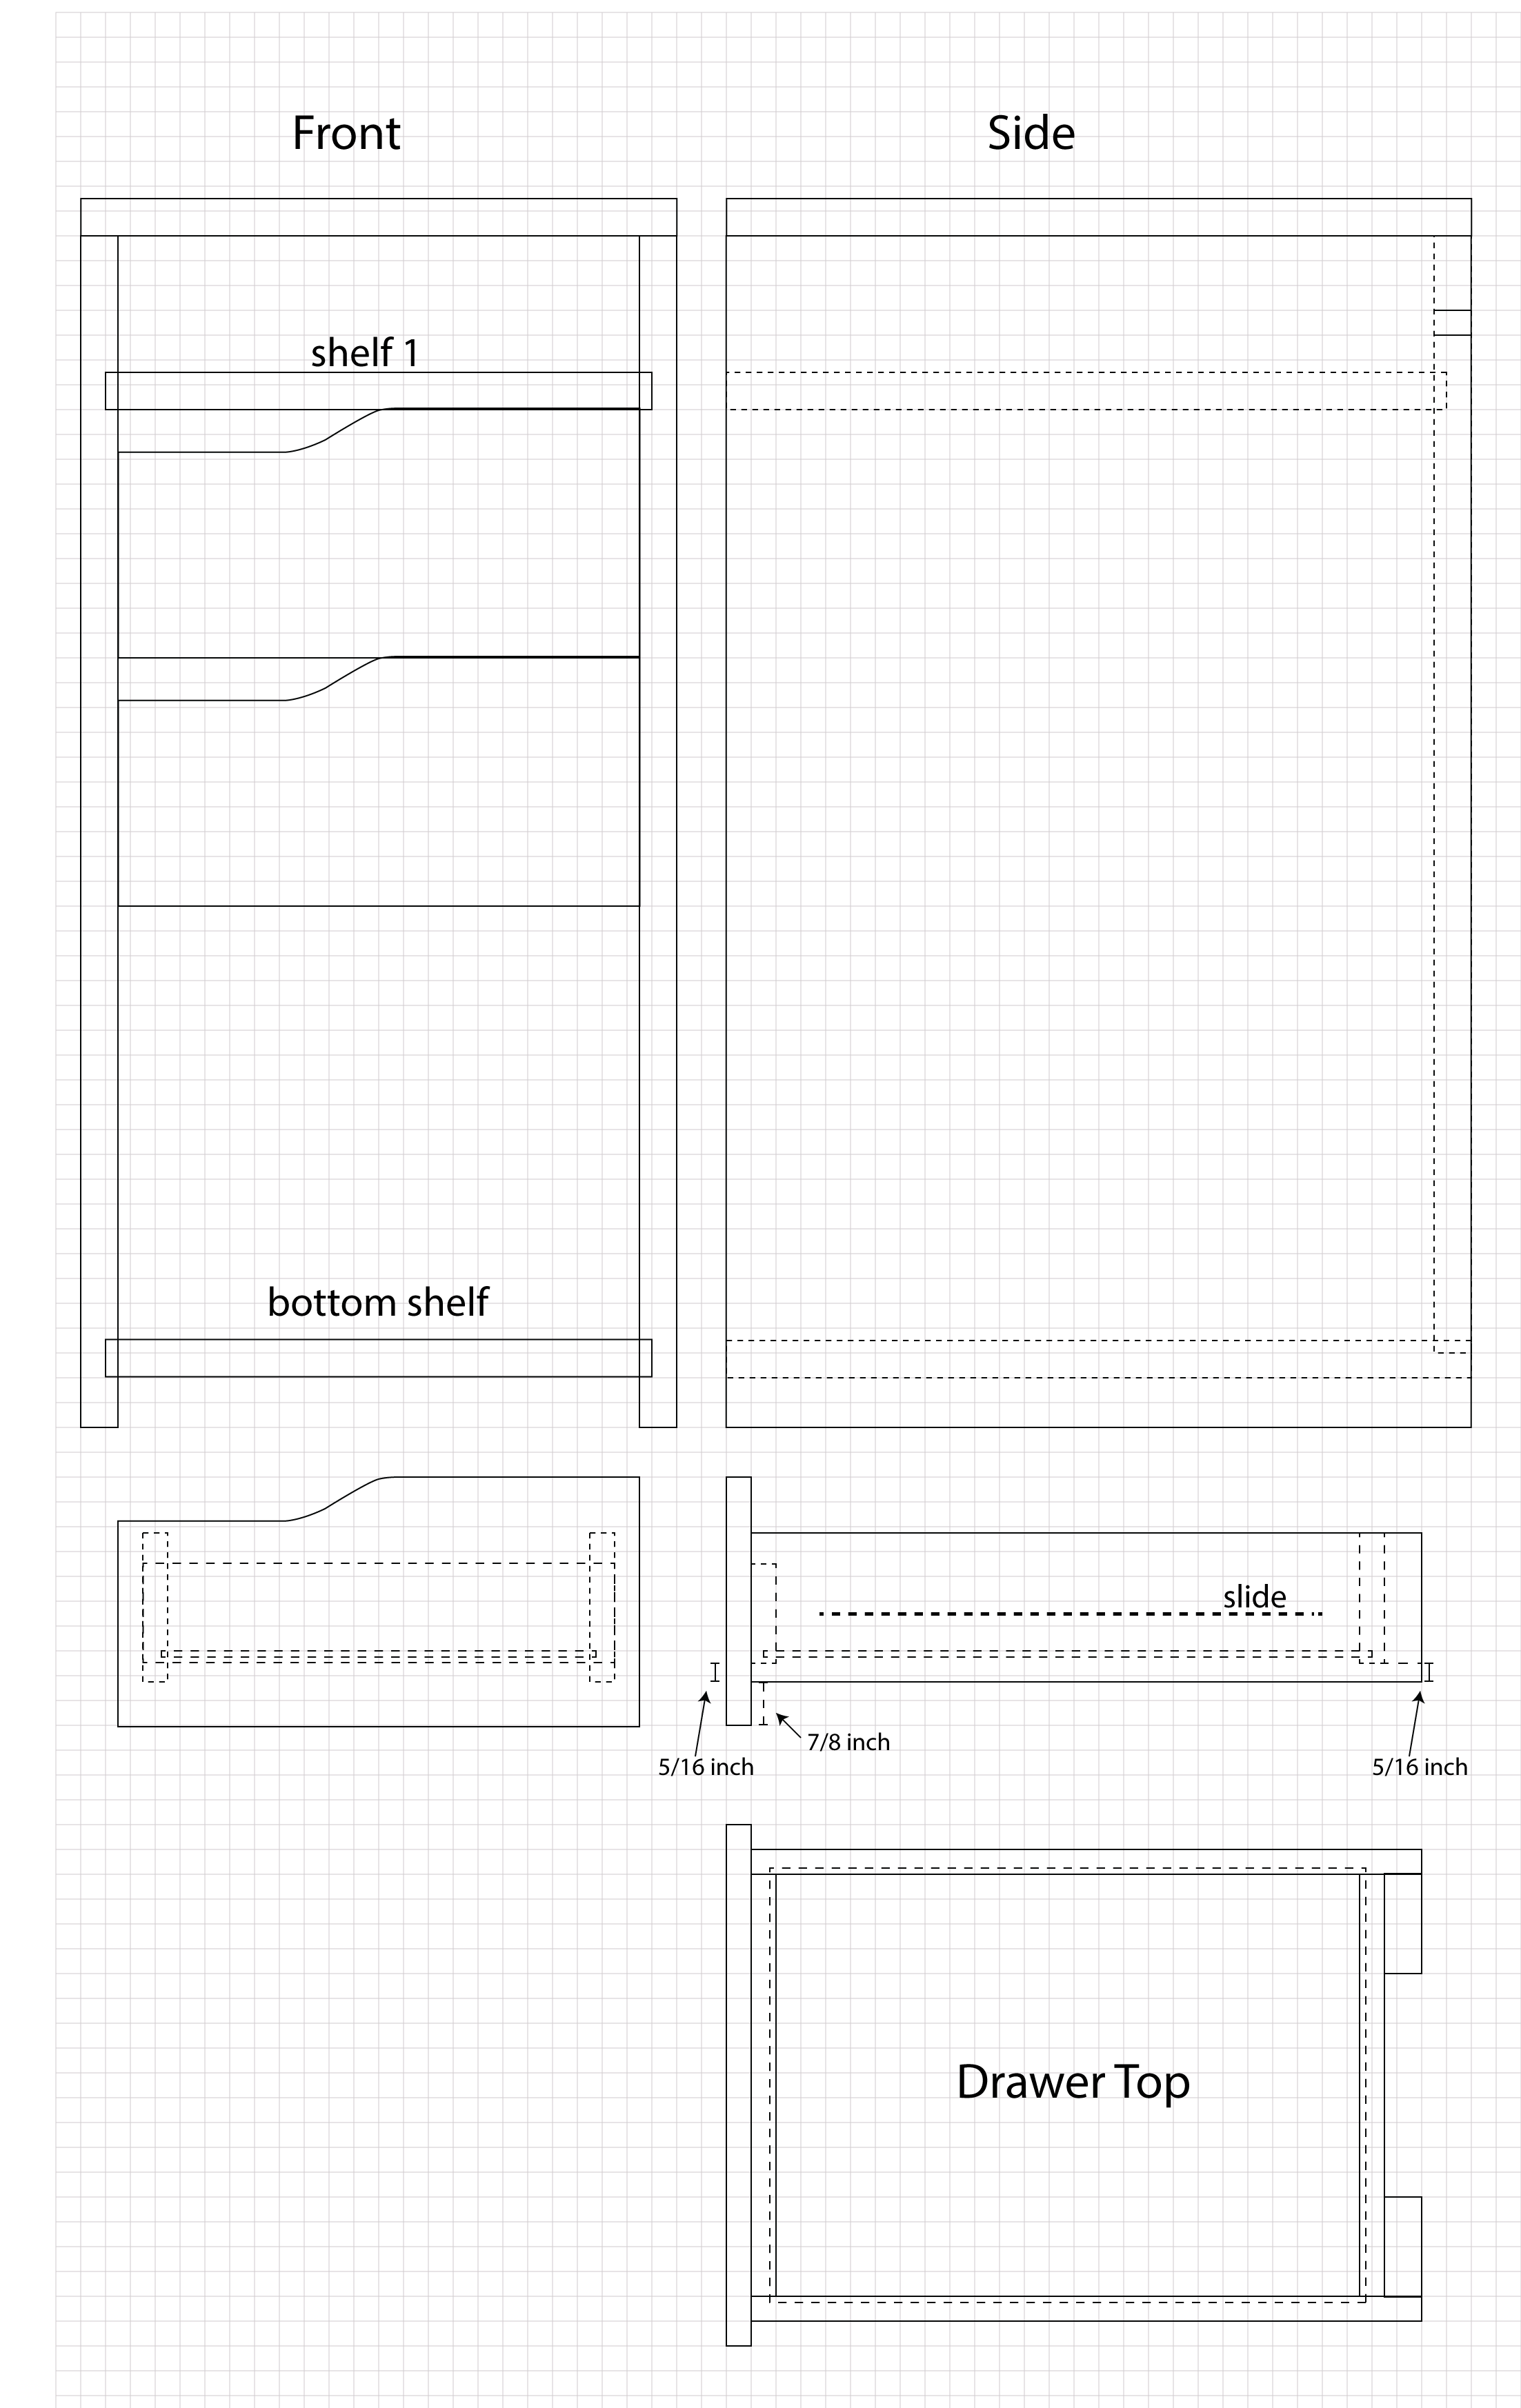
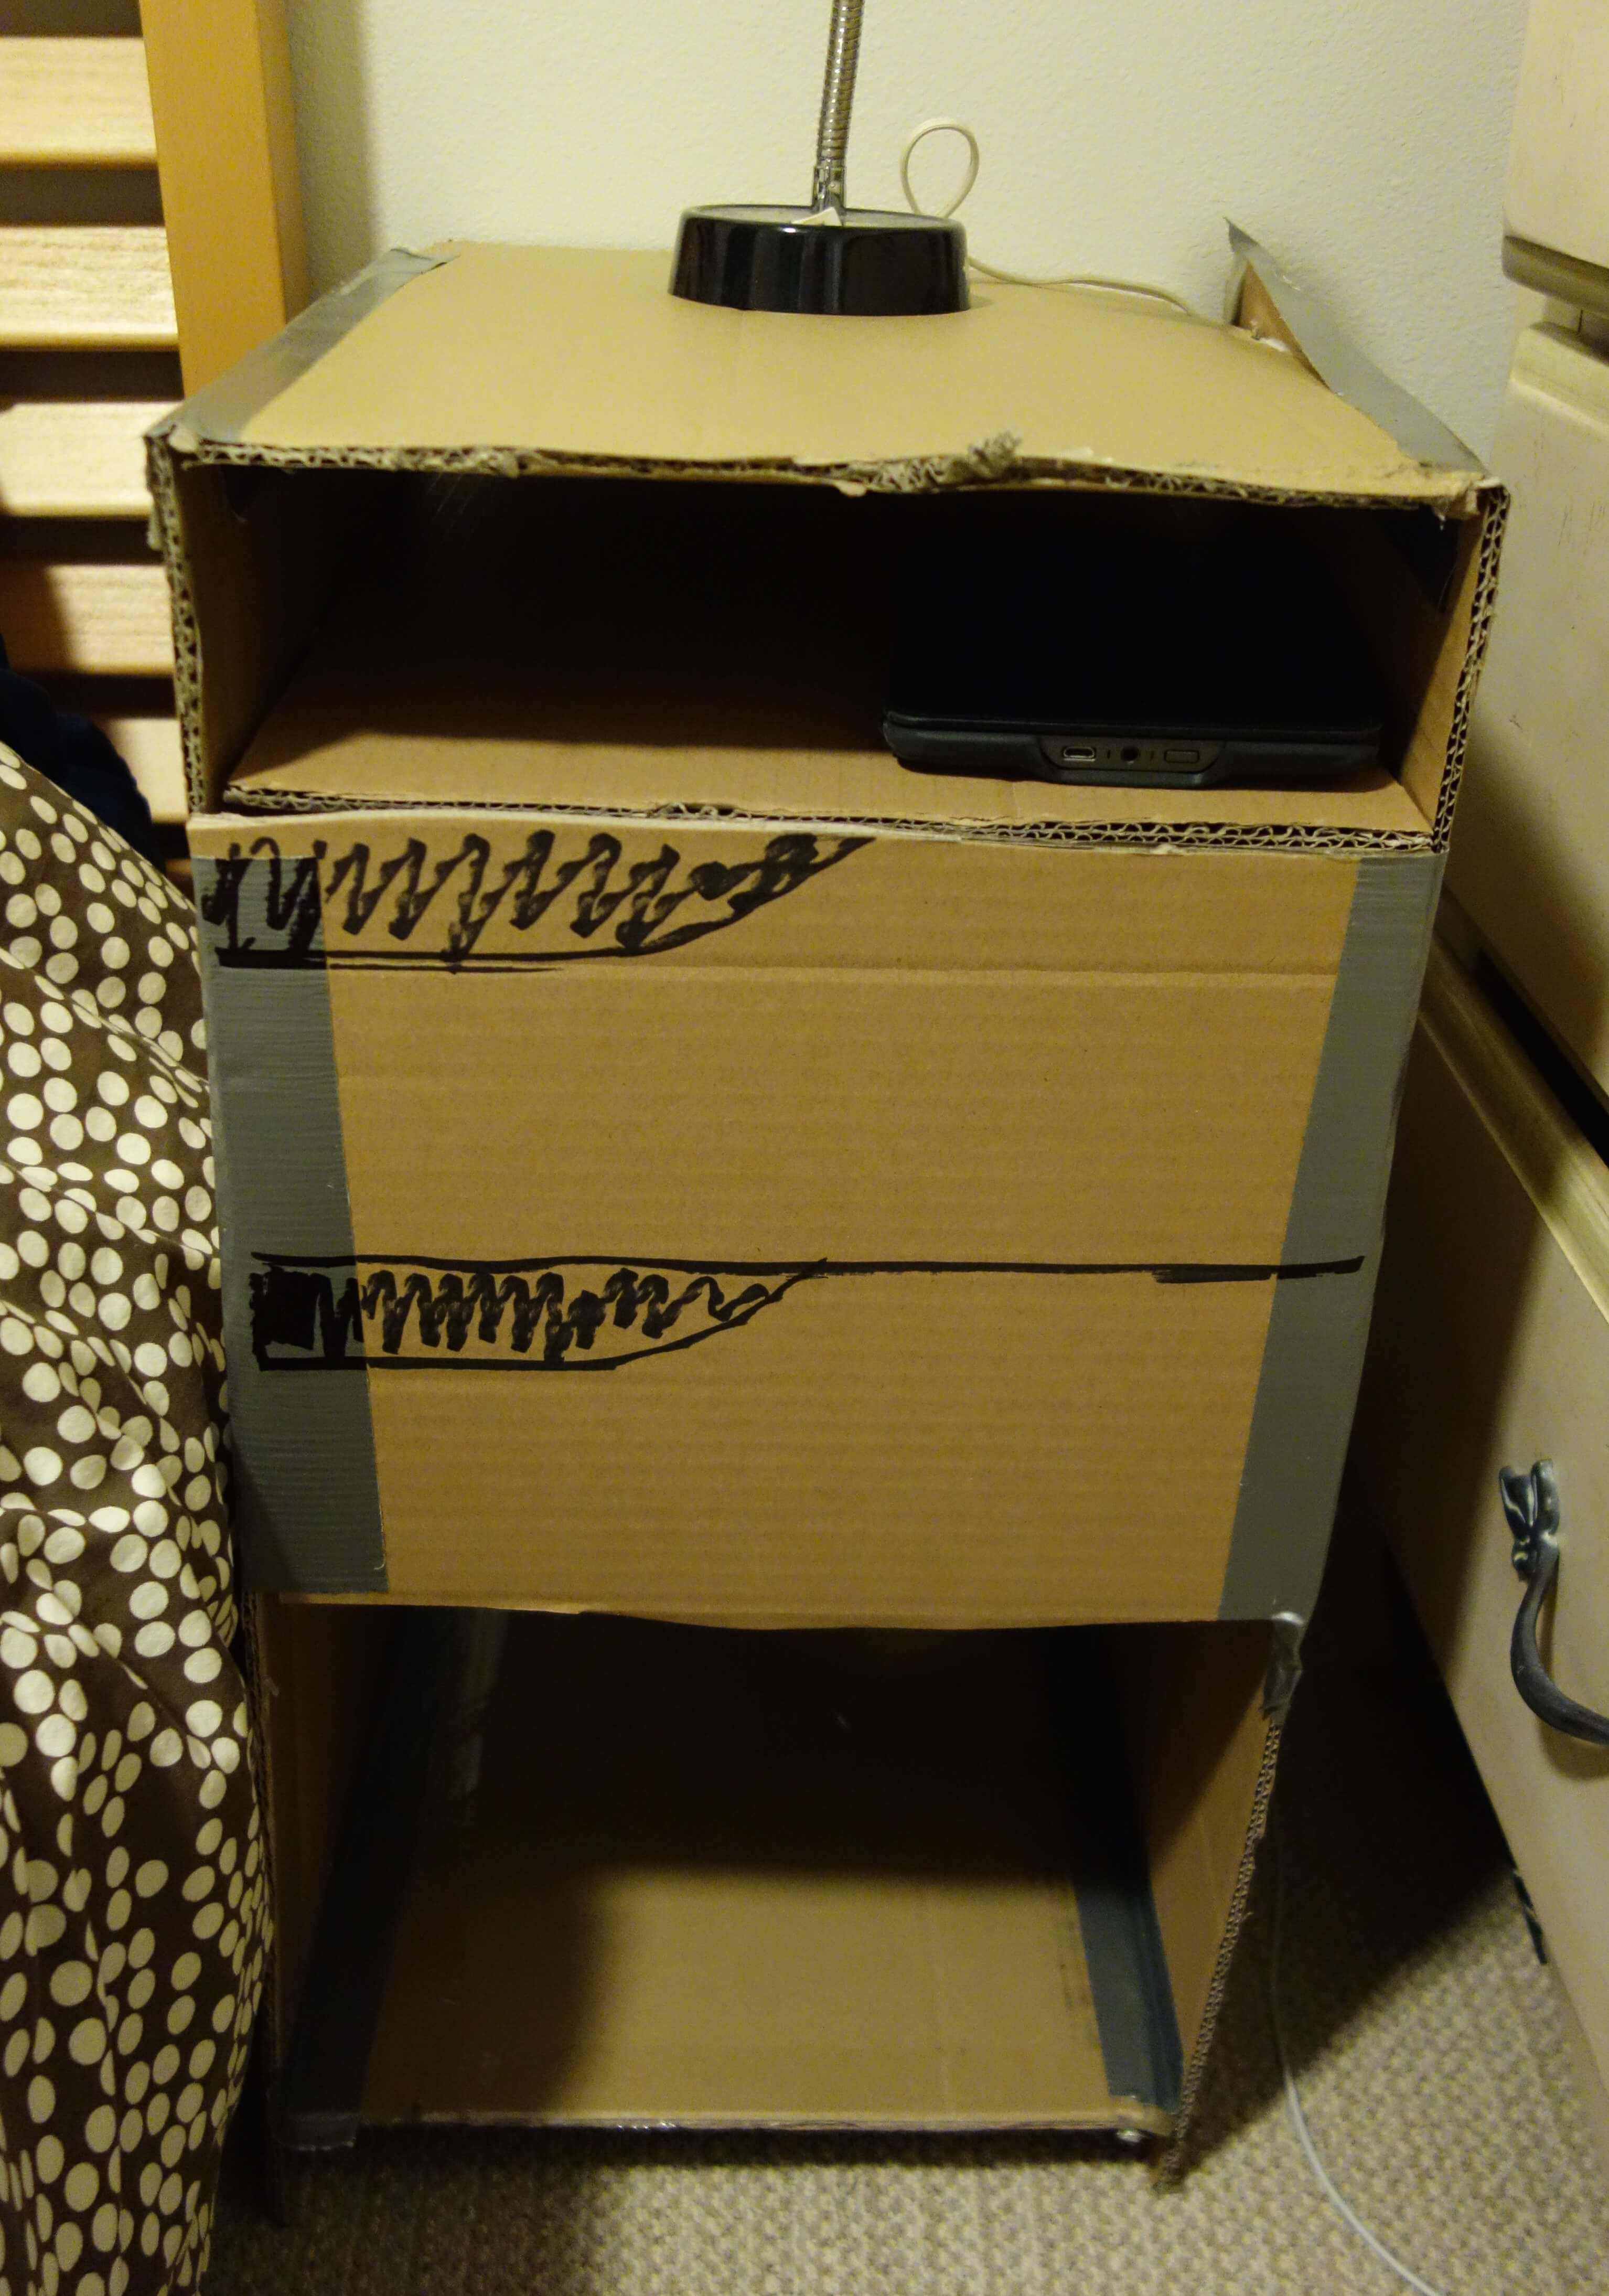
Although I had designed the drawers on paper, I wanted to be sure we had a design that would work with the runner, so I created a wood prototype.

Once I had a good idea of how the runners would work, we attached them to the sides of the stands. There was a lot of trial and error to get them even.
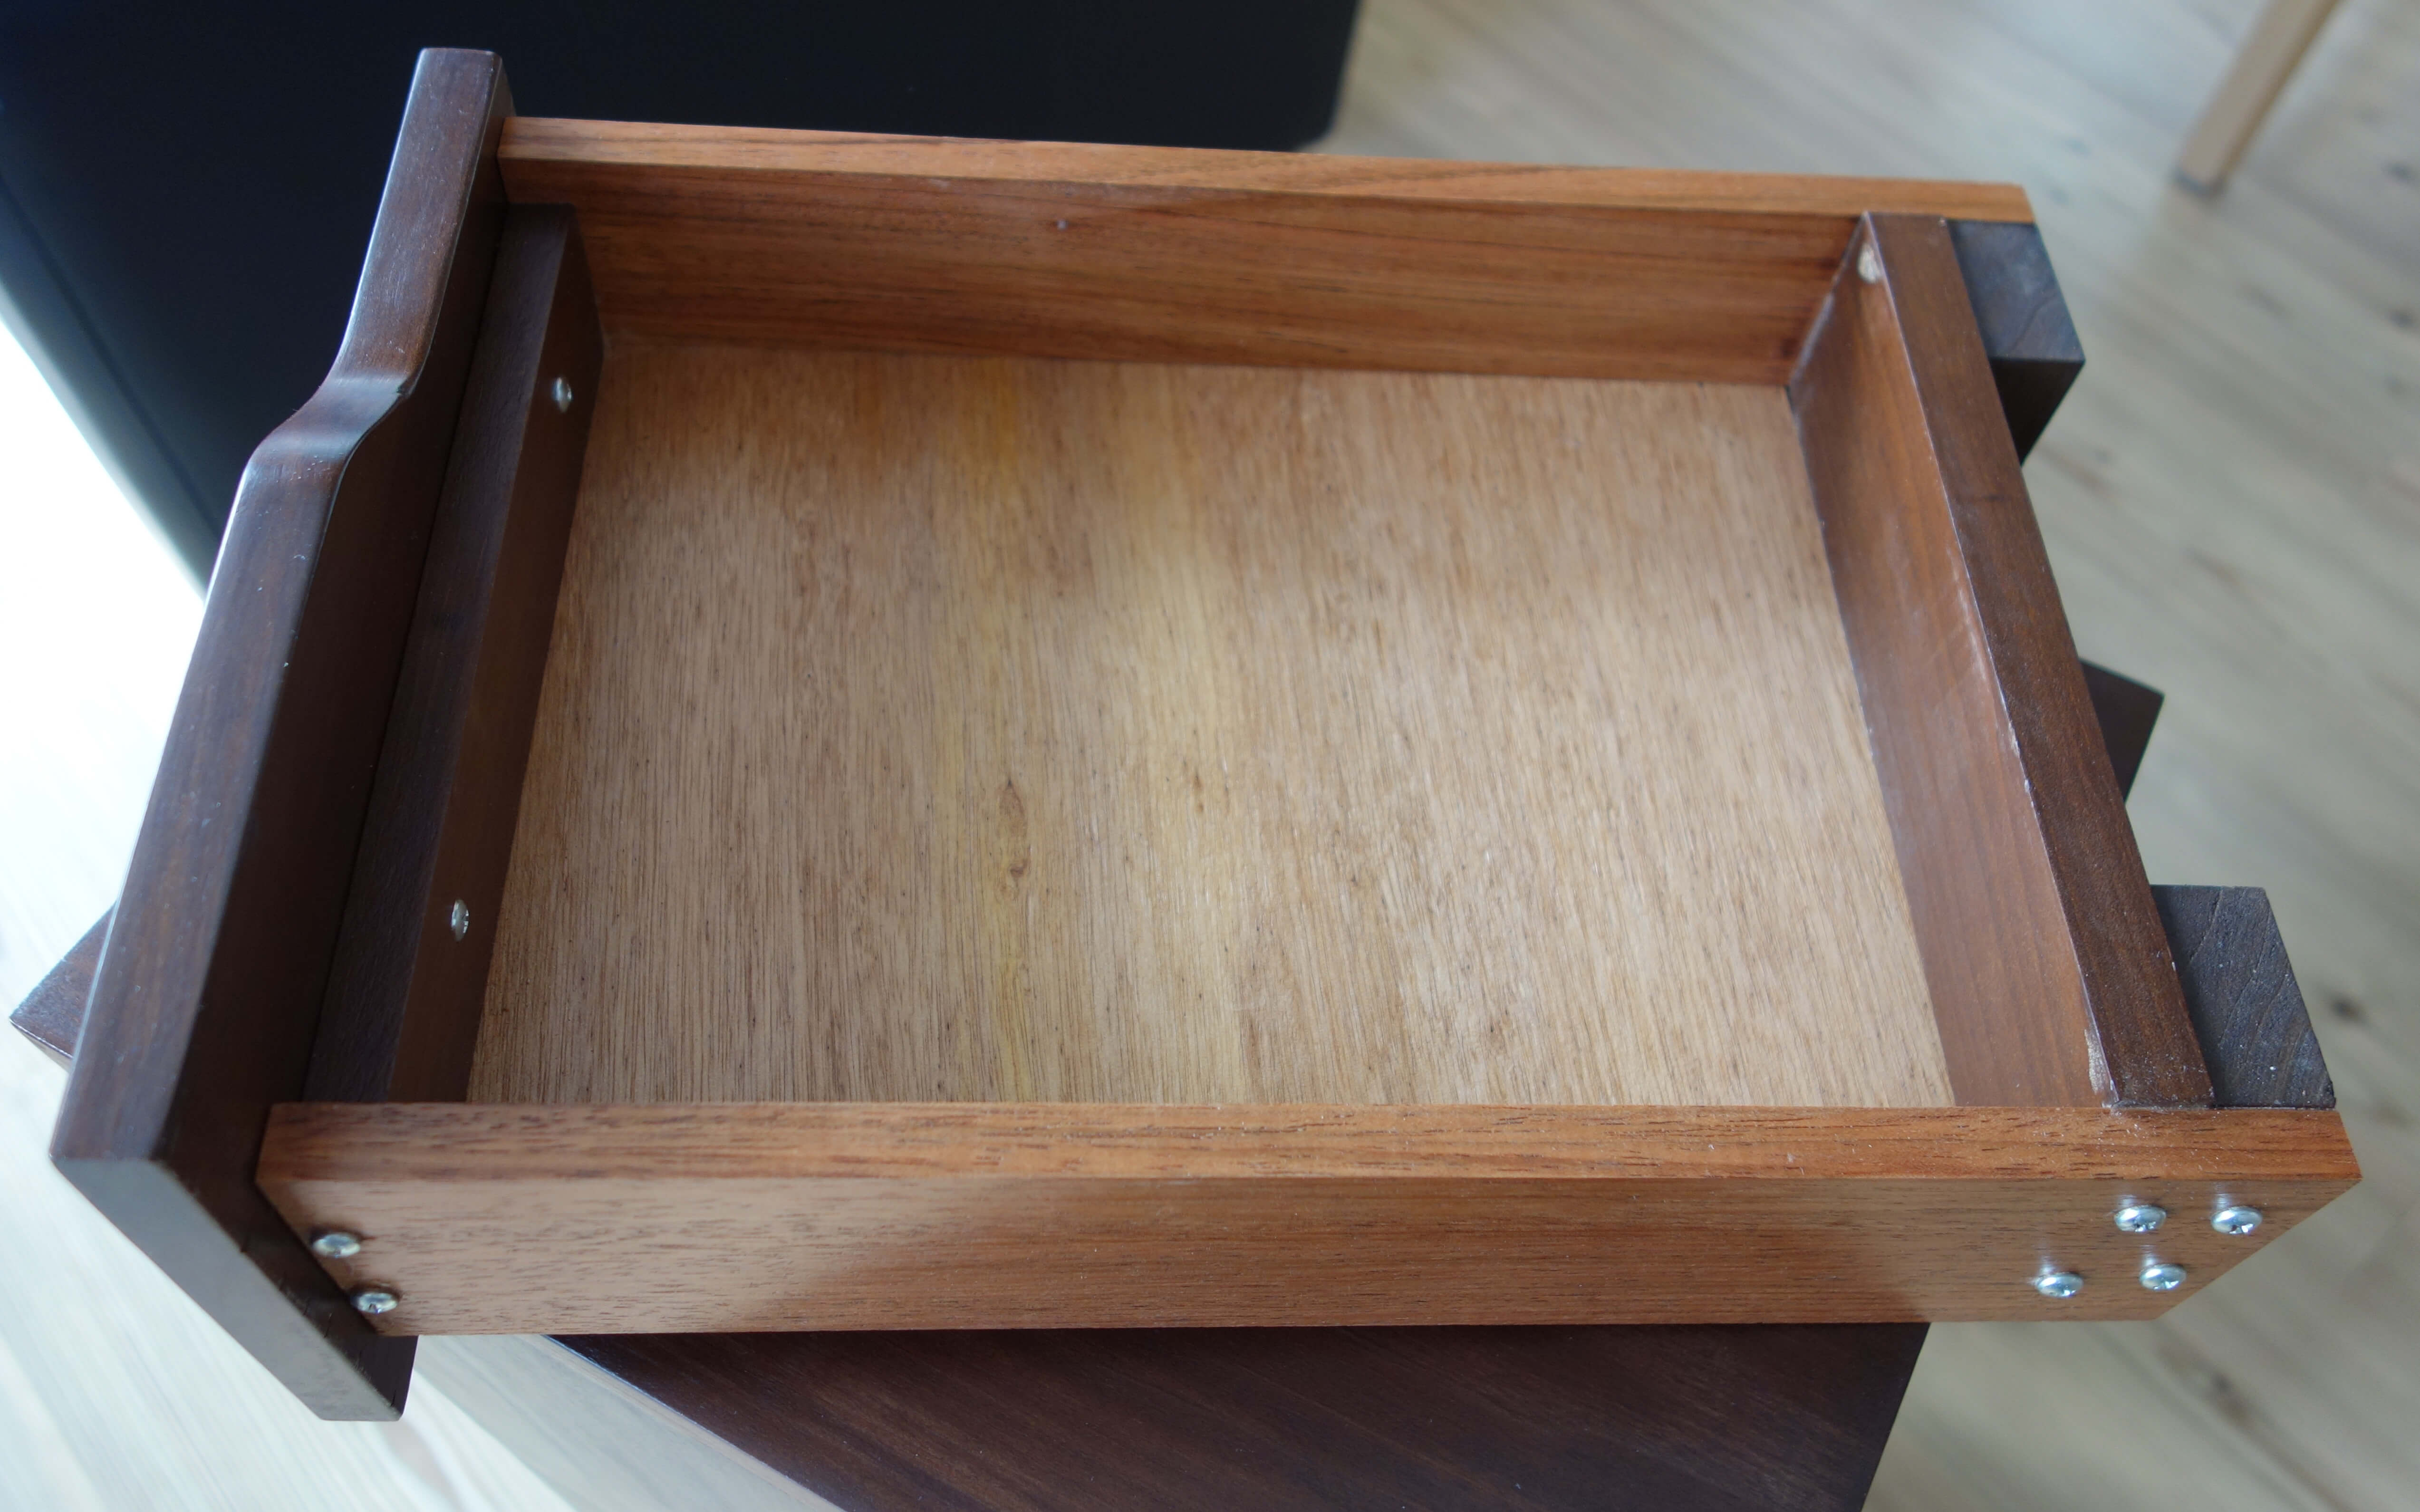
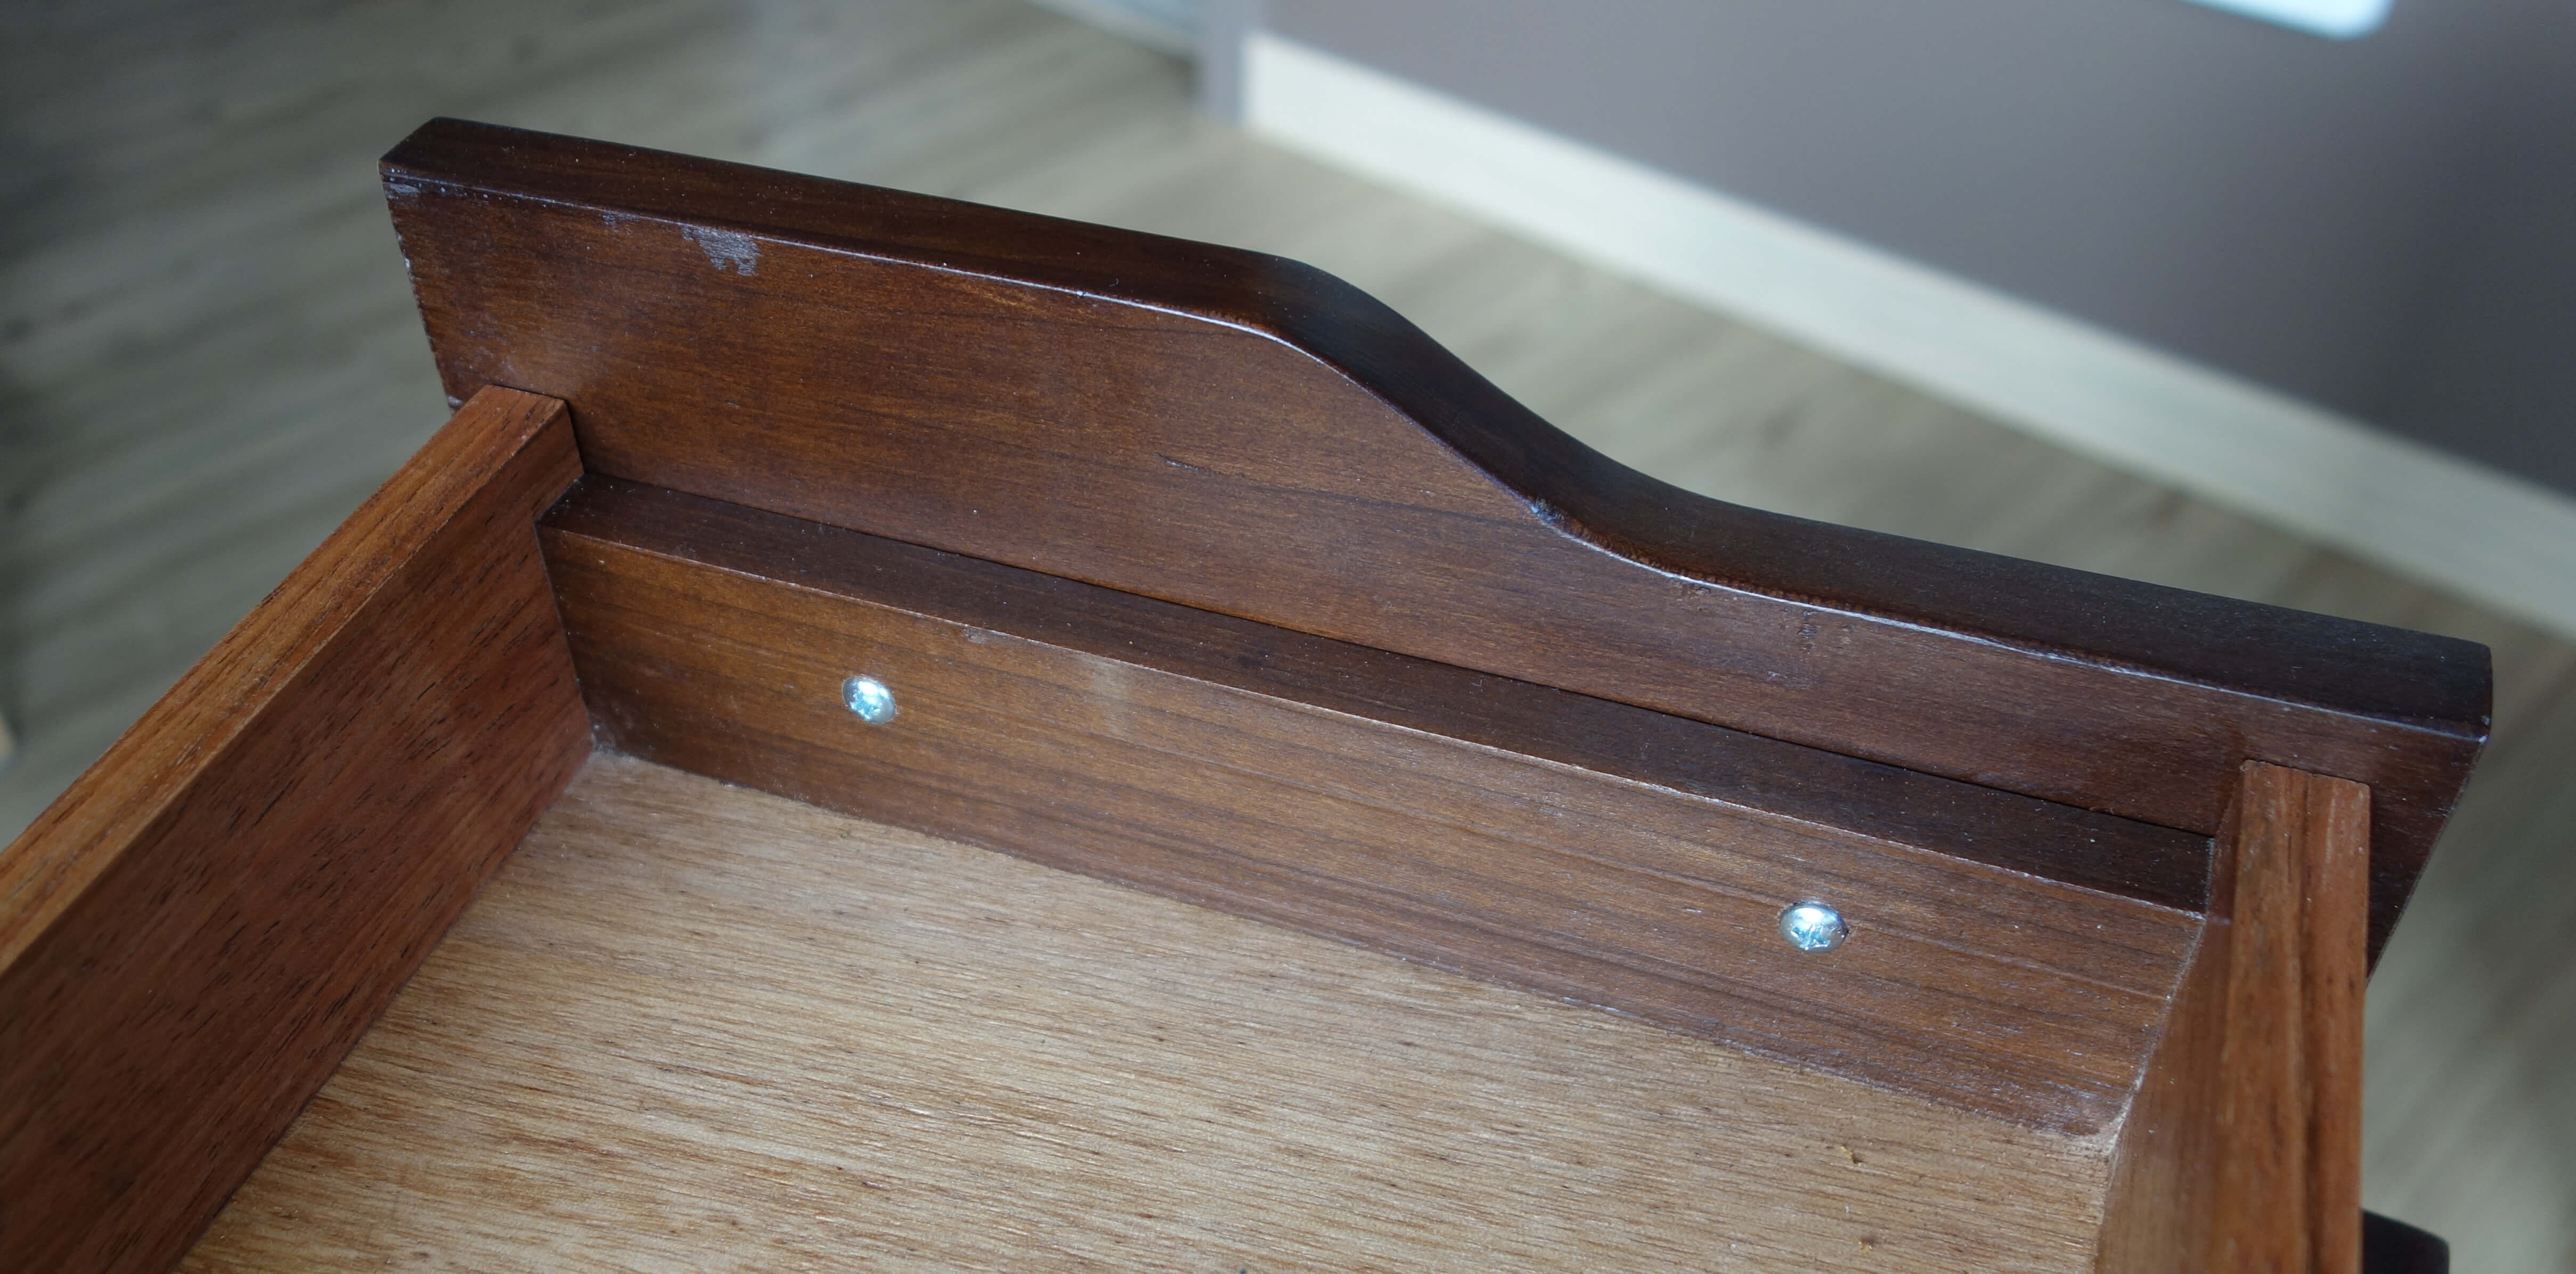
We used self drilling screws to assemble the drawers, predrilling the jatoba because it is such a hard wood.
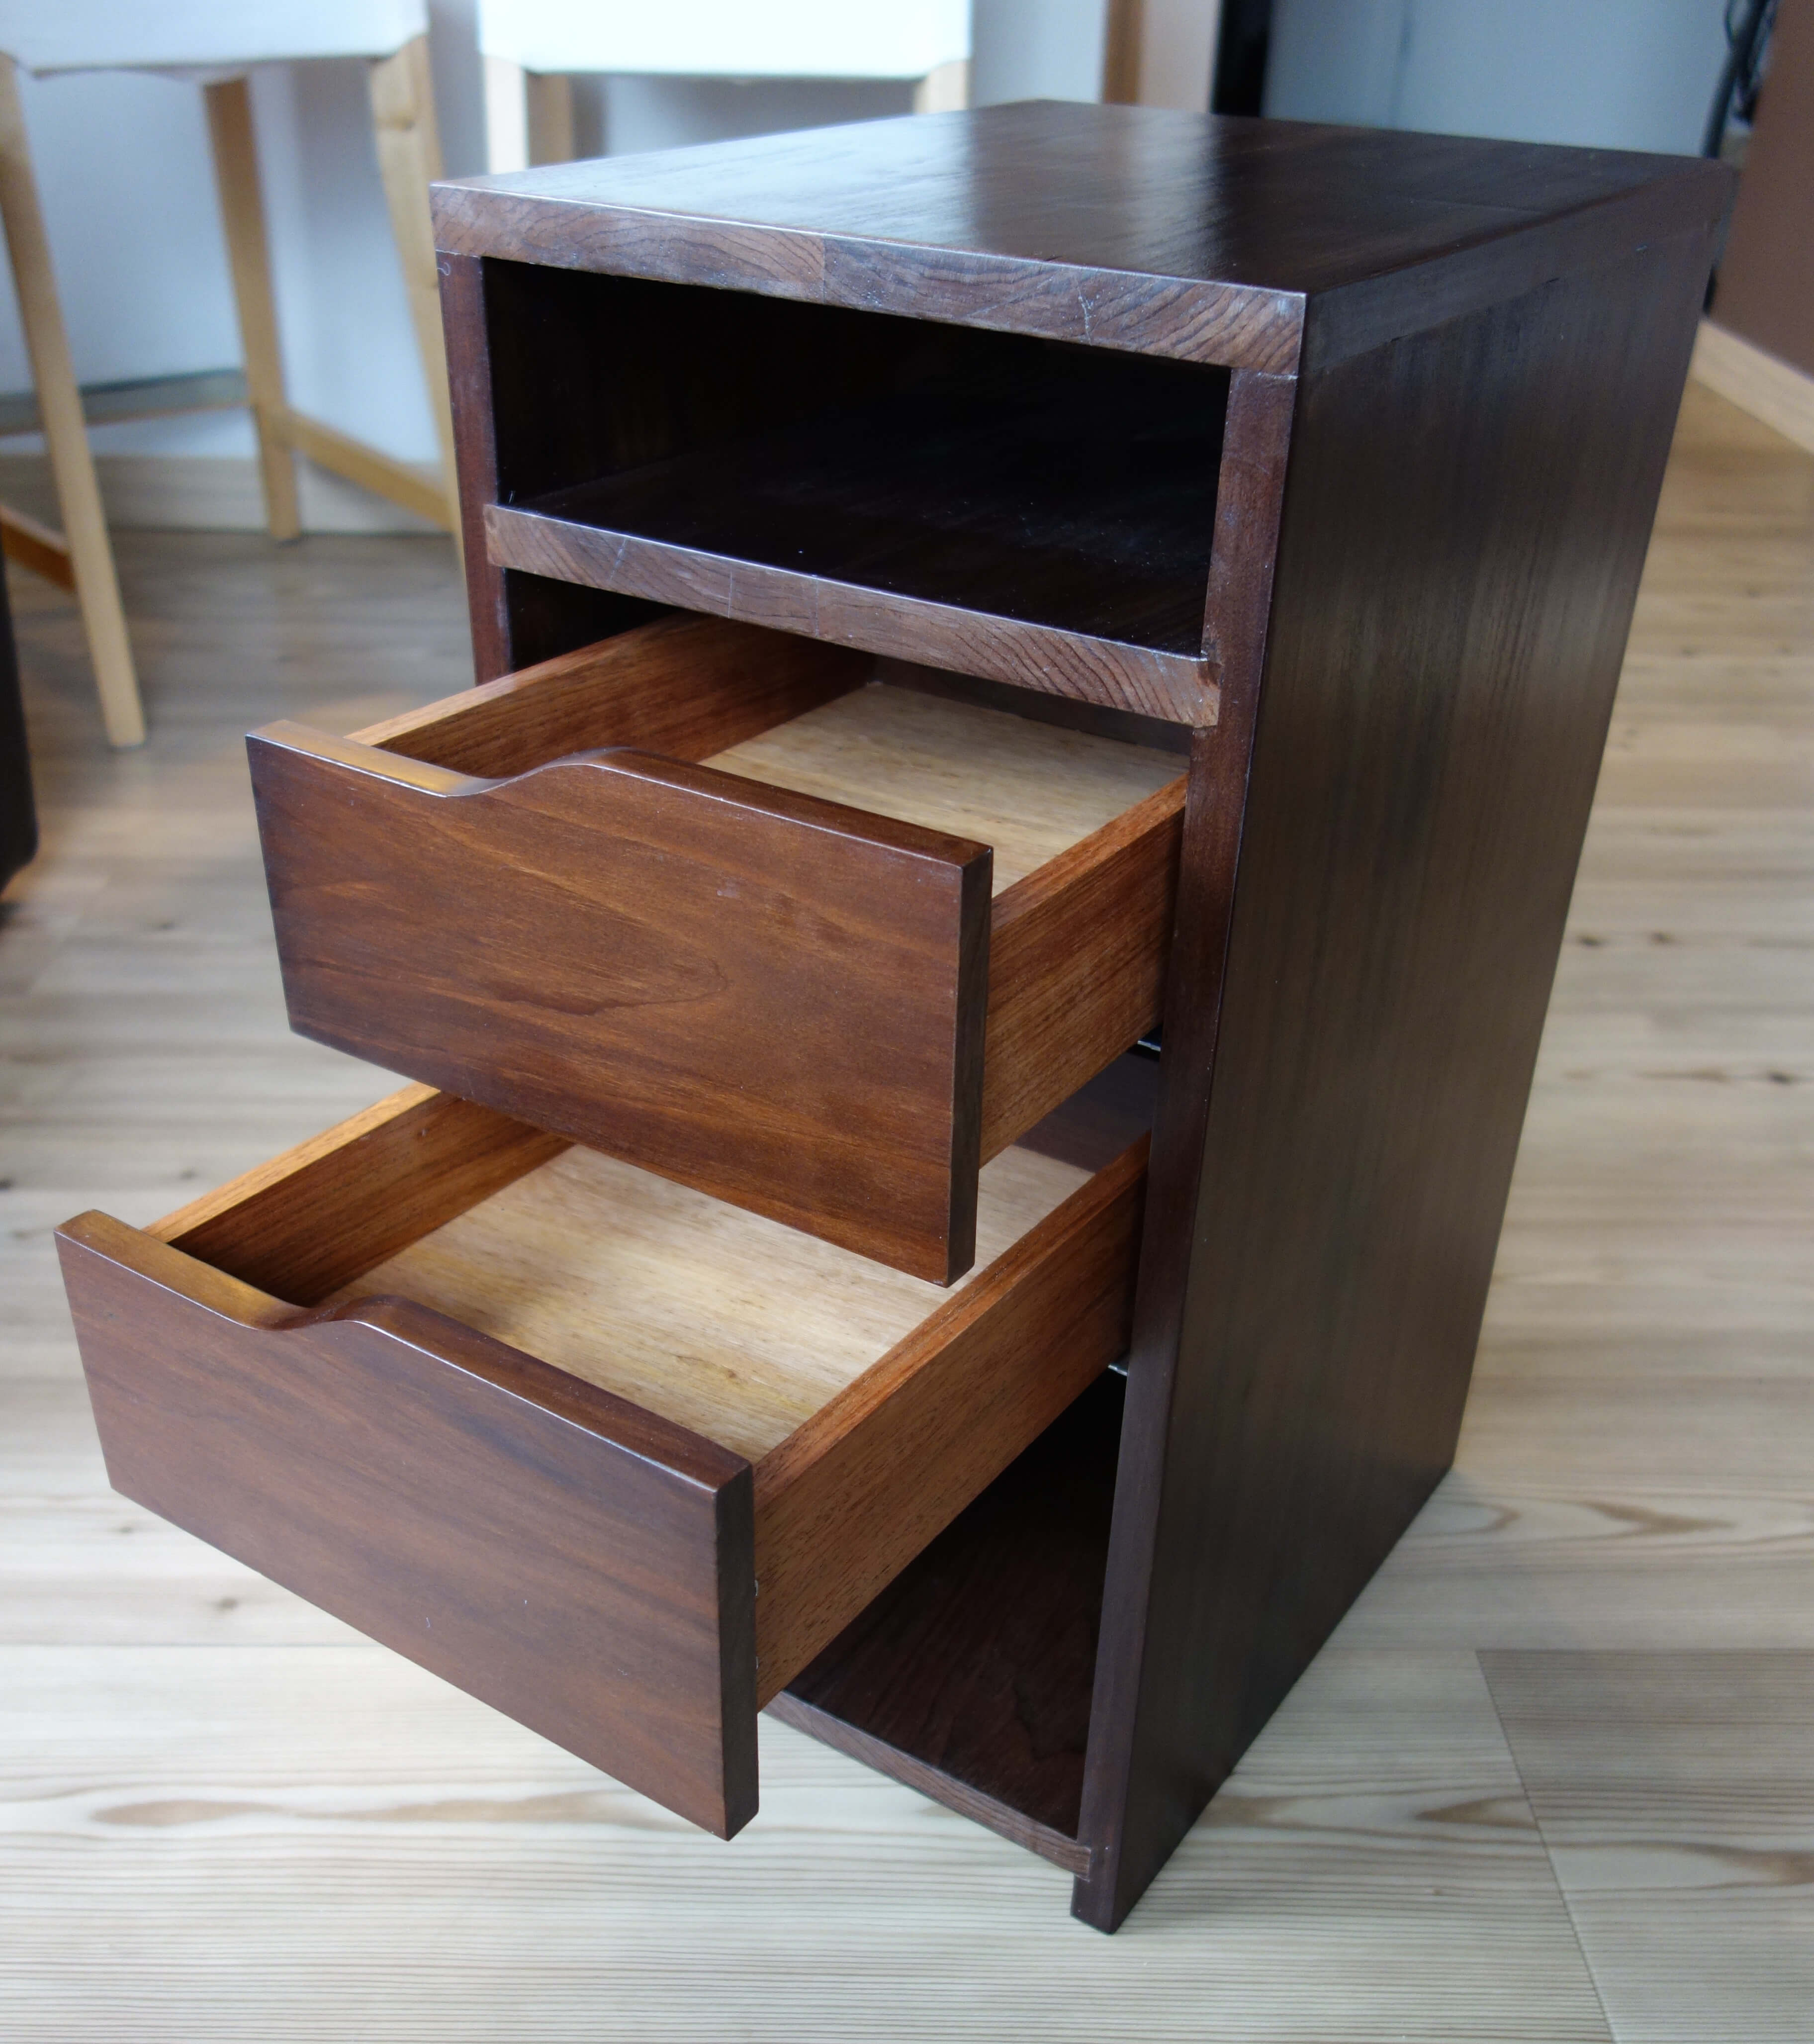
Finished drawer Back of faceplate Back of drawer, recessed to allow for cords to go behind the drawers.

Dados
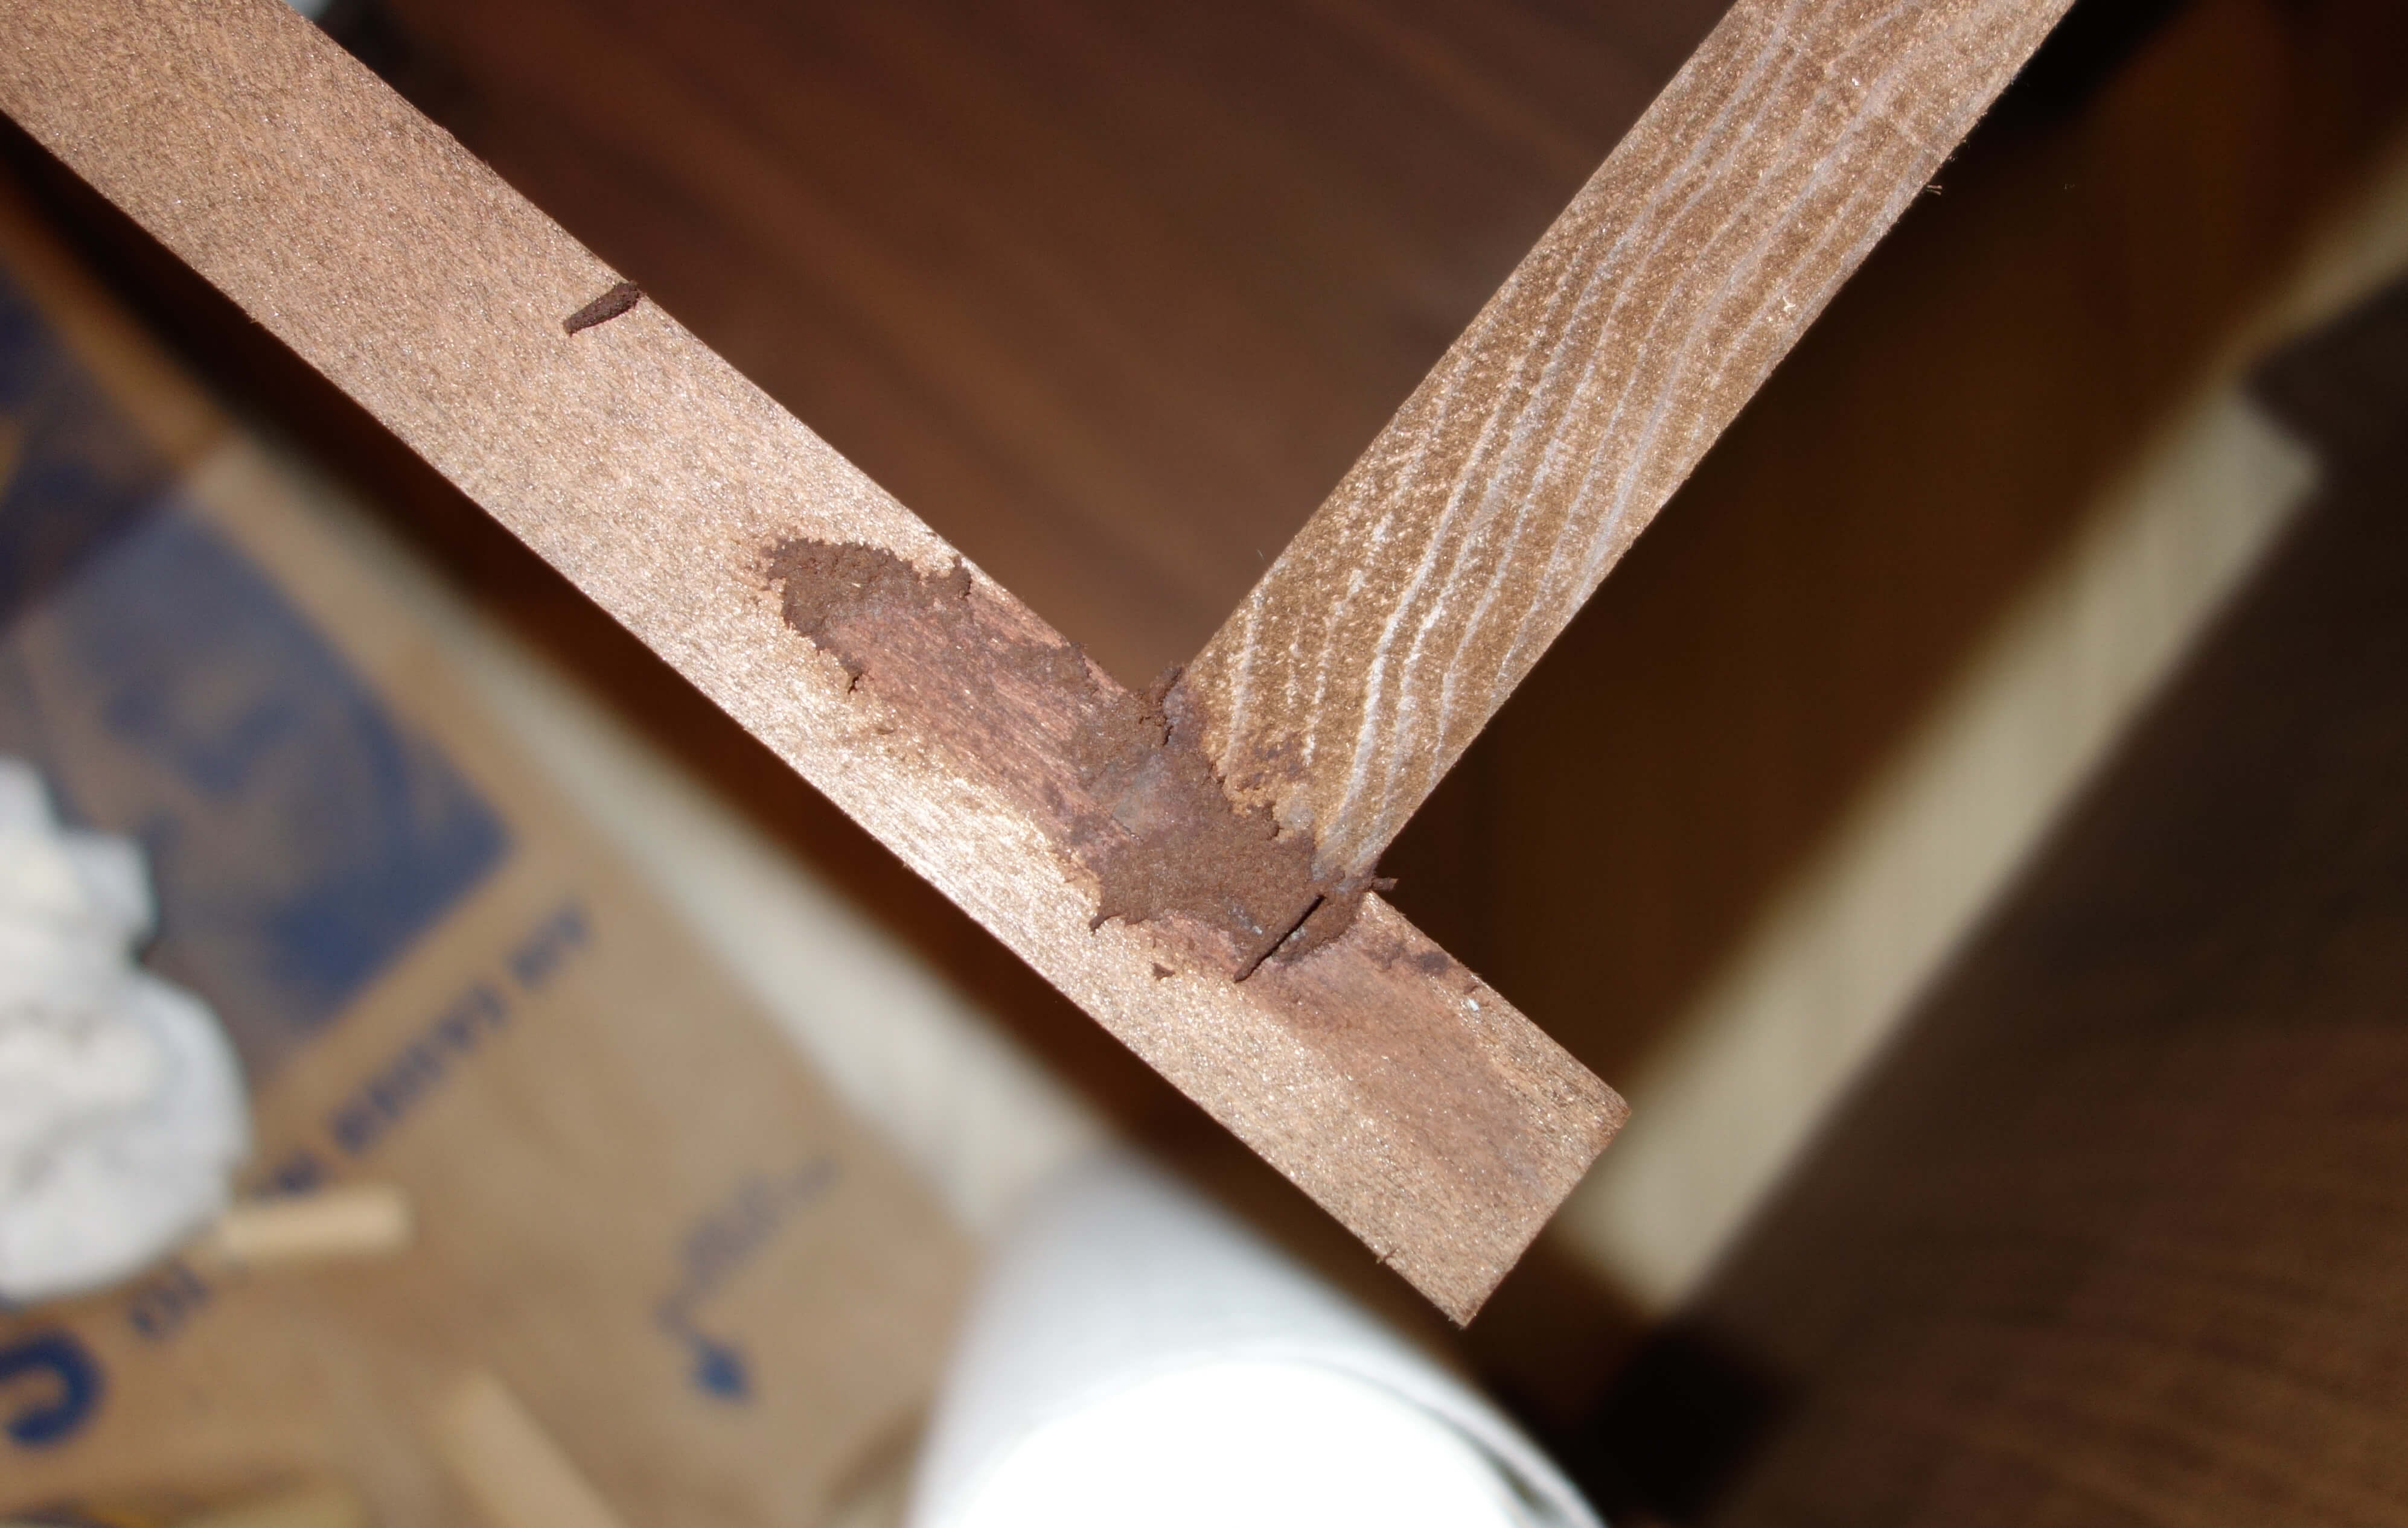
We cut dados for the shelves and the backs of the nightstands.
Dado through a dowel, lucky I guess.
Finishing
Prepping for sanding
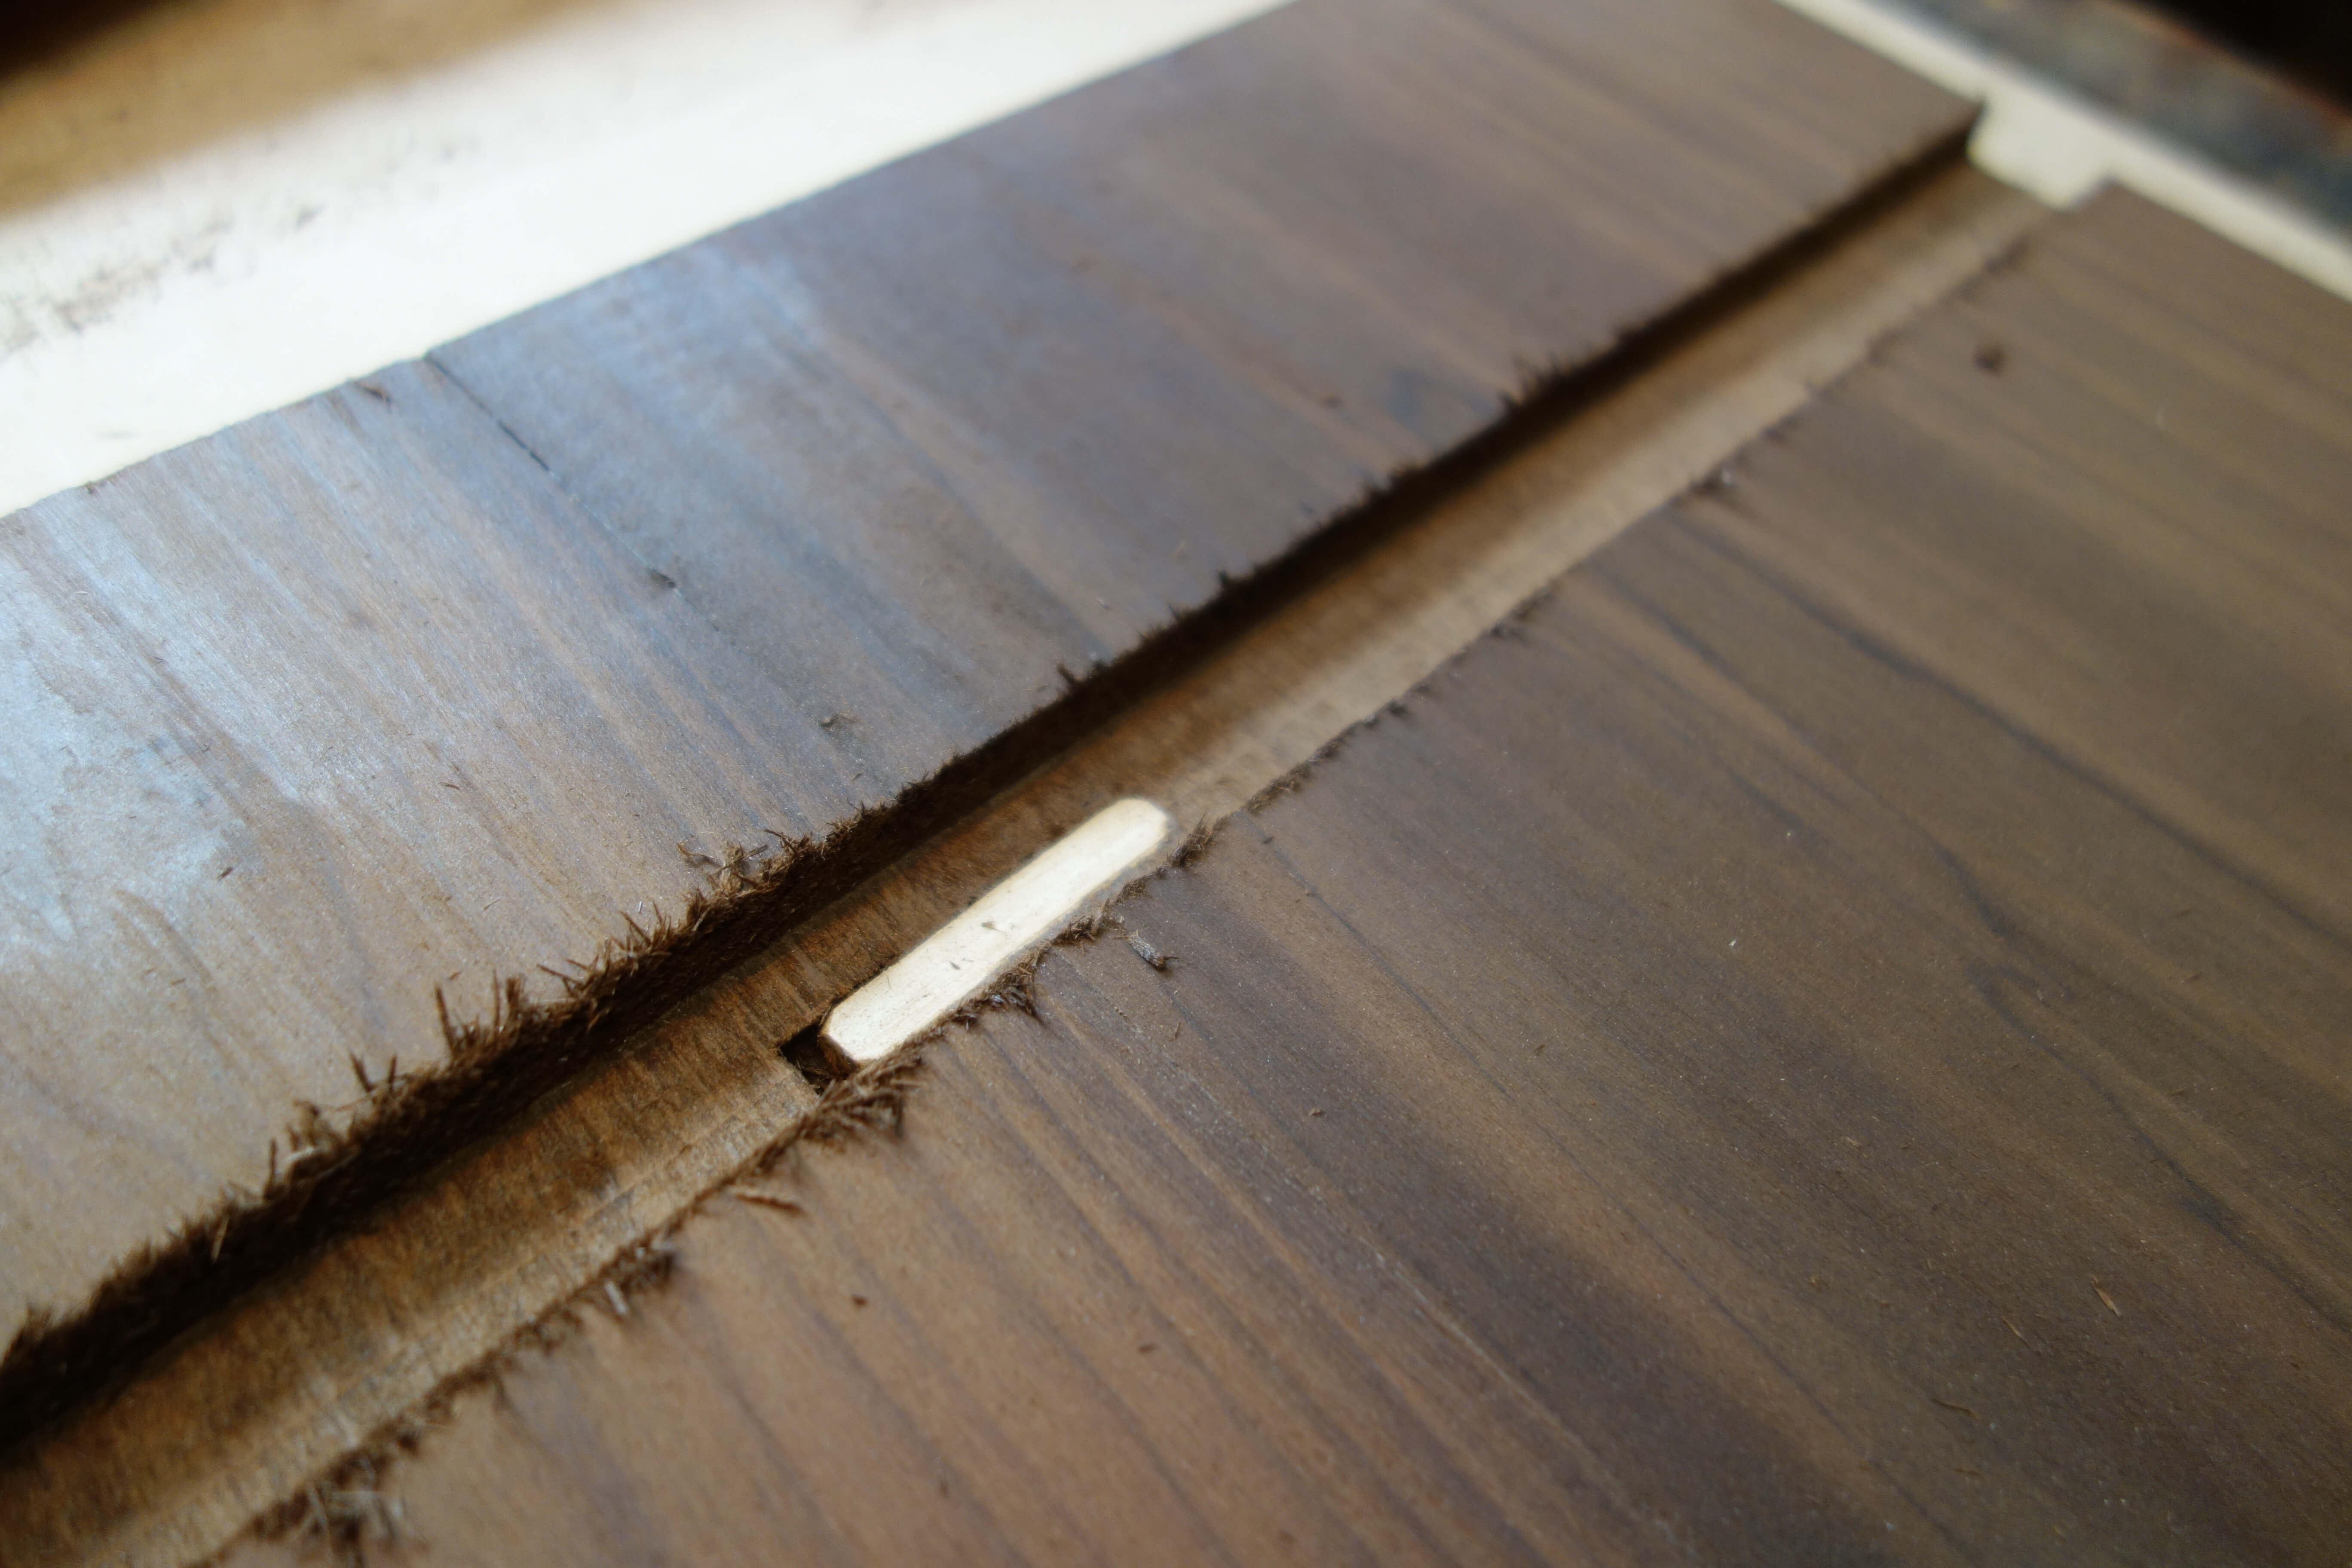
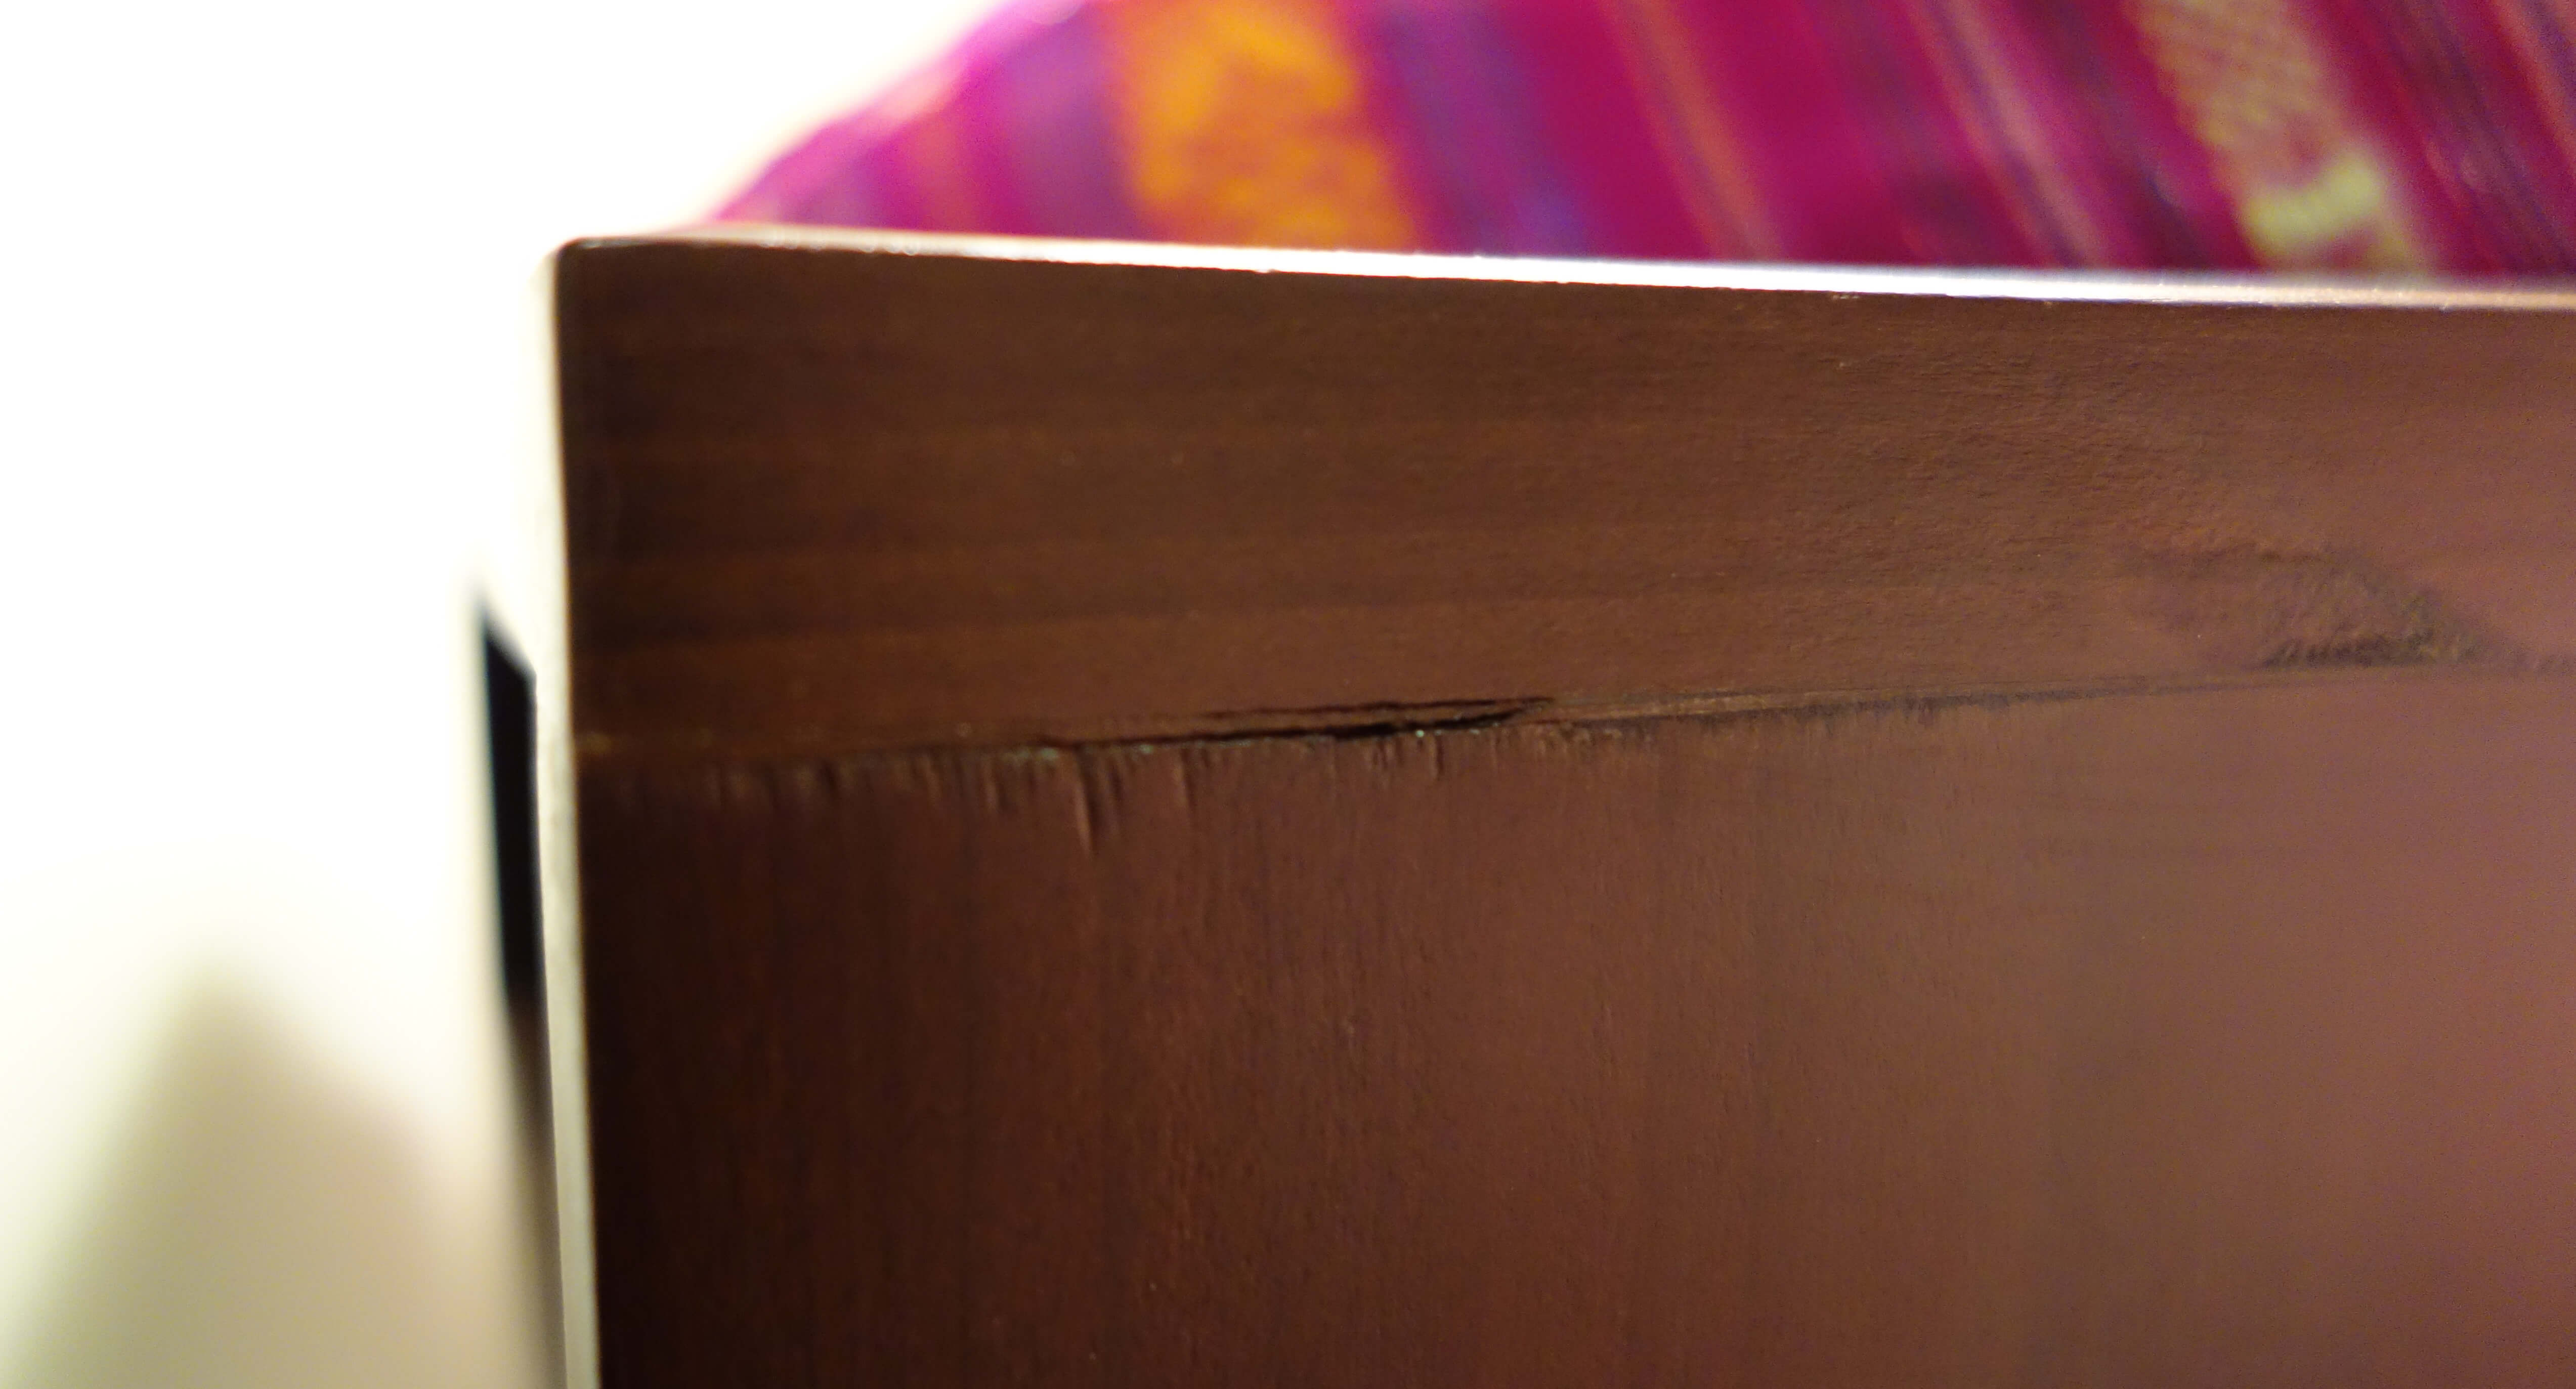
There were several gaps and imperfections that needed to be filled in, most were small enough that a mixture of sawdust and glue worked well. There were a few gaps that I filled first with slivers of wood and then finished with the sawdust and glue mixture. When mixing, I went for as little glue as possible, while still getting a tacky feel.
I used too much putty in a few places that required a lot more sanding.
Putty made from mixture of sawdust and wood glue. A larger gap that needed to be filled with both slivers of wood and putty. Same gap, filled with slivers and putty.
Smoothing and Sanding
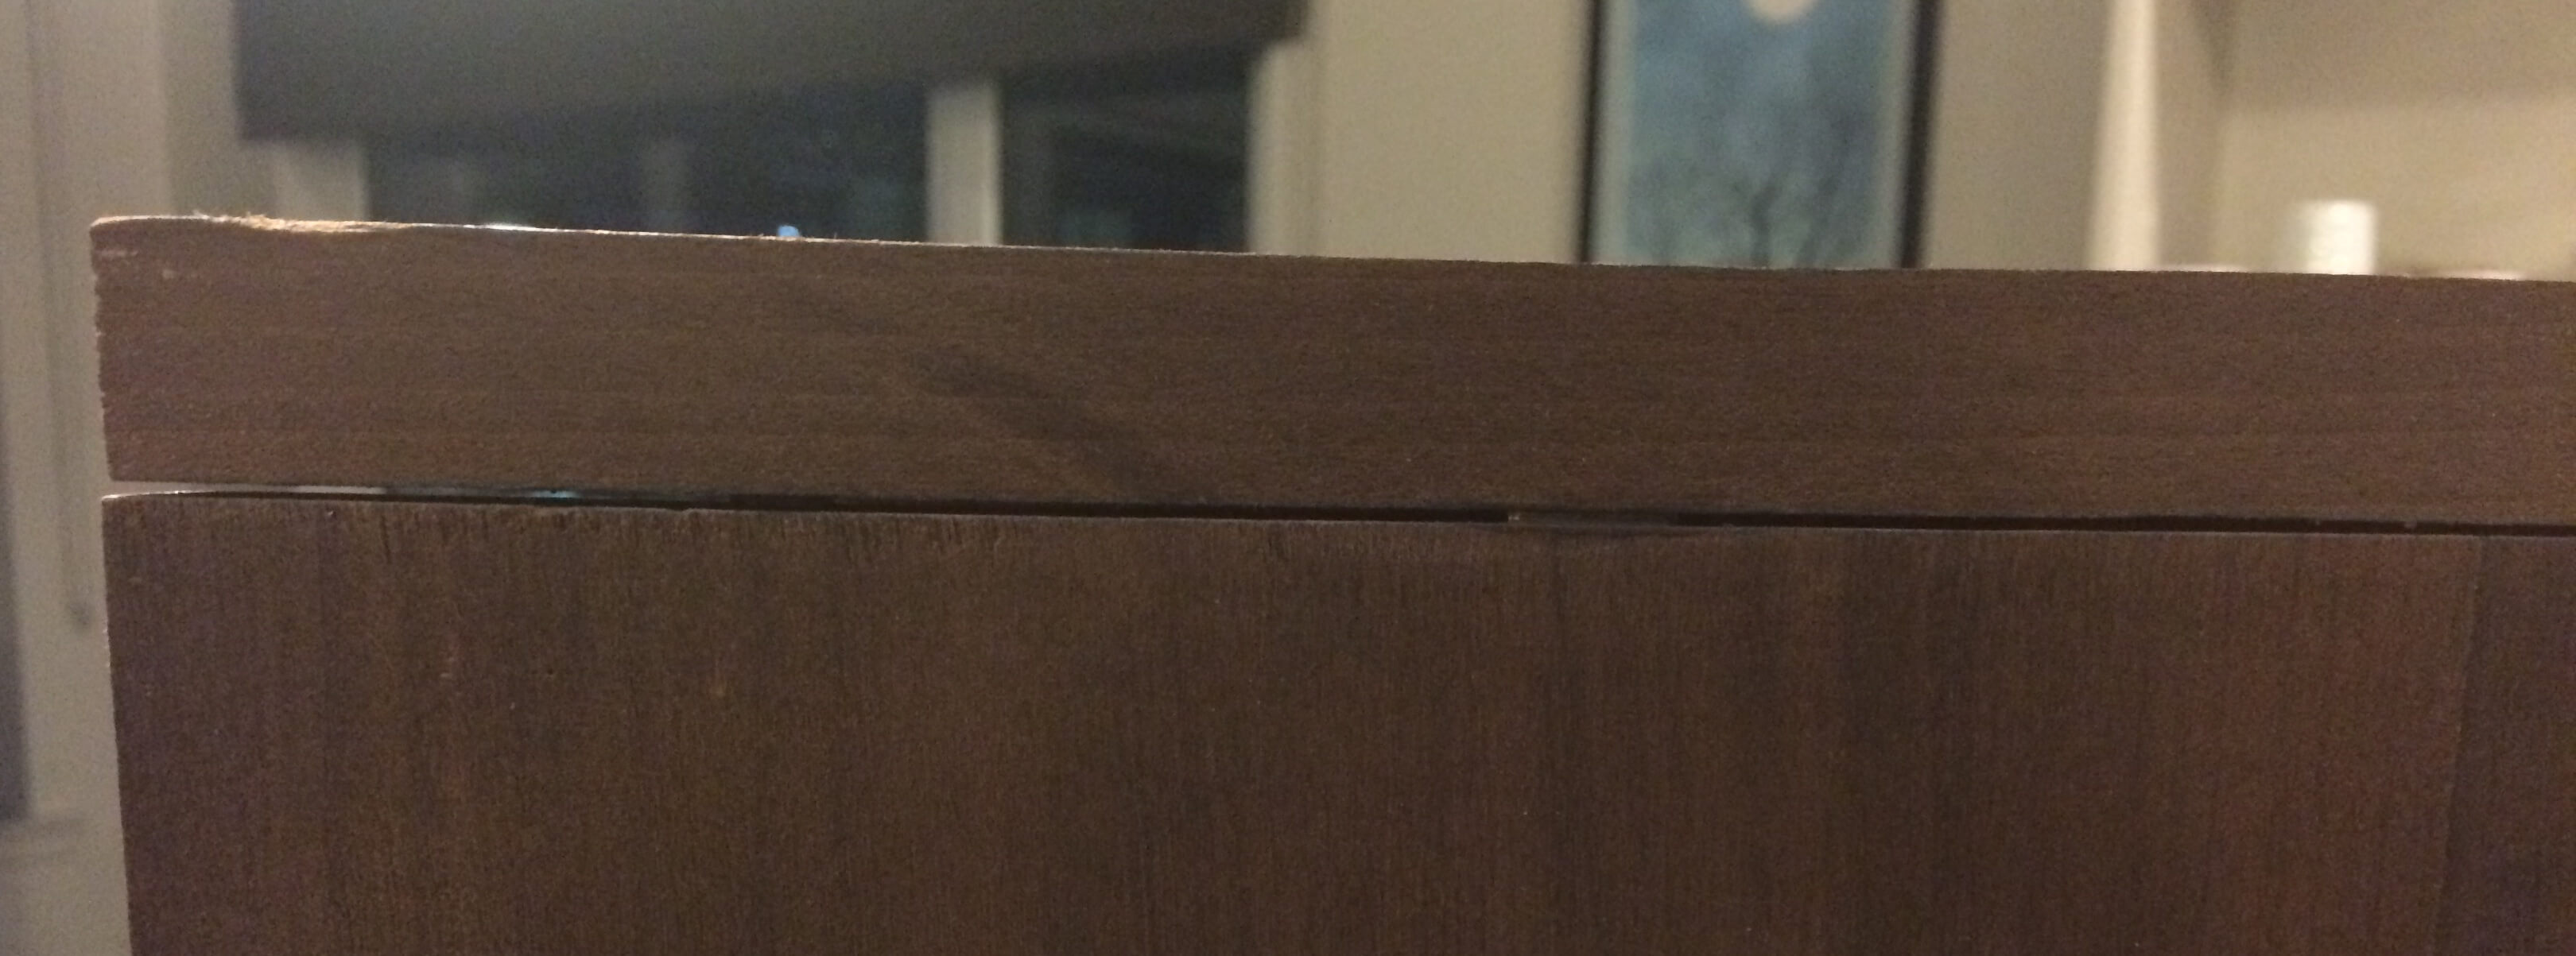
I used a card scraper to get the surfaces flush with each other, this worked great and was much faster than sanding. I then used an orbital sander with 150 grit sandpaper. I didn’t spend a lot of time sanding the inside faces.
Polycrylic
I used Minwax Polycrylic waterbased clear matte finish. This was really low odor and dried fast. I did 3 coats, sanding with 220 by hand between coats. Since the drawer faces and top were going to be the most visible, I did an extra couple of coats and sanded with 320 between the final coats.
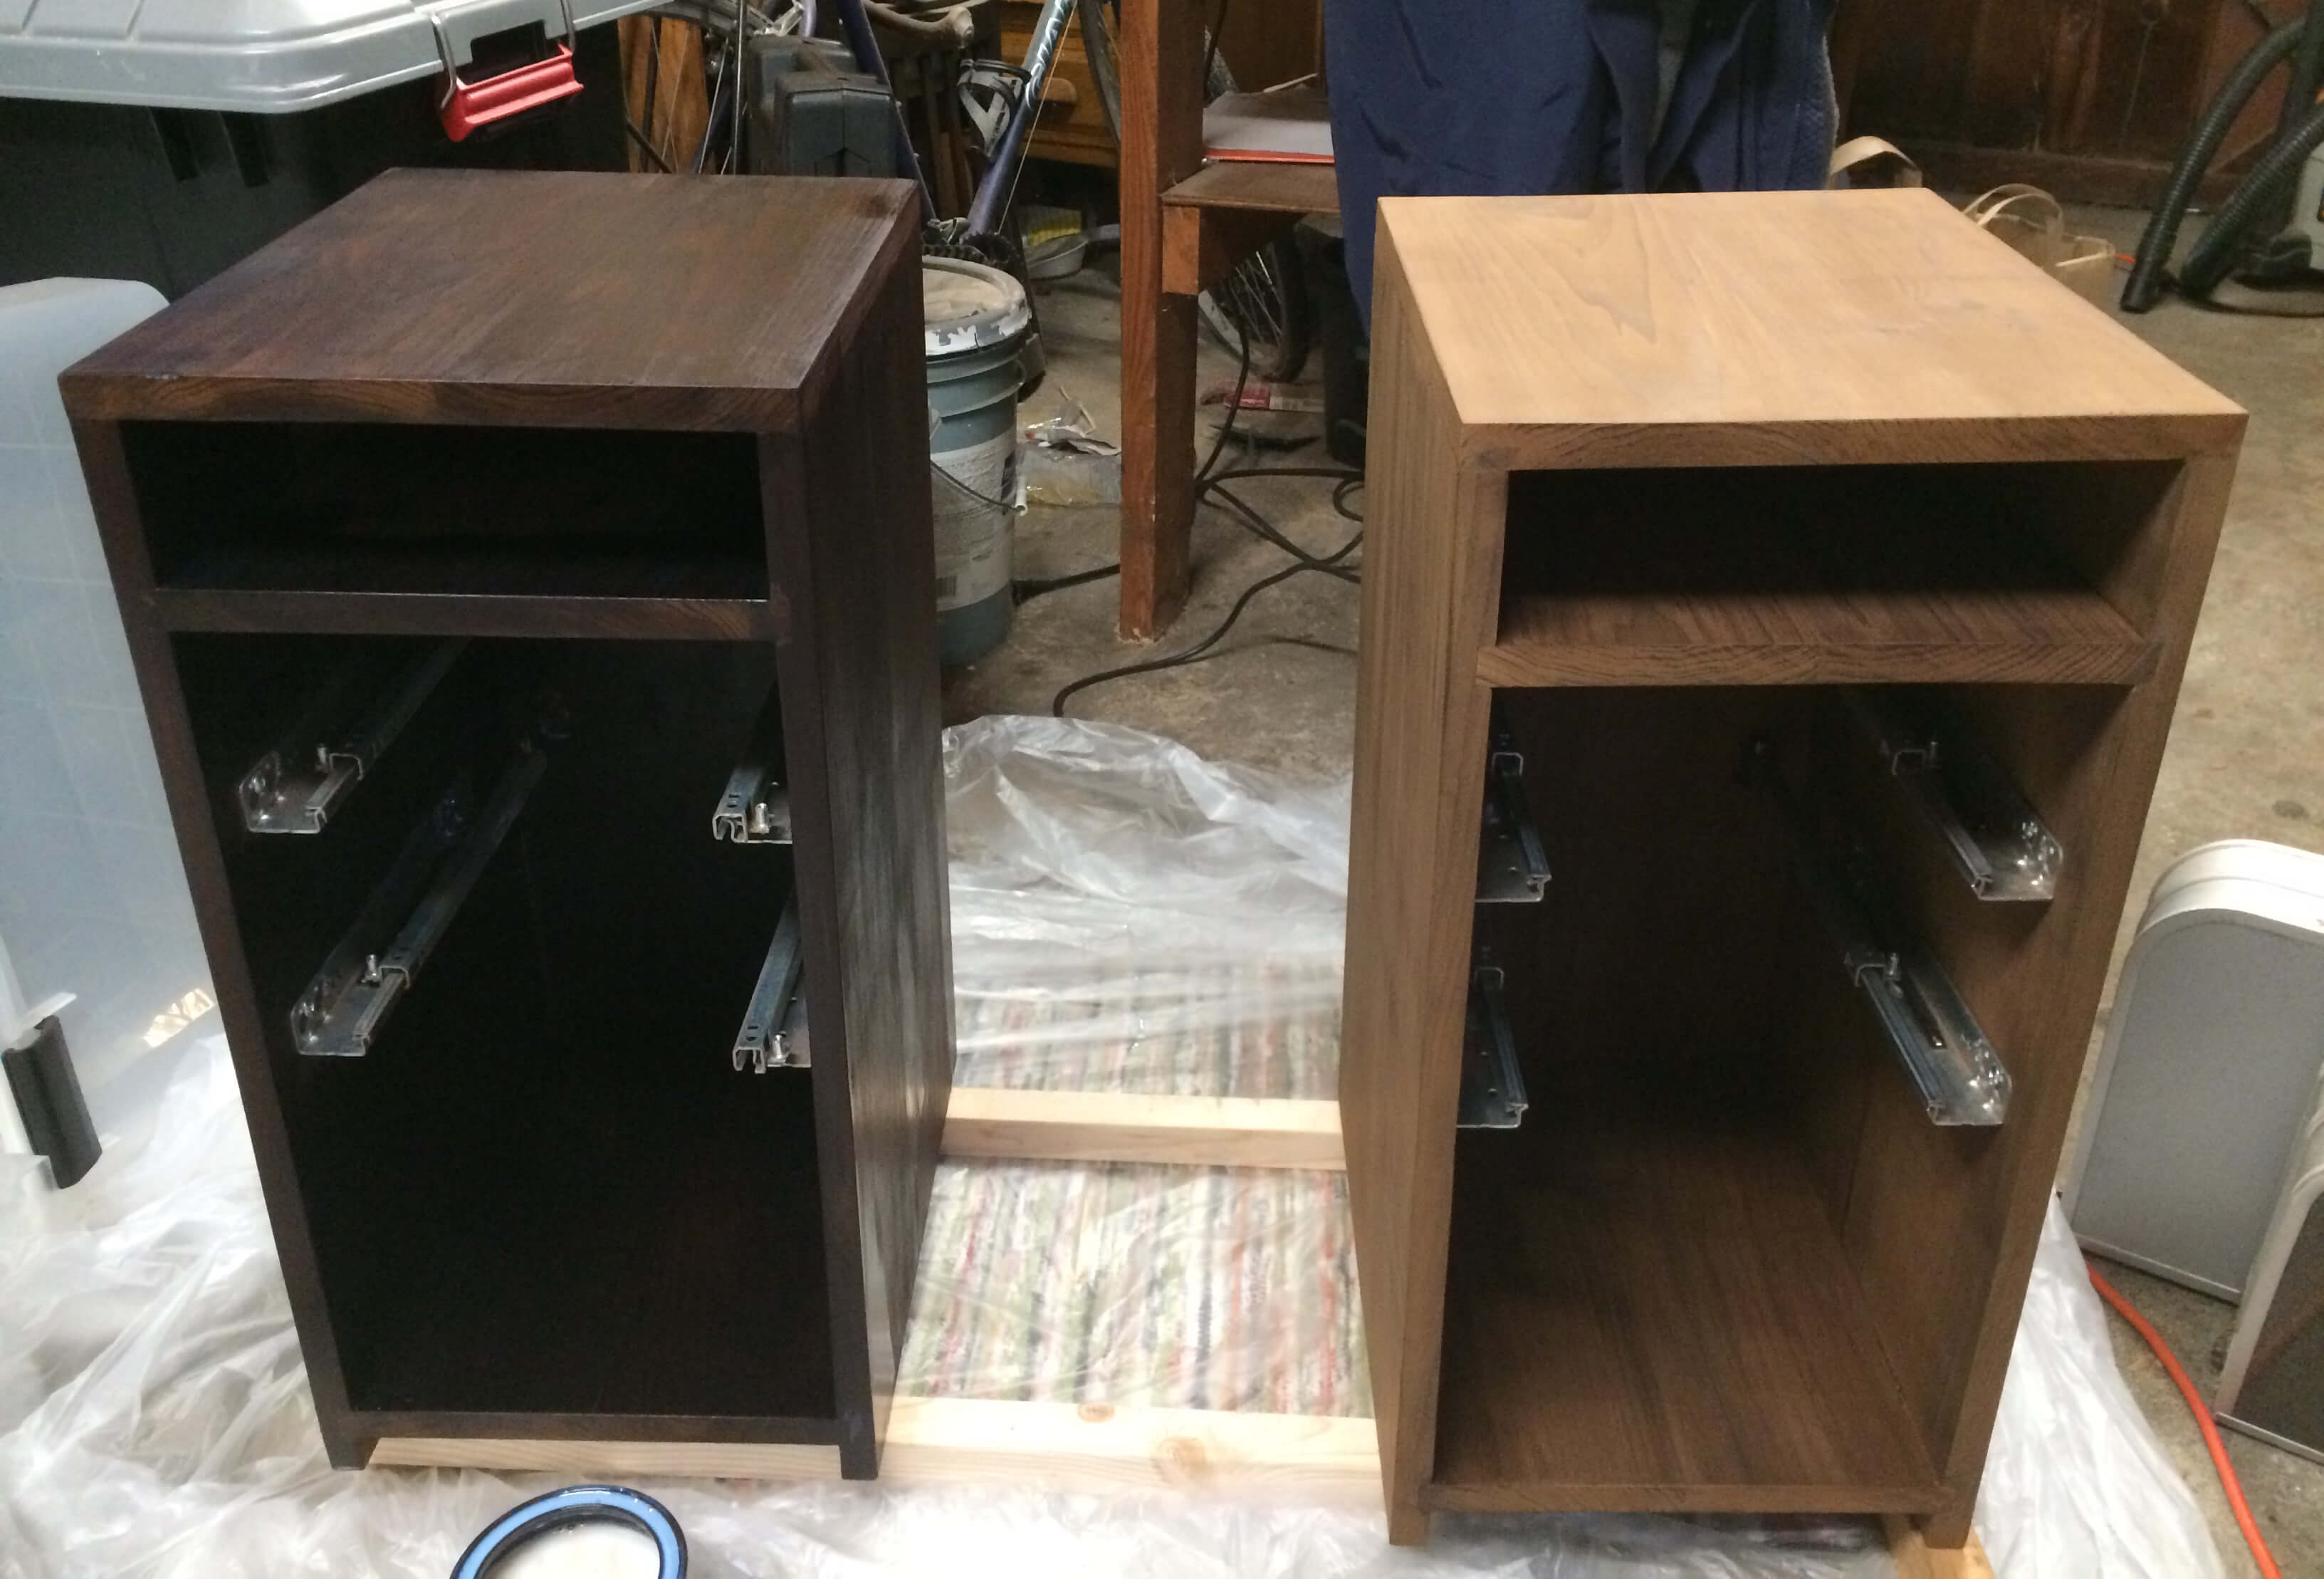
Before finish on right, after finish on left First coat of polycrylic
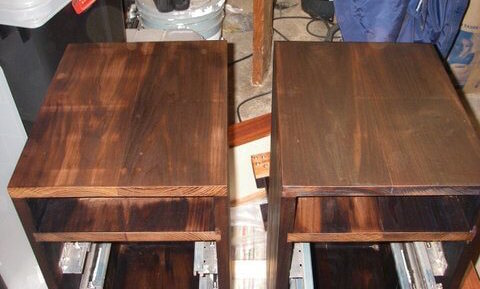
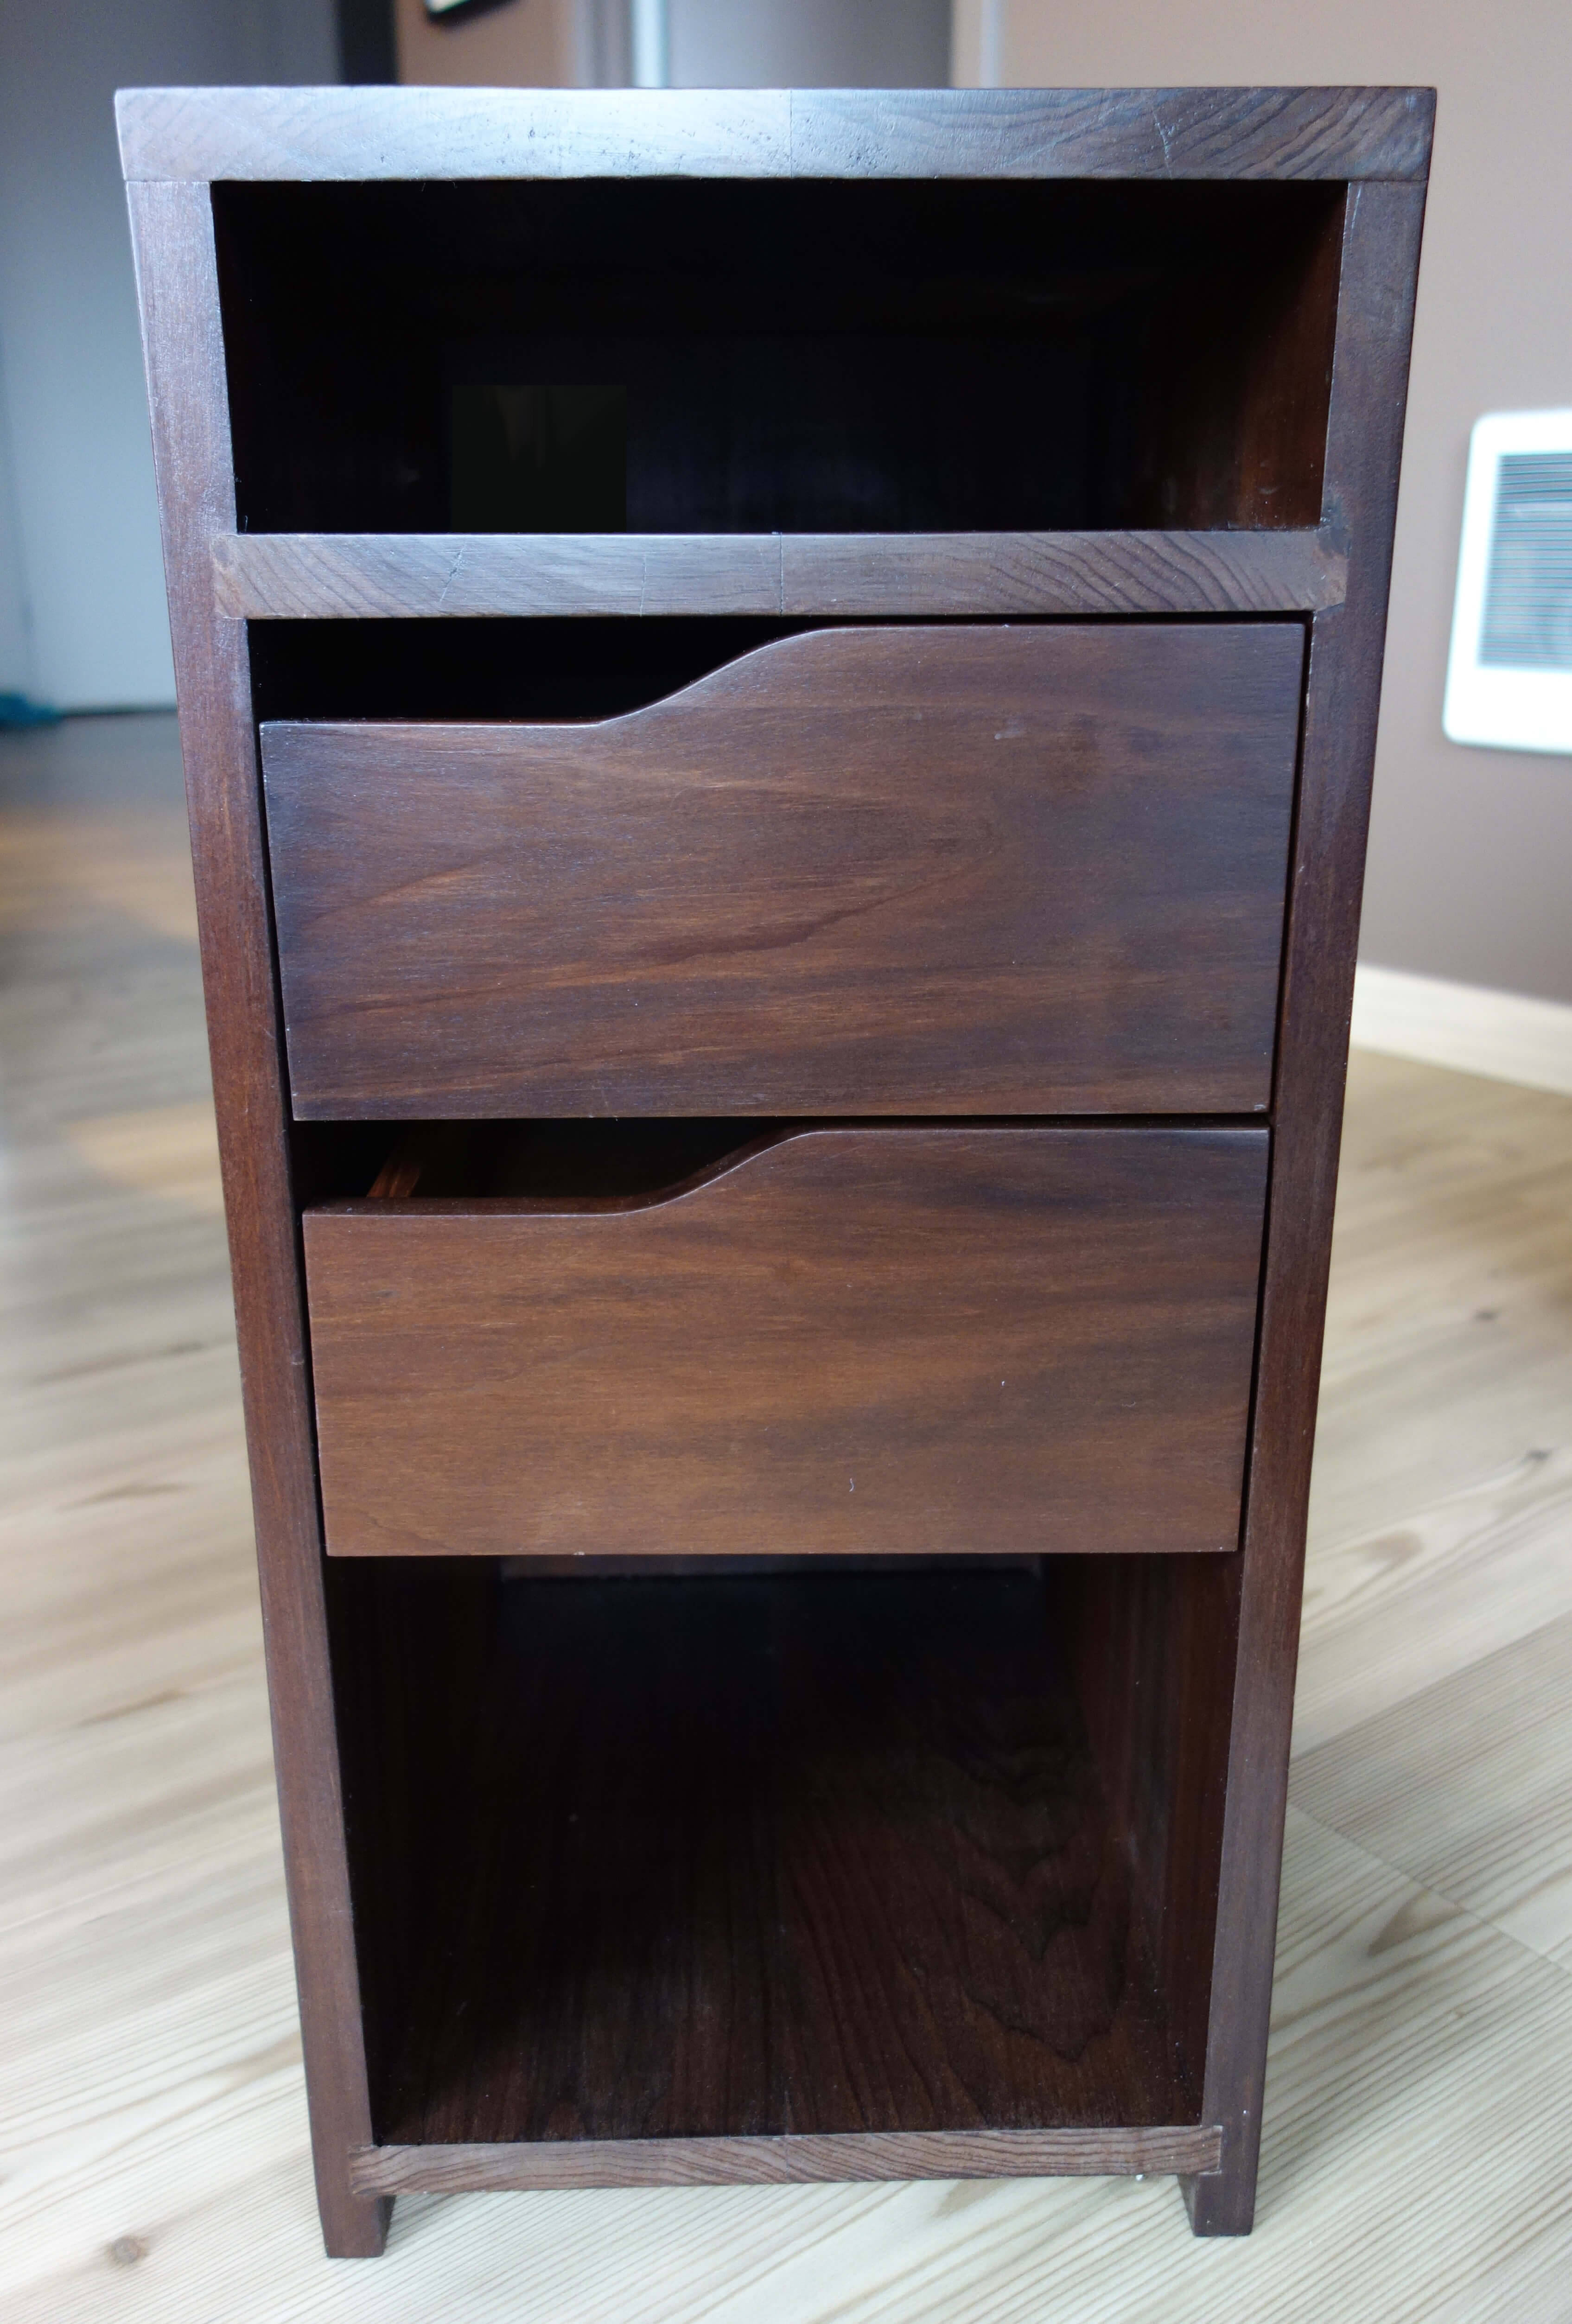
Finished nightstands
Pair of finished nightstands