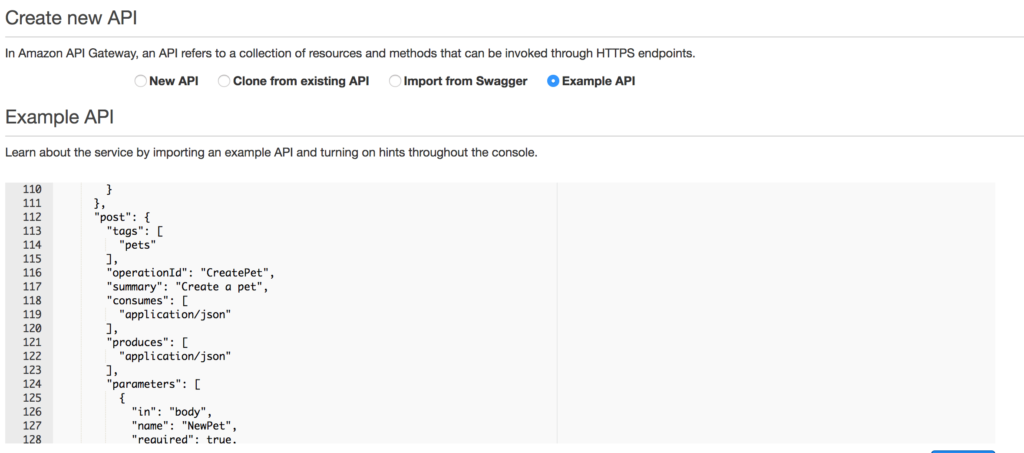
I am setting up a React Native application that will interface with an authenticated API hosted by AWS API Gateway. Here is how I set up my API to be secured through authentication. I am not sure that this will be used in production, but it is working well for testing.
This post will go over the following:
- Setting up a very simple React Native application
- Adding a simple button that will later be used to get data from an endpoint
- Using the react-native-dotenv module for environment set up
- Using the react-native-aws-signature module for authorization
- Debugging with react-native-aws-signature
Here is the code for this example on githhub
Setting up a very simple React Native application
Start with a brand new react-native application. To set one up, run:
[~] $ react-native init SampleProject
[~] $ cd SampleProject
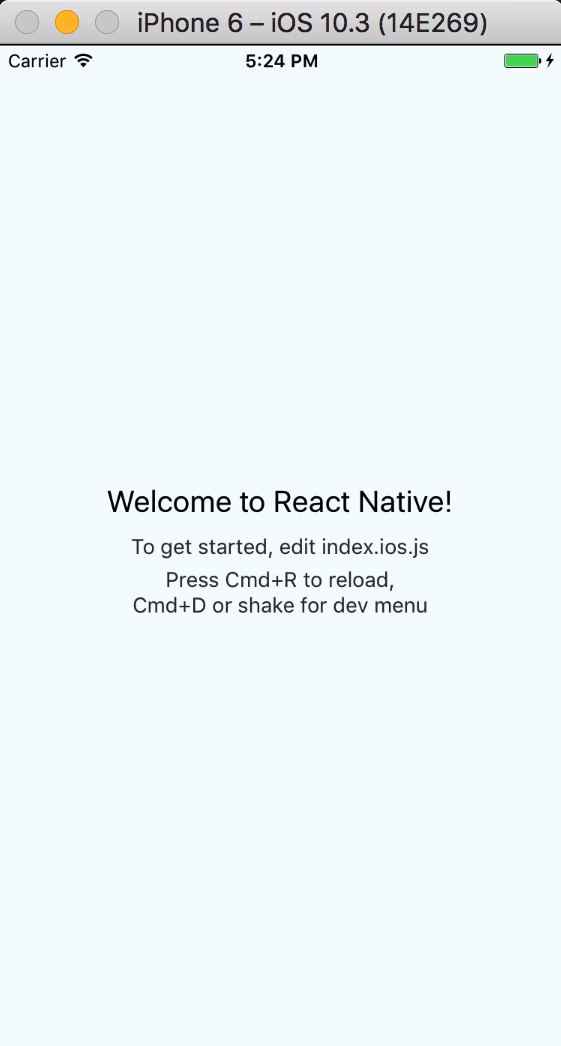
[~/SampleProject] $ react-native run-iosYou should get something in the simulator that looks like this:
Adding a simple button that will later be used to get data from an endpoint
In the index.ios.js file, add Button to the imports:
import {
  AppRegistry,
  StyleSheet,
  Text,
  View,
  Button
} from 'react-native';
Replace the existing SampleProject Component with this:
export default class SampleProject extends Component {
constructor(props){
super(props)
this.state = {
textToDisplay: 'no text yet' //state value that will display API response
}
}
// Action that is called when button is pressed
retrieveData() {
this.setState({textToDisplay: "button pressed"})
}
render() {
return (
<View style={styles.container}>
<Text style={styles.welcome}>
Welcome to React Native!
</Text>
<Button
onPress={() => this.retrieveData()}
title="API request"
color="#841584"
/>
<Text>
{this.state.textToDisplay}
</Text>
</View>
);
}
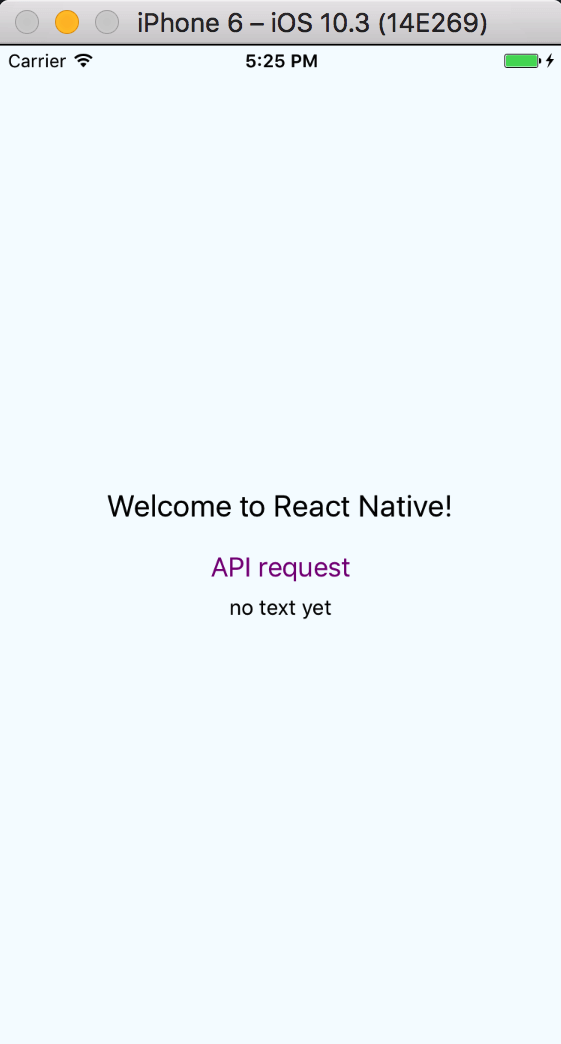
}Reloading in the simulator should give you something like this:
If you press the ‘API Request’ link, you should get this:

Using the react-native-dotenv module for environment set up
In a production mobile application, you don’t want to save secret API keys anywhere in the code because it can be reverse engineered. There is a SO post here about it.
That being said, if you are only installing the app on your phone during the testing phase, it is probably fine.
The official react-native-dotenv instructions are here, but this is what I did to set it up.
First, install the module
npm install react-native-dotenv --save-devAdd the react-native-dotenv preset to your .babelrc file at the project root.
{
  "presets": ["react-native", "react-native-dotenv"]
}
Create a .env file in your project root directory with your AWS credentials and the host.
# DO NOT use secret keys anywhere in your compiled code, even in .env files.
# You should use another method of authorization when this product goes to production
AWS_KEY=your key here
AWS_SECRET_KEY=your secret key here
AWS_REGION=us-west-2
API_STAGE=your api stage name here, mine is test
HOST=your host here, do not include the protocol (http:// or https://)
Now, let’s set up a really simple class that we will use to interface with our API. This should be at the same level as index.ios.js, and mine is called called SampleApi.js.
import { AWS_KEY, AWS_SECRET_KEY, HOST, AWS_REGION, API_STAGE} from 'react-native-dotenv'

class sampleApi {
  static get() {
    // Just return the host value to make sure our .env is working
    return HOST
  }
}

export default sampleApi
Then, somewhere near the top of index.ios.js, import the new class:
import sampleApi from "./SampleApi"Replace the retrieveData function with:
retrieveData() {
  this.setState({textToDisplay: sampleApi.get()})
}
Our full index.ios.js should now look like:
/**
 * Sample React Native App
 * https://github.com/facebook/react-native
 * @flow
 */

import React, { Component } from 'react';
import {
  AppRegistry,
  StyleSheet,
  Text,
  View,
  Button
} from 'react-native';

import sampleApi from "./SampleApi"

export default class SampleProject extends Component {
  constructor(props){
    super(props)

    this.state = {
      textToDisplay: "not set" // state value that will display API response
    }
  }

  // Action that is called when button is pressed
  retrieveData() {
    this.setState({textToDisplay: sampleApi.get()})
  }

  render() {
    return (
      <View style={styles.container}>
        <Text style={styles.welcome}>
          Welcome to React Native!
        </Text>

        <Button
          onPress={() => this.retrieveData()}
          title="API request"
          color="#841584"
        />

        <Text>
          {this.state.textToDisplay}
        </Text>

      </View>
    );
  }
}

const styles = StyleSheet.create({
  container: {
    flex: 1,
    justifyContent: 'center',
    alignItems: 'center',
    backgroundColor: '#F5FCFF',
  },
  welcome: {
    fontSize: 20,
    textAlign: 'center',
    margin: 10,
  },
  instructions: {
    textAlign: 'center',
    color: '#333333',
    marginBottom: 5,
  },
});

AppRegistry.registerComponent('SampleProject', () => SampleProject);
Note: if you change the .env file only, the simulator will not recognize the change and your changes will not take affect.
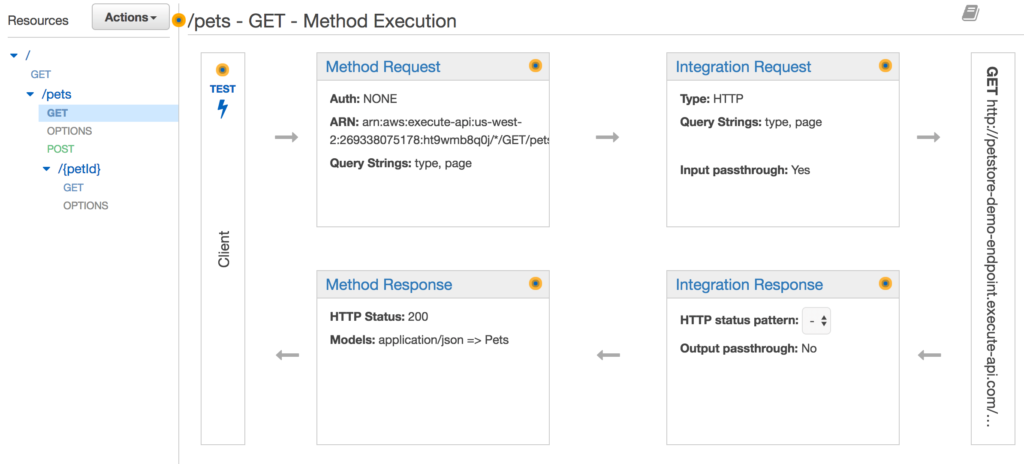
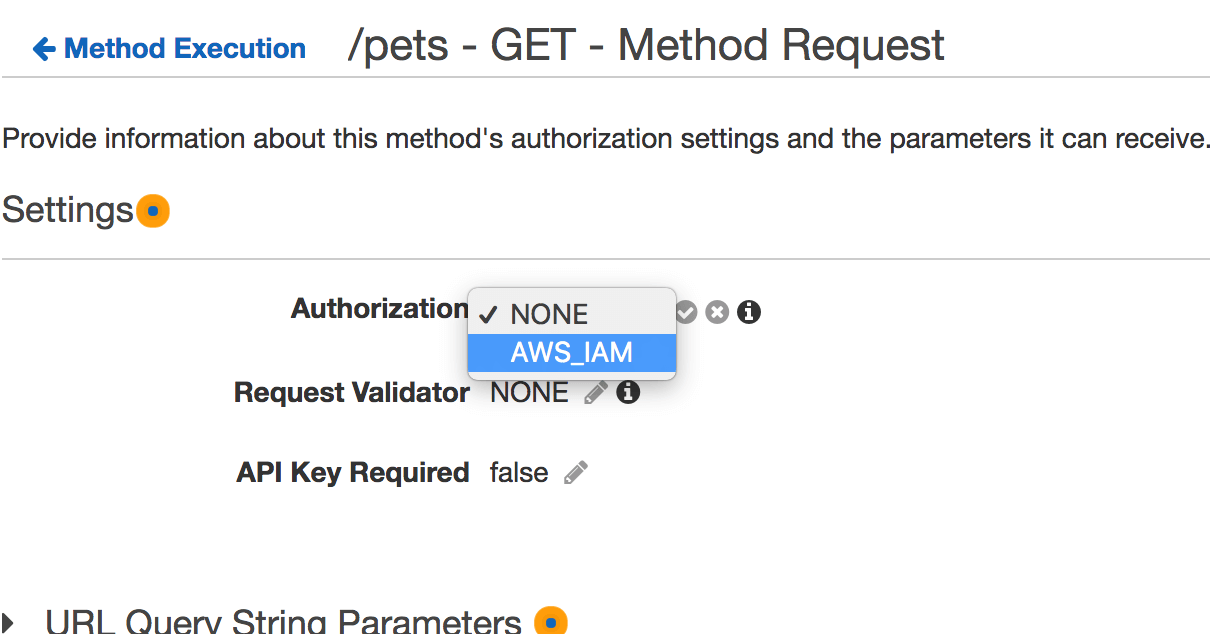
Using the react-native-aws-signature module for authorization
Now, we want to actually hit the API when the button is pressed. Start by installing the react-native-aws-signature module
npm install react-native-aws-signature --saveIn SampleApi.js, add the import for AWSSignature:
import AWSSignature from 'react-native-aws-signature'Remove the contents of the get() method in SampleApi.js and start by setting up some variables based on the .env file:
static get() {
const verb = 'get'
// construct the url and path for our sample API
const path = '/' + API_STAGE + '/pets'
const url = 'https://' + HOST + path
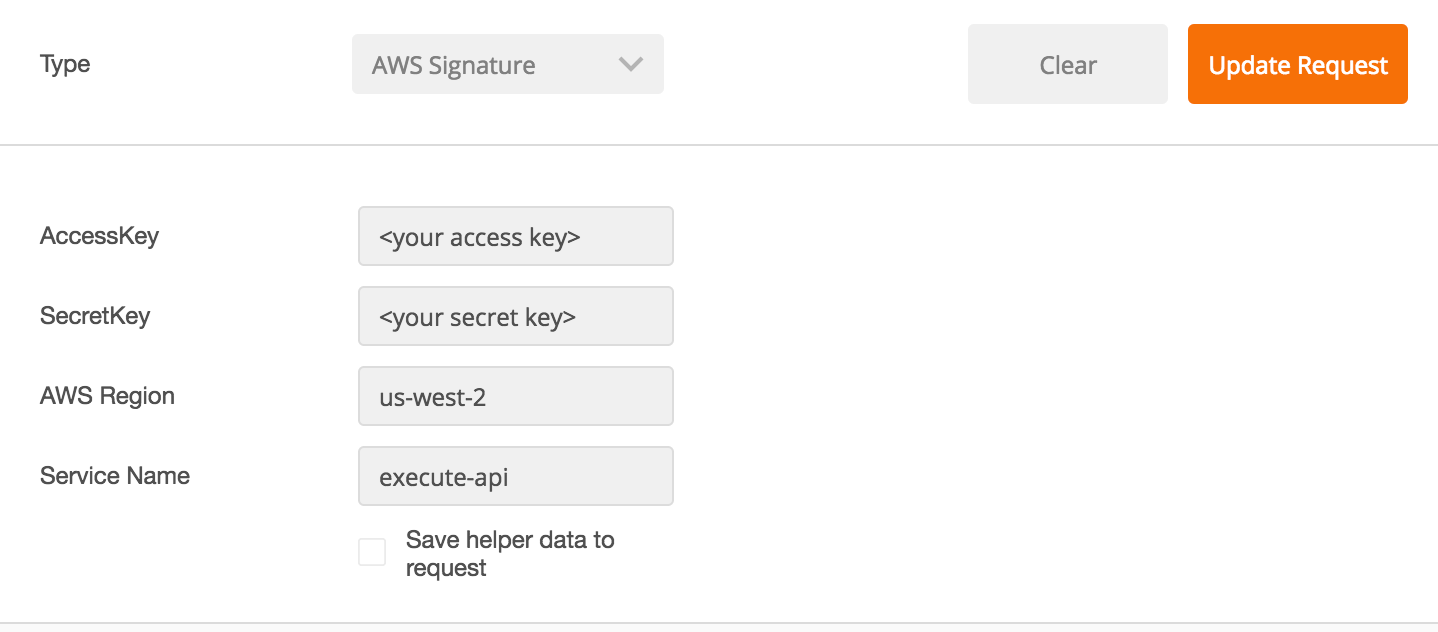
let credentials = {
AccessKeyId: AWS_KEY,
SecretKey: AWS_SECRET_KEY
}
}Next, set up the header and options. These will be used to generate the authorization details and they will be used in the request to the API.
let auth_date = new Date();

  let auth_header = {
    'Accept': 'application/json',
    'Content-Type': 'application/json',
    'dataType': 'json',
    'X-Amz-Date': auth_date.toISOString(),
    'host': HOST
  }

  let auth_options = {
    path: path,
    method: verb,
    service: 'execute-api',
    headers: auth_header,
    region: AWS_REGION,
    body: '',
    credentials
  };
Then, create a new AWSSignature object and call setParams. This will generate the authorization header, which we retrieve in the next bit of code:
  let awsSignature = new AWSSignature();
  awsSignature.setParams(auth_options);
Now, retrieve the authorization information and append it to our header.
  const authorization = awsSignature.getAuthorizationHeader();

  // Add the authorization to the header
  auth_header['Authorization'] = authorization['Authorization']
Finally, make the request to the API using the header we just created. We are expecting json back, and I have included some basic error checking.
let options = Object.assign({
  method: verb,
  headers: auth_header
});

return fetch(url, options).then( resp => {
  let json = resp.json();
  if (resp.ok) {
    return json
  }
  return json.then(err => {throw err});
})
Here is what the SampleApi.js file should now look like:
import AWSSignature from 'react-native-aws-signature'
import { AWS_KEY, AWS_SECRET_KEY, HOST, AWS_REGION, API_STAGE} from 'react-native-dotenv'

class sampleApi {

  static get() {
    const verb = 'get'
    // construct the url and path for our sample API
    const path = '/' + API_STAGE + '/pets'
    const url = 'https://' + HOST + path

    let credentials = {
      AccessKeyId: AWS_KEY,
      SecretKey: AWS_SECRET_KEY
    }

    let auth_date = new Date();

    let auth_header = {
      'Accept': 'application/json',
      'Content-Type': 'application/json',
      'dataType': 'json',
      'X-Amz-Date': auth_date.toISOString(),
      'host': HOST
    }

    let auth_options = {
      path: path,
      method: verb,
      service: 'execute-api',
      headers: auth_header,
      region: AWS_REGION,
      body: '',
      credentials
    };

    let awsSignature = new AWSSignature();
    awsSignature.setParams(auth_options);

    const authorization = awsSignature.getAuthorizationHeader();

    // Add the authorization to the header
    auth_header['Authorization'] = authorization['Authorization']

    let options = Object.assign({
      method: verb,
      headers: auth_header
    });

    return fetch(url, options).then( resp => {
      let json = resp.json();
      if (resp.ok) {
        return json
      }
      return json.then(err => {throw err});
    })
  }
}

export default sampleApi
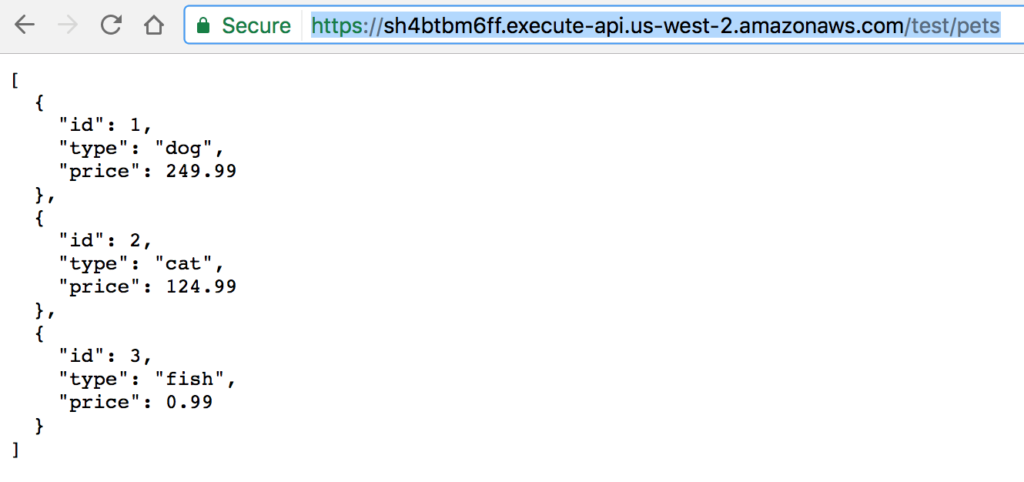
Modify index.ios.js to set the state to include the return value of the request. Since we are getting a json array back, we have to loop through it to make a readable text block:
// Action that is called when button is pressed
retrieveData() {
sampleApi.get().then(resp => {
tempText = ""
// we will get an array back, so loop through it
resp.forEach(function(pet) {
tempText += JSON.stringify(pet) + "\n"
})
// update our state to include the new text
this.setState({textToDisplay: tempText})
})
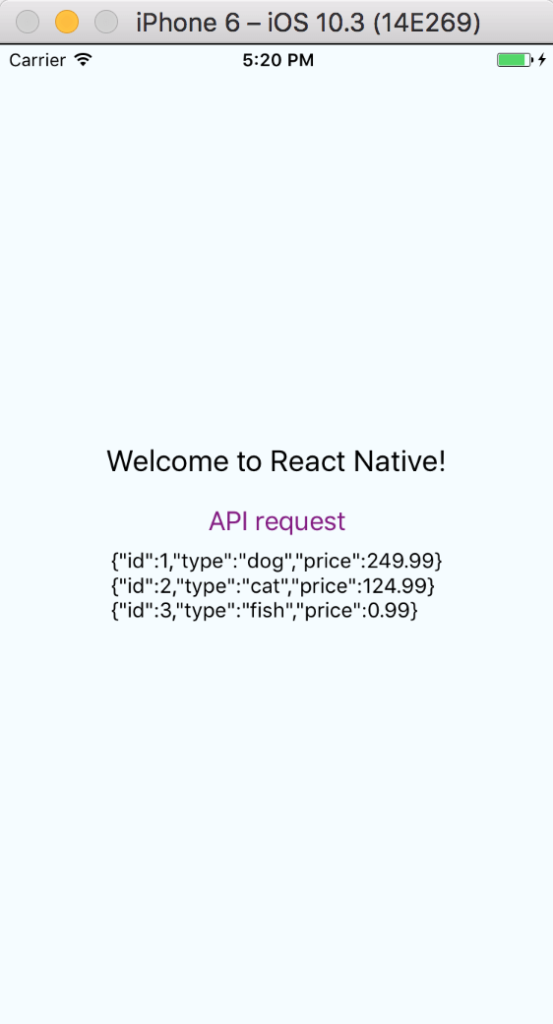
}After you refresh the simulator, you should be able to press the button and receive a screen that looks something like this:
Debugging with react-native-aws-signature
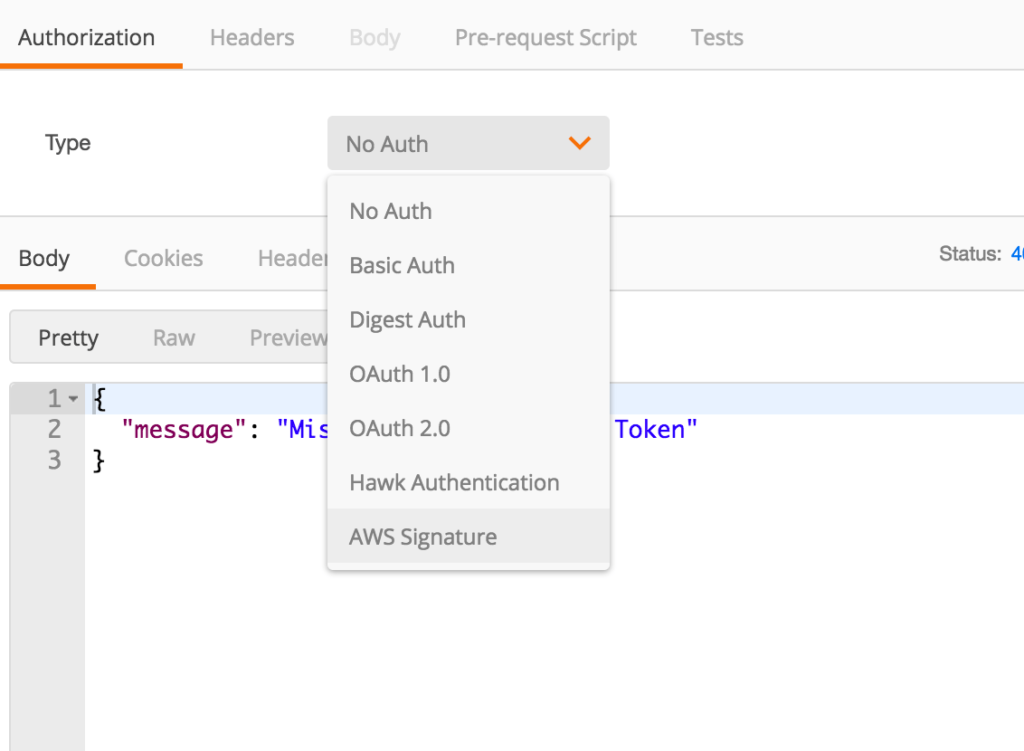
This AWS troubleshooting guide is helpful, but react-native-aws-signature does most of the work for you, so it can be difficult to determine where your mistakes are.
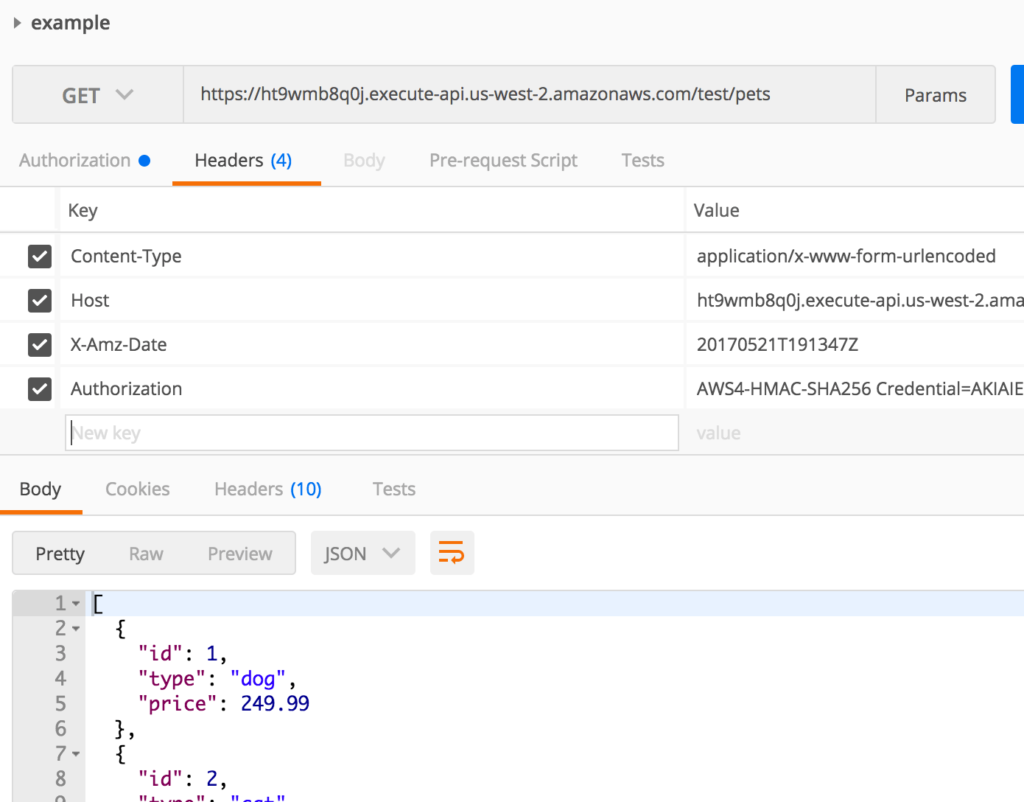
I got this error when I was including the https:// at the beginning of the host parameter in the header. The full error includes what AWS was expecting for the ‘canonical string’ and the ‘string to sign’.
The request signature we calculated does not match the signature you provided. Check your AWS Secret Access Key and signing method.I figured out how to fix the issue by using the getCanonicalString() and getStringToSign() methods.
var awsSignature = new AWSSignature();

// Set up the params here as described above

console.log("canonical string")
console.log(awsSignature.getCanonicalString())
console.log("string to sign")
console.log(awsSignature.getStringToSign())


