Updated: April 17, 2020
This post shows how to export a Google Earth route, and import it in Google Maps, to then be embedded in a webpage.
When I hike, I track my routes with a GPS and import them into Google Earth. This works great on my personal computer, but it doesn’t allow me to easily embed the maps on a webpage. To allow others to view my maps, I import them into Google Maps and then embed these custom maps on my webpage.
Steps to embed Google Earth routes on webpage using Google Maps
- In Google Earth, right click on the route you want to save and select “save place as”
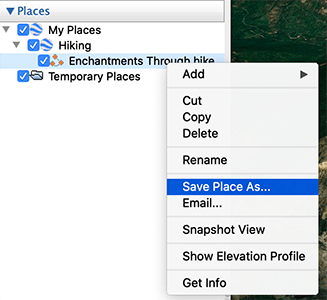
2. Save the file as a .kml
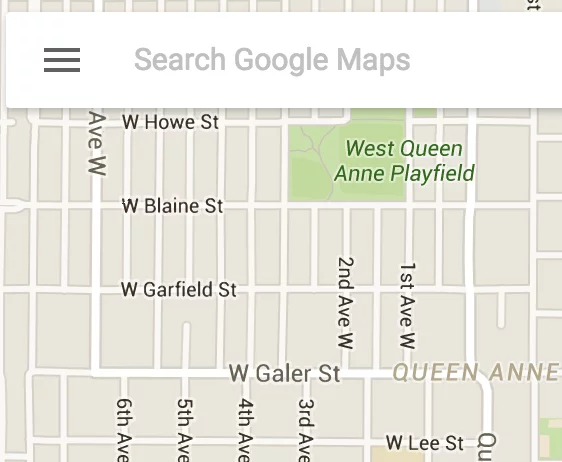
3. Sign in to Google Maps and open the menu on the left side of the search bar by clicking the three line icon
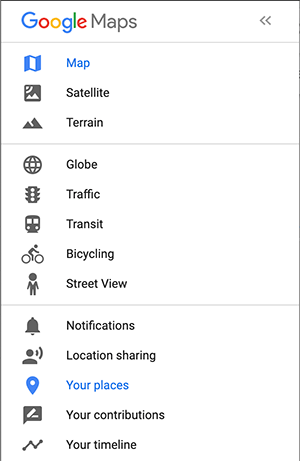
4. Within the menu, select “Your Places”, then the “Maps” tab.
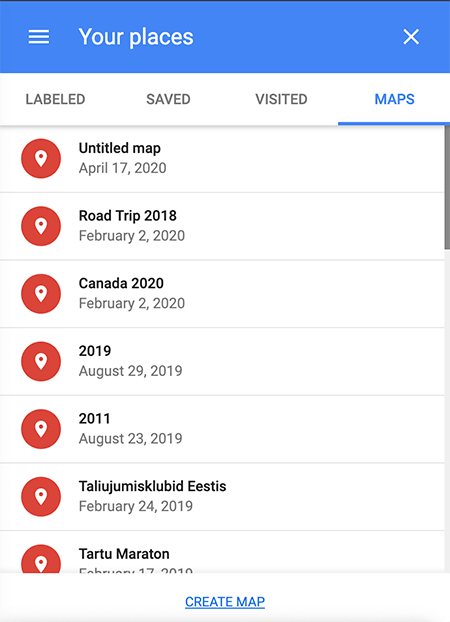
5. This page will show all of your custom maps, click the “Create Map” link at the bottom of the page
6. The map edit screen will open with one map layer created for you. Click “import” under the layer. This will let you select the .kml file that you created earlier.
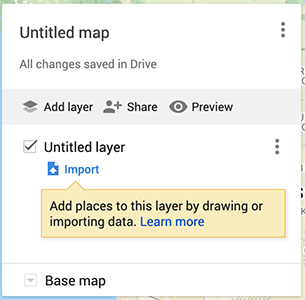
7. If you want to add multiple routes to the same map (for instance a multi-day hike), add a new layer with the “Add layer” link, and import a separate .kml file.
8. You can change the look of the map. These changes will be reflected on the embedded map if you change them in the future.
- To change the color of the route, mouse over the name at the bottom of the layer section (“Enchantments Through hike” in the images below) and click the paint bucket icon.
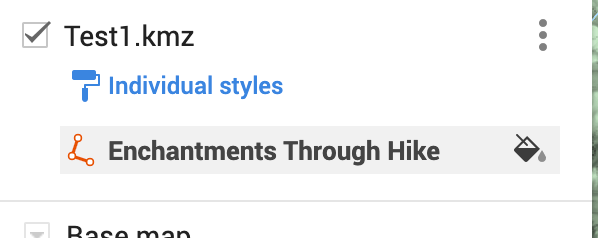
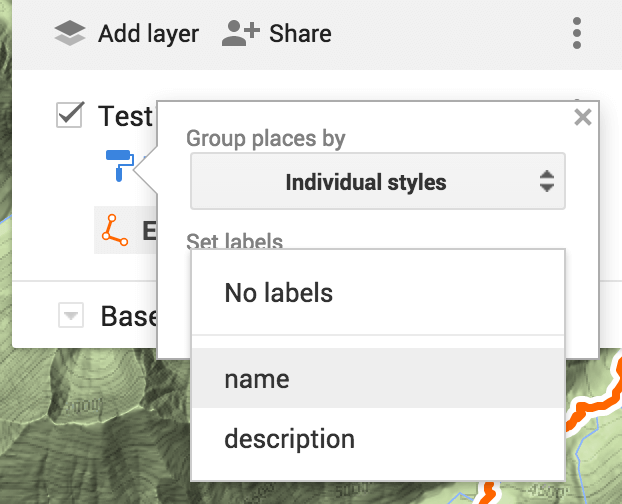
- To add a label to the route, click on the “Individual styles” link and select the label you want to show.
- You can change the type of map (terrain, satellite, etc.) from the “Base Map” link under the layers section.
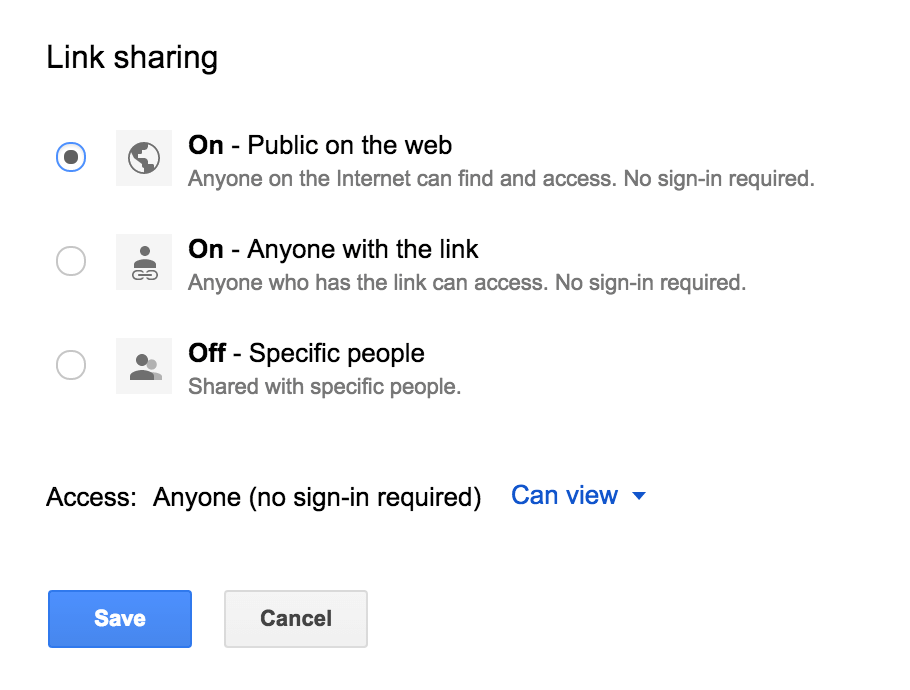
9. In order to embed the map, click the “share” link above the layers section. On the “Sharing settings” screen, select “Change…” on the “Private – Only you can access”.
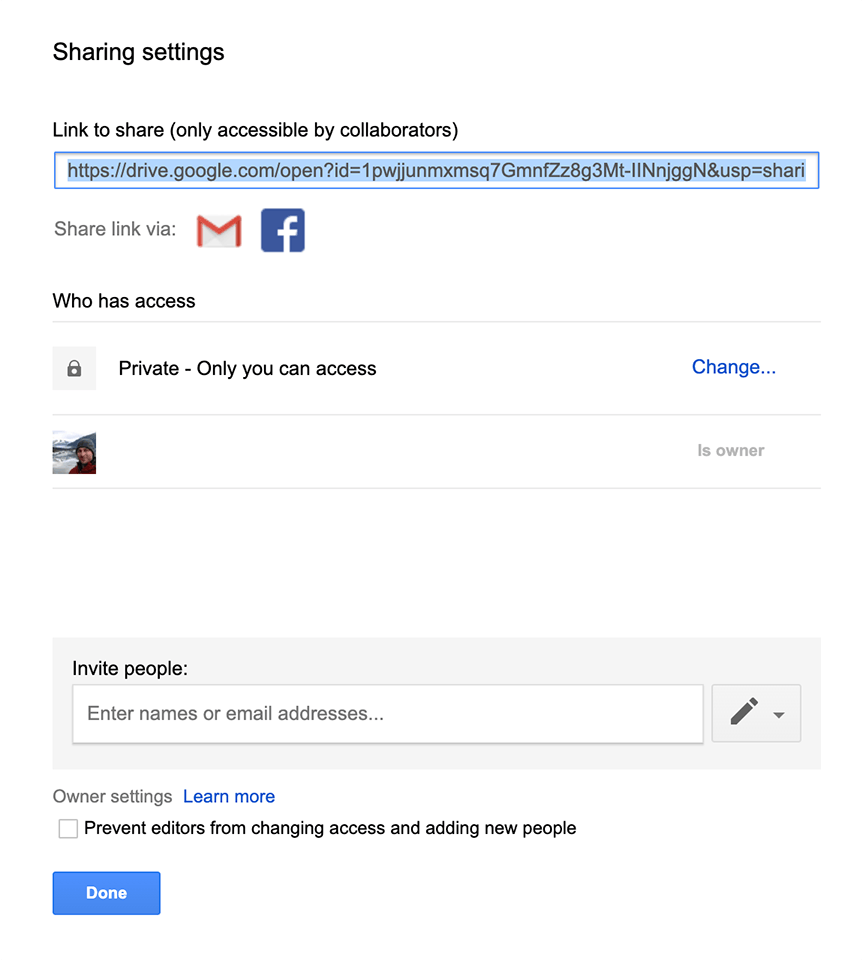
10. On the “Link sharing” page, select “On” to make the map public.
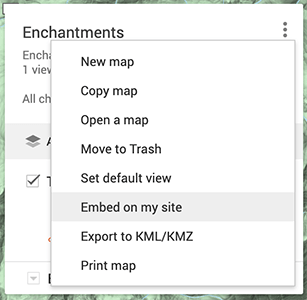
11. Once the map is public, you can select the “Embed on my site” item from the main map menu.
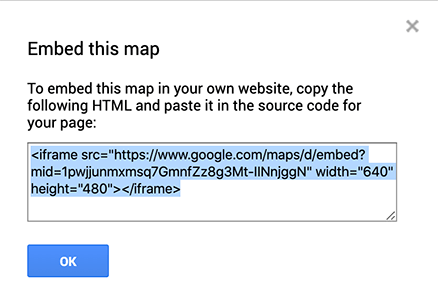
12. Insert the provided code on your site, and you are done.
Nice Post! Very much appreciated.
This method does not work for kmz files with image overlay. Image does not show up on Google Maps.
Will you be able to bed in satellite view/ layer?
[email protected]
Yep! You can select the map type, as described on the 3rd bullet point of step 8.
I was excited to find this method because the maps plugin I am using has a conflict with WP Rocket. Sadly, the map I used slowed my page down. So far the best work around I have found is to use a photo of the map and use an image link to send visitors to the actual map. It’s better than nothing! Plus I don’t need to use my API key this way.