Intro
Here are the basic steps I took to build the boat. I am happy with how it turned out. It was fun to build something that I knew was going to be destroyed, it was liberating to not get too hung up on making it perfect.
My general approach was to fit the wood as best as I could and sand down the imperfections. This worked pretty well, especially because balsa and bass wood sand easily.
Why I am building the boat: Balsa viking boat
How I made the plans: Viking boat plans
How I destroyed the boat: Viking burial
Materials
Unfortunately, I didn’t document the pieces of balsa that this required, and since the boat burned up, I can’t really create an exact list now.
Rough list of materials:
- Bulkheads: 10 total – 1/16in. thick balsa
- Strakes: 8 total – 1/16in. x 1/16in. balsa
- Gunnels: 2 total – 3/32in. x 3/32in. balsa
- Keel: 2 pieces – 1/8in. wide 3/32in. thick balsa
- Planking: I used a mix of 1/4in. and 1/2in. wide bass wood, both 1/32in. thick. Bass wood is a little stronger than balsa and it was easier for me to find thinner bass wood. From the pictures, it looks like I used about 16-20 1/2in. planks.
- Bow and Stern towers: 6 total – 1in. wide 1/16 thick balsa.
- I used BSI Insta-cure+ Glue
, it cures very fast and is really strong. I have found this to be the best glue for bending balsa and getting it to stick.
- paraffin wax
for waterproofing – 1/2 pound
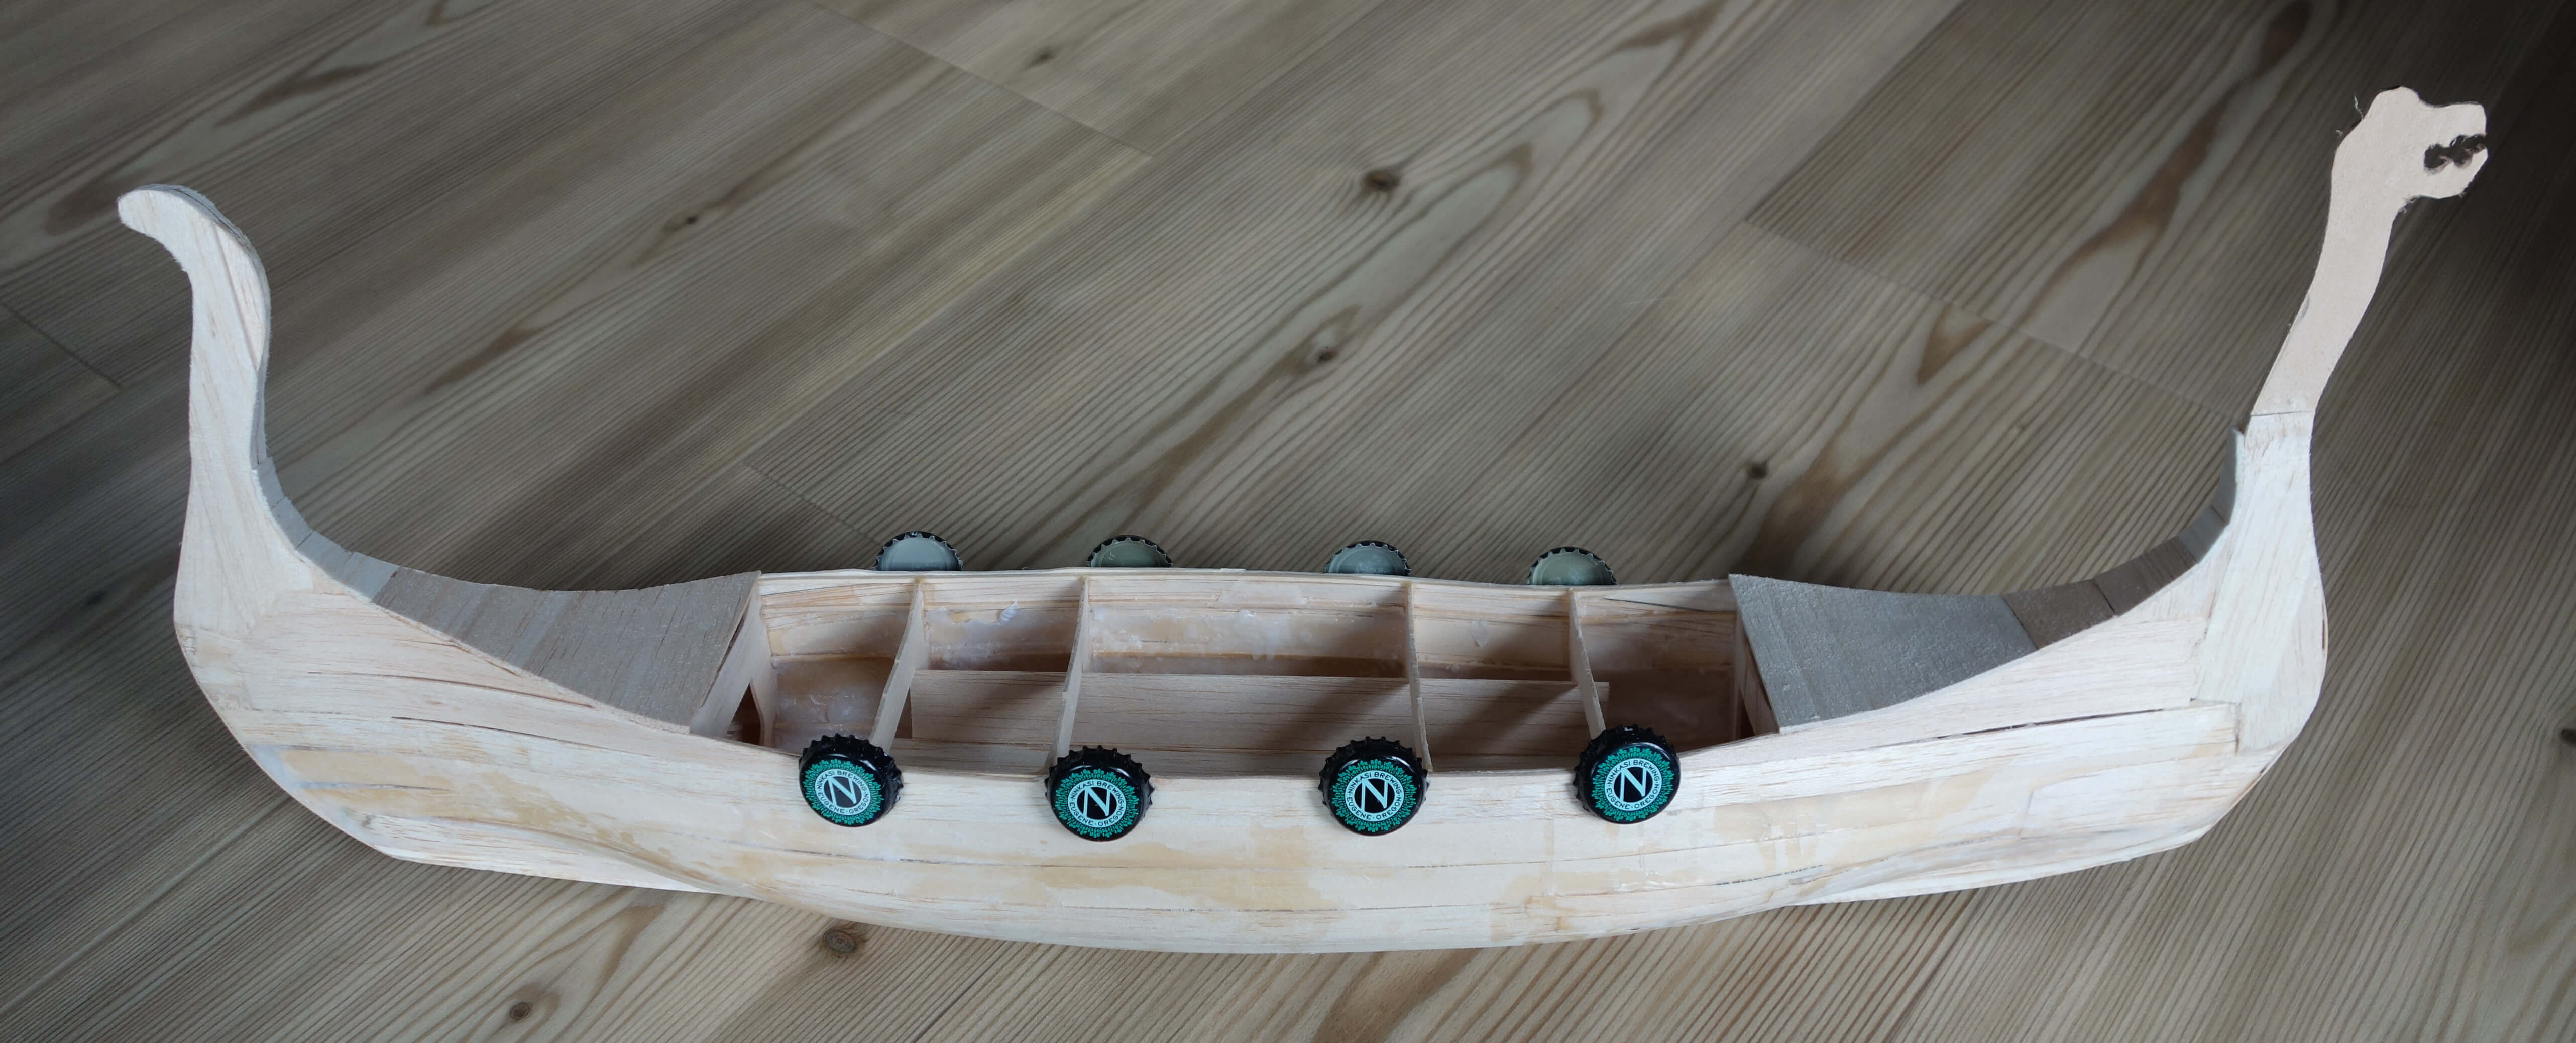
- Bottlecaps for shields – 8 total
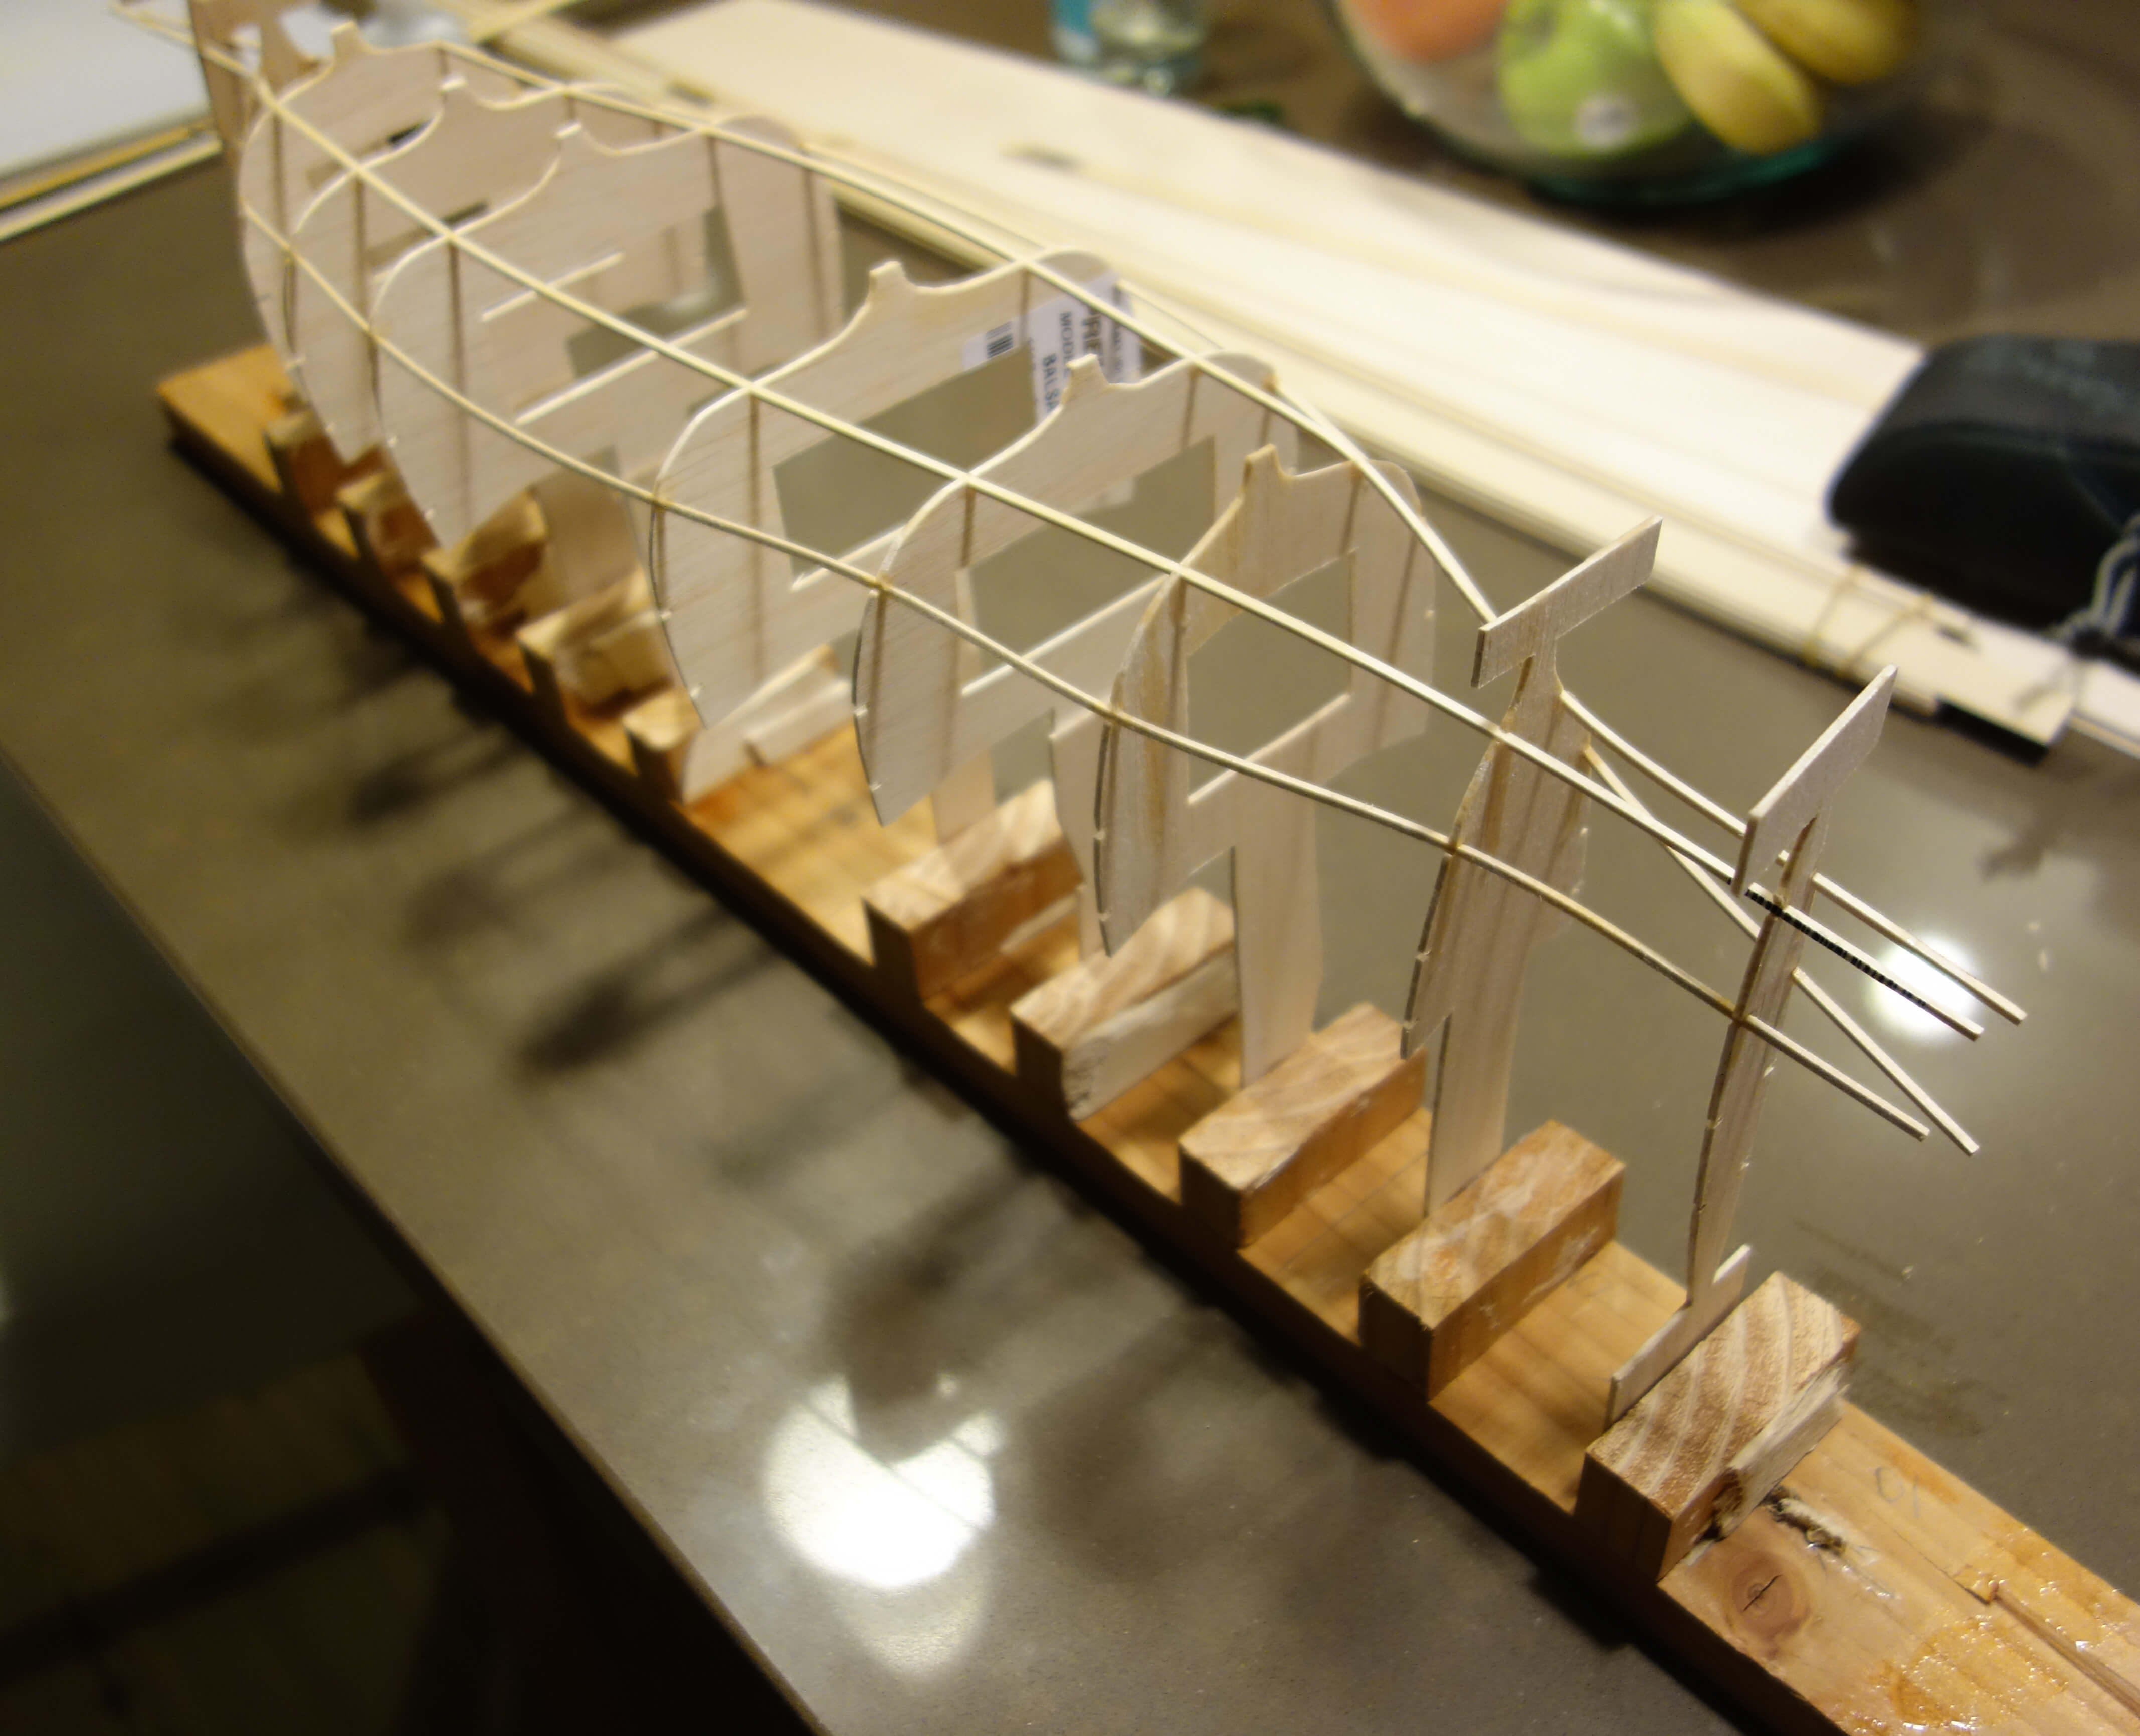
Creating the jig
I used a jig to help secure the boat during most of the construction.
The jig had 10 blocks, with 2 inches between the left sides of each block, except for the middle two, which were 4 inches apart. This way when the bulkhead tabs were glued to the jig, they were 2 inches apart.
In order to keep the boat true, it was important that the blocks were square to the base and that the middle of the bulkhead tabs were centered. I wish I had done a better job of sighting down the bulkheads as I glued them to make sure they were aligned.
Cutting out the bulkheads
I printed the plans out on paper, cut each piece out roughly, and then taped the paper onto the balsa. I used an exacto knife to trace the printout and cut the wood. My main focus was on getting the outline traced smoothly on the first pass and then going deeper with the subsequent passes.

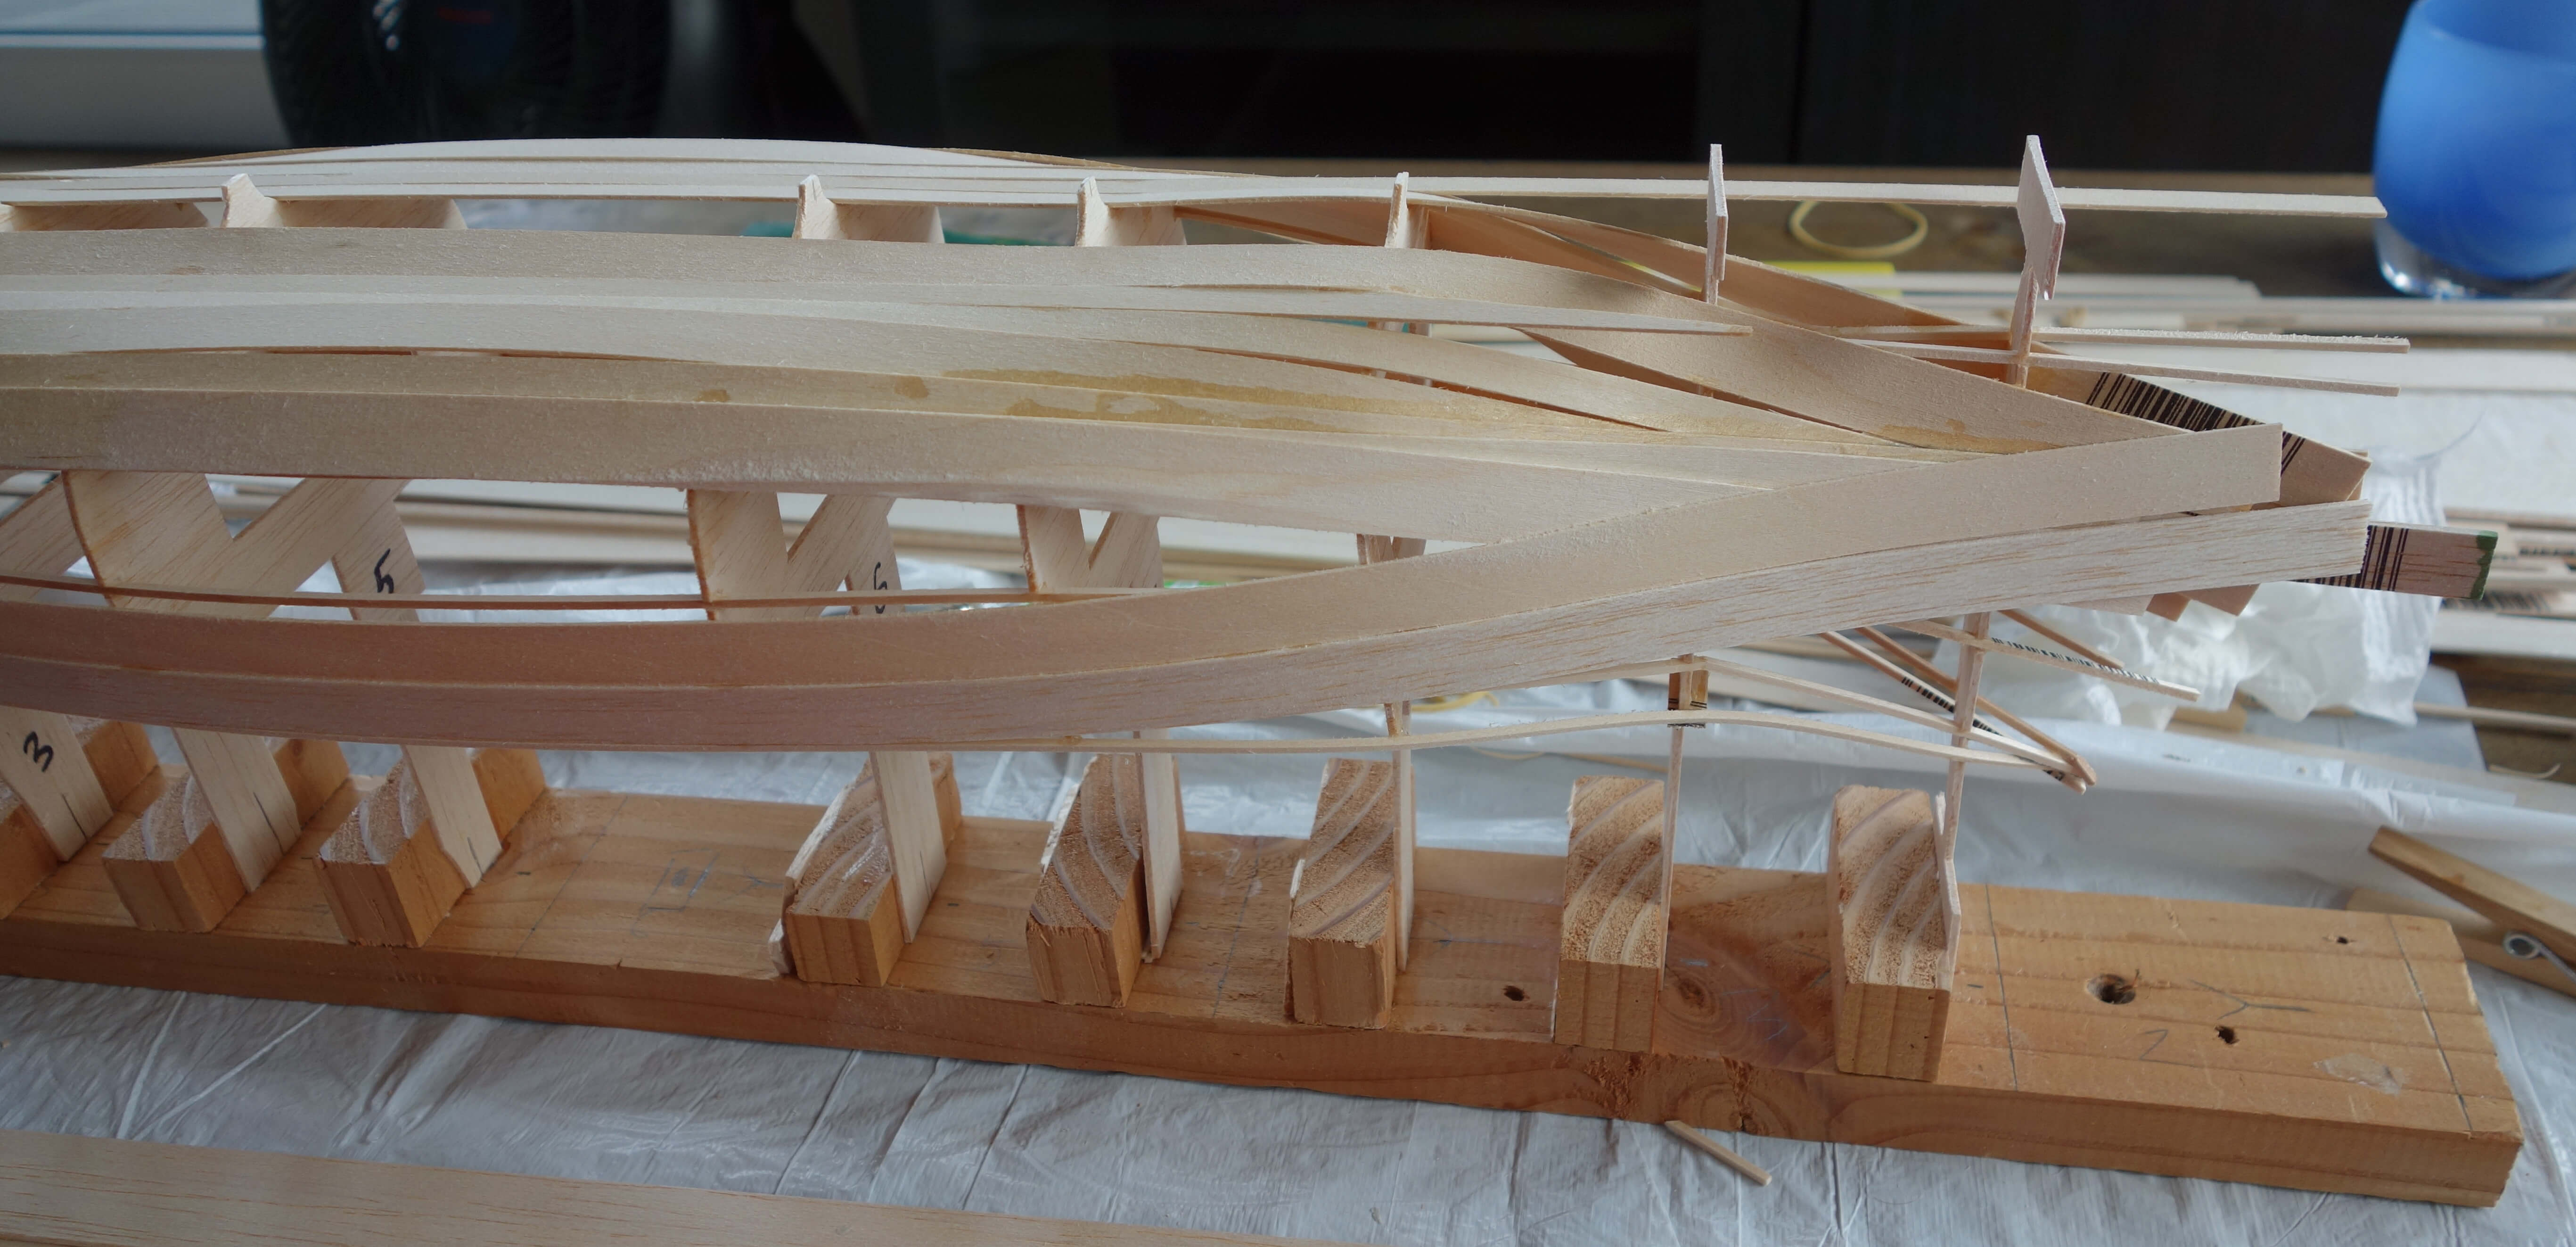
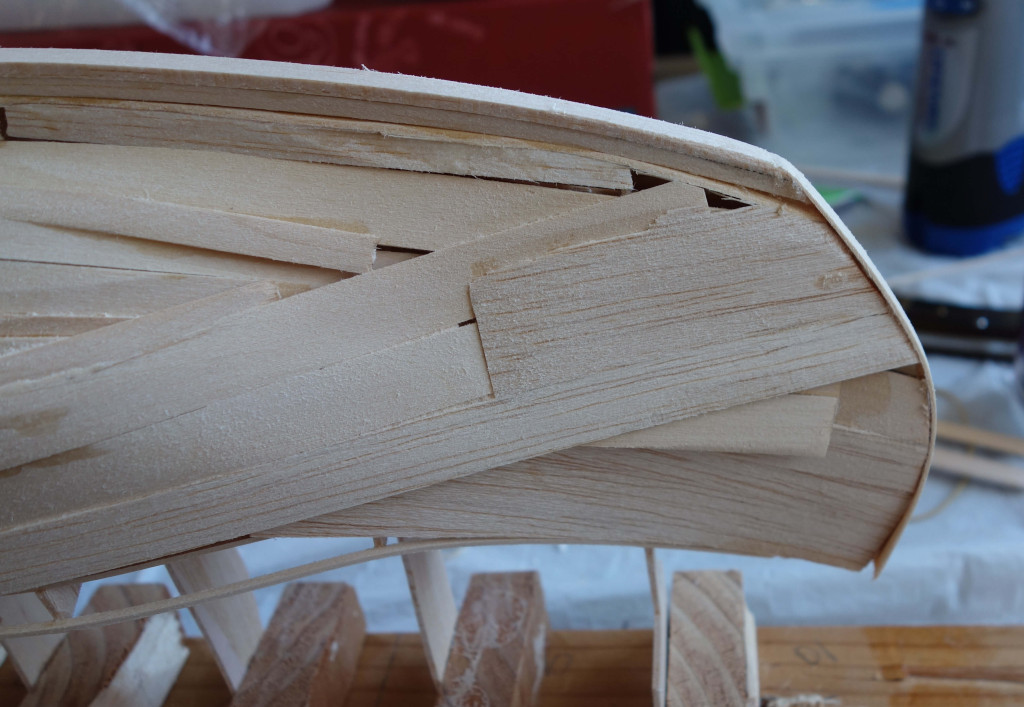
The Strakes
I then added the strakes. I started from the middle of the boat, securing 2 bulkheads at a time. Balsa bends pretty easily, but I ended up breaking a few pieces on the ends. I have since updated the plans to make bulkheads 2 and 9 a little wider, which might help.
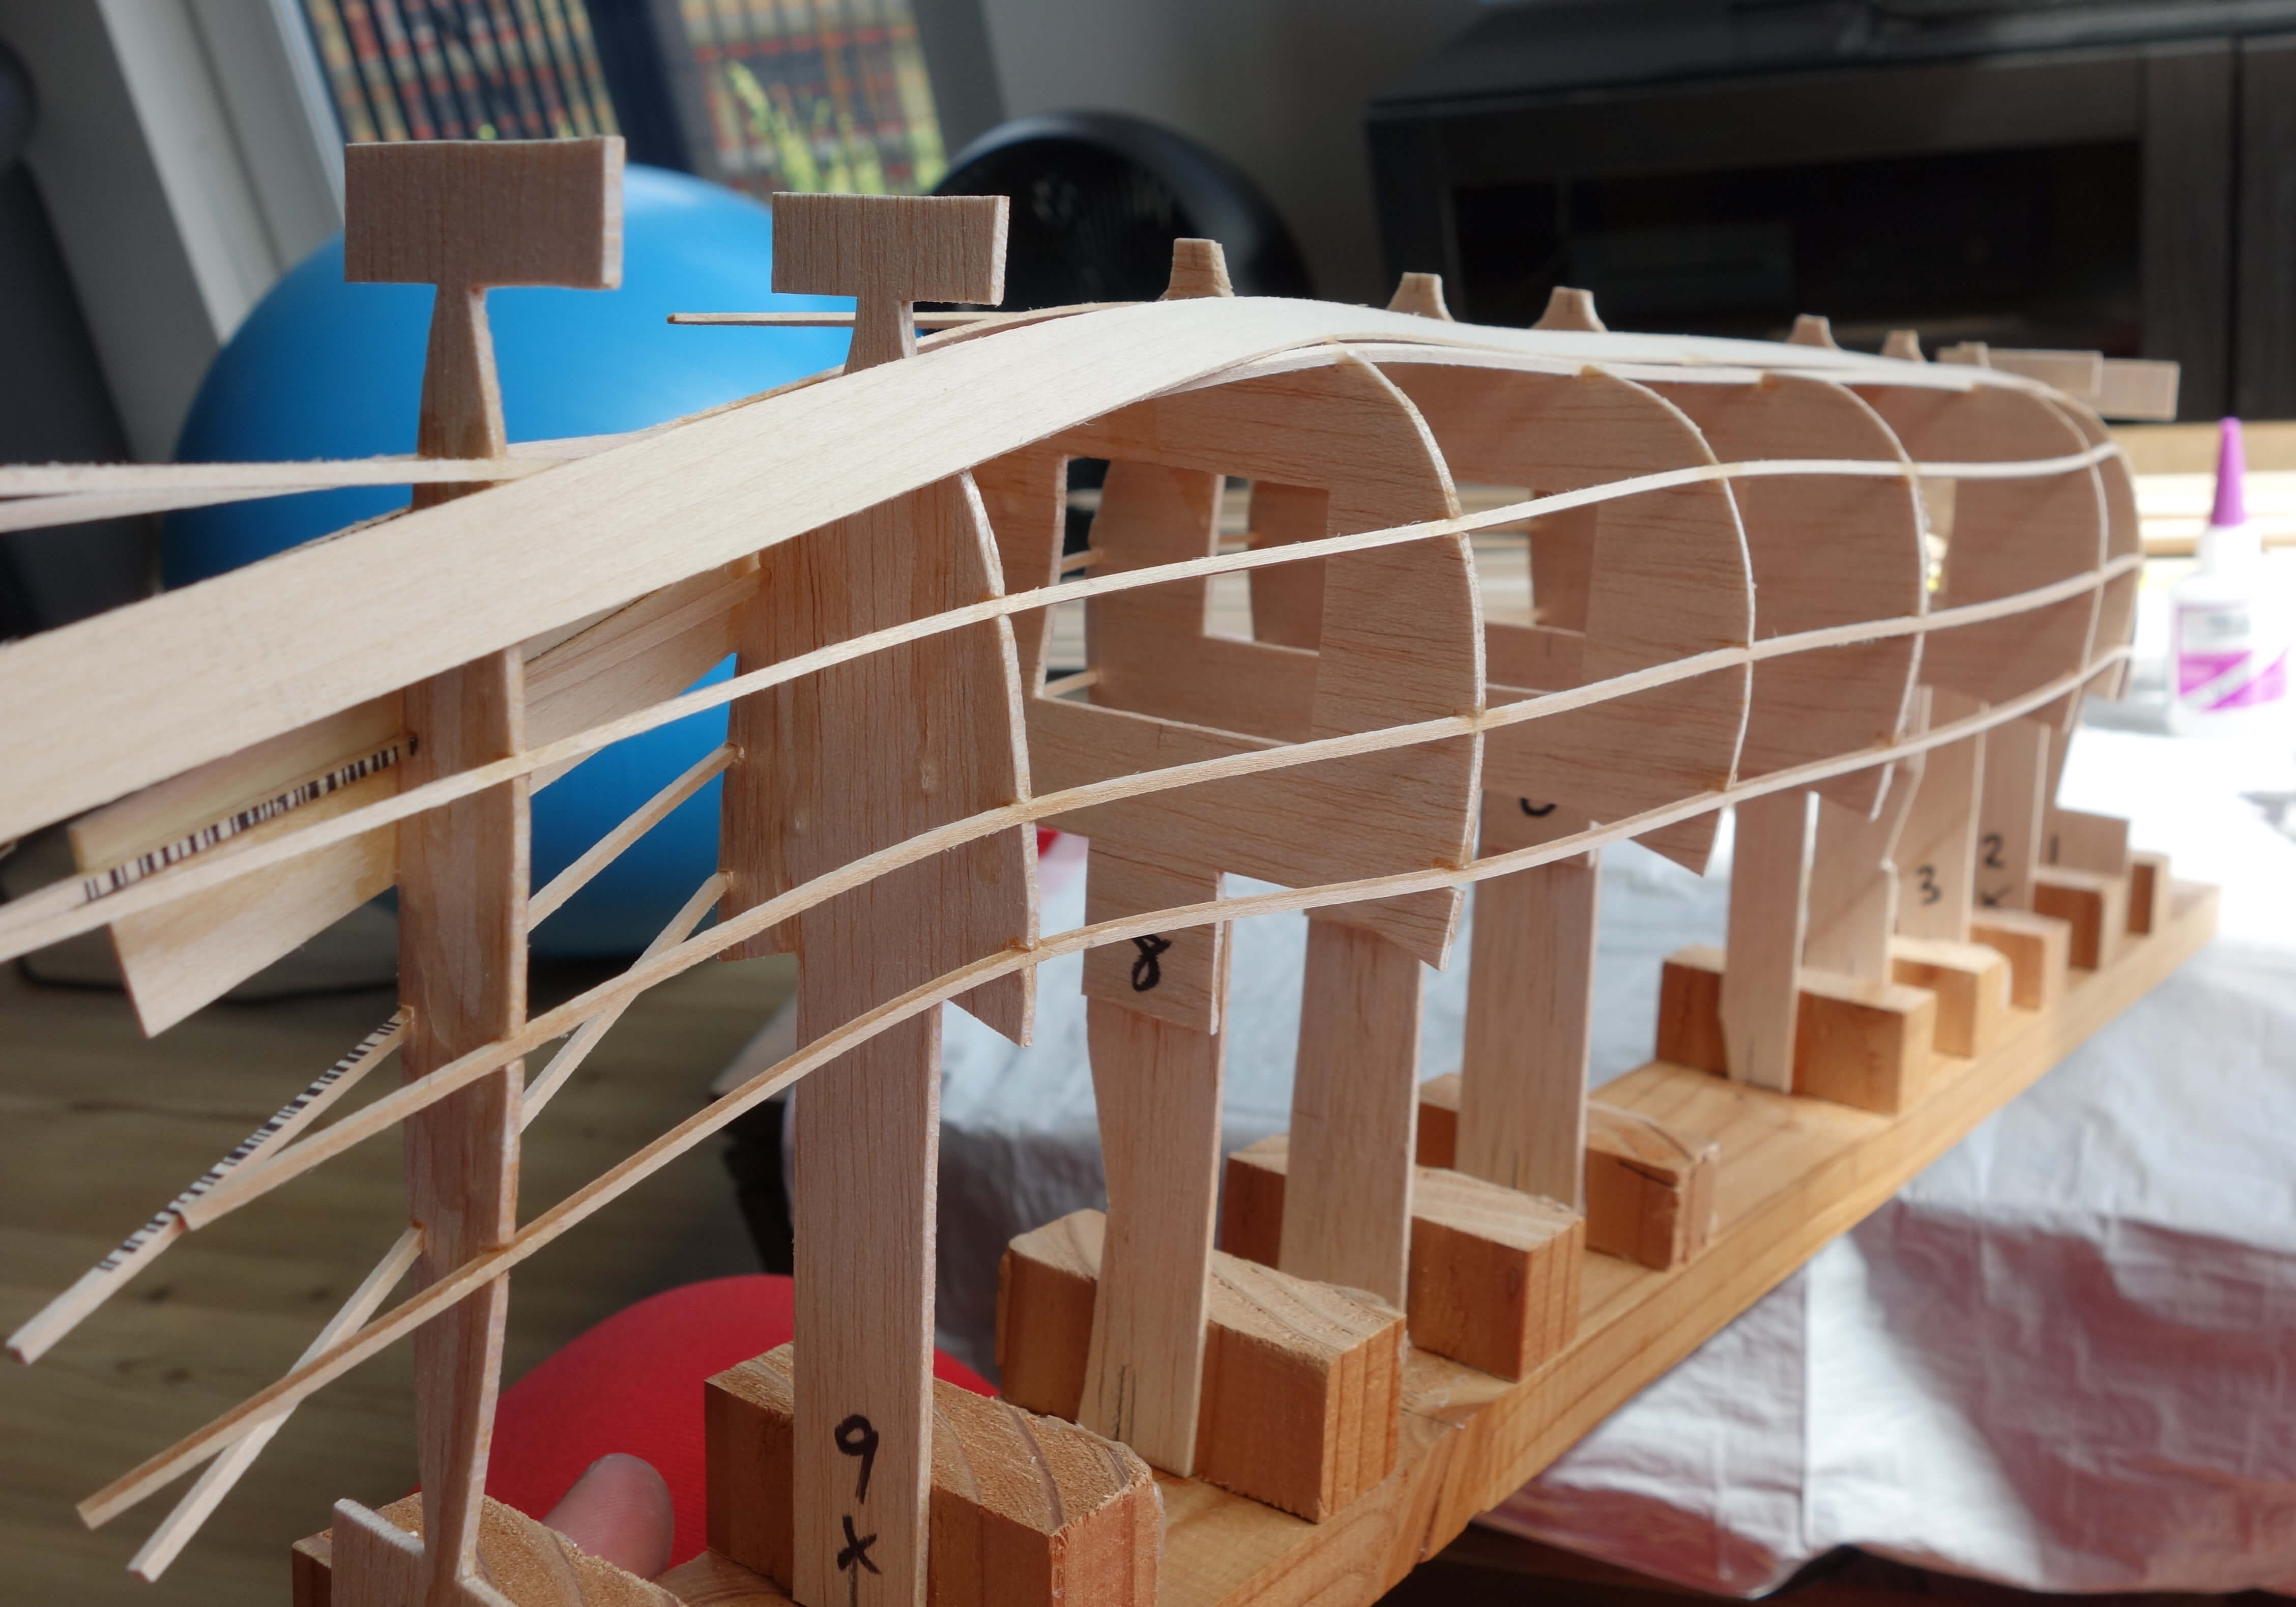
The planks
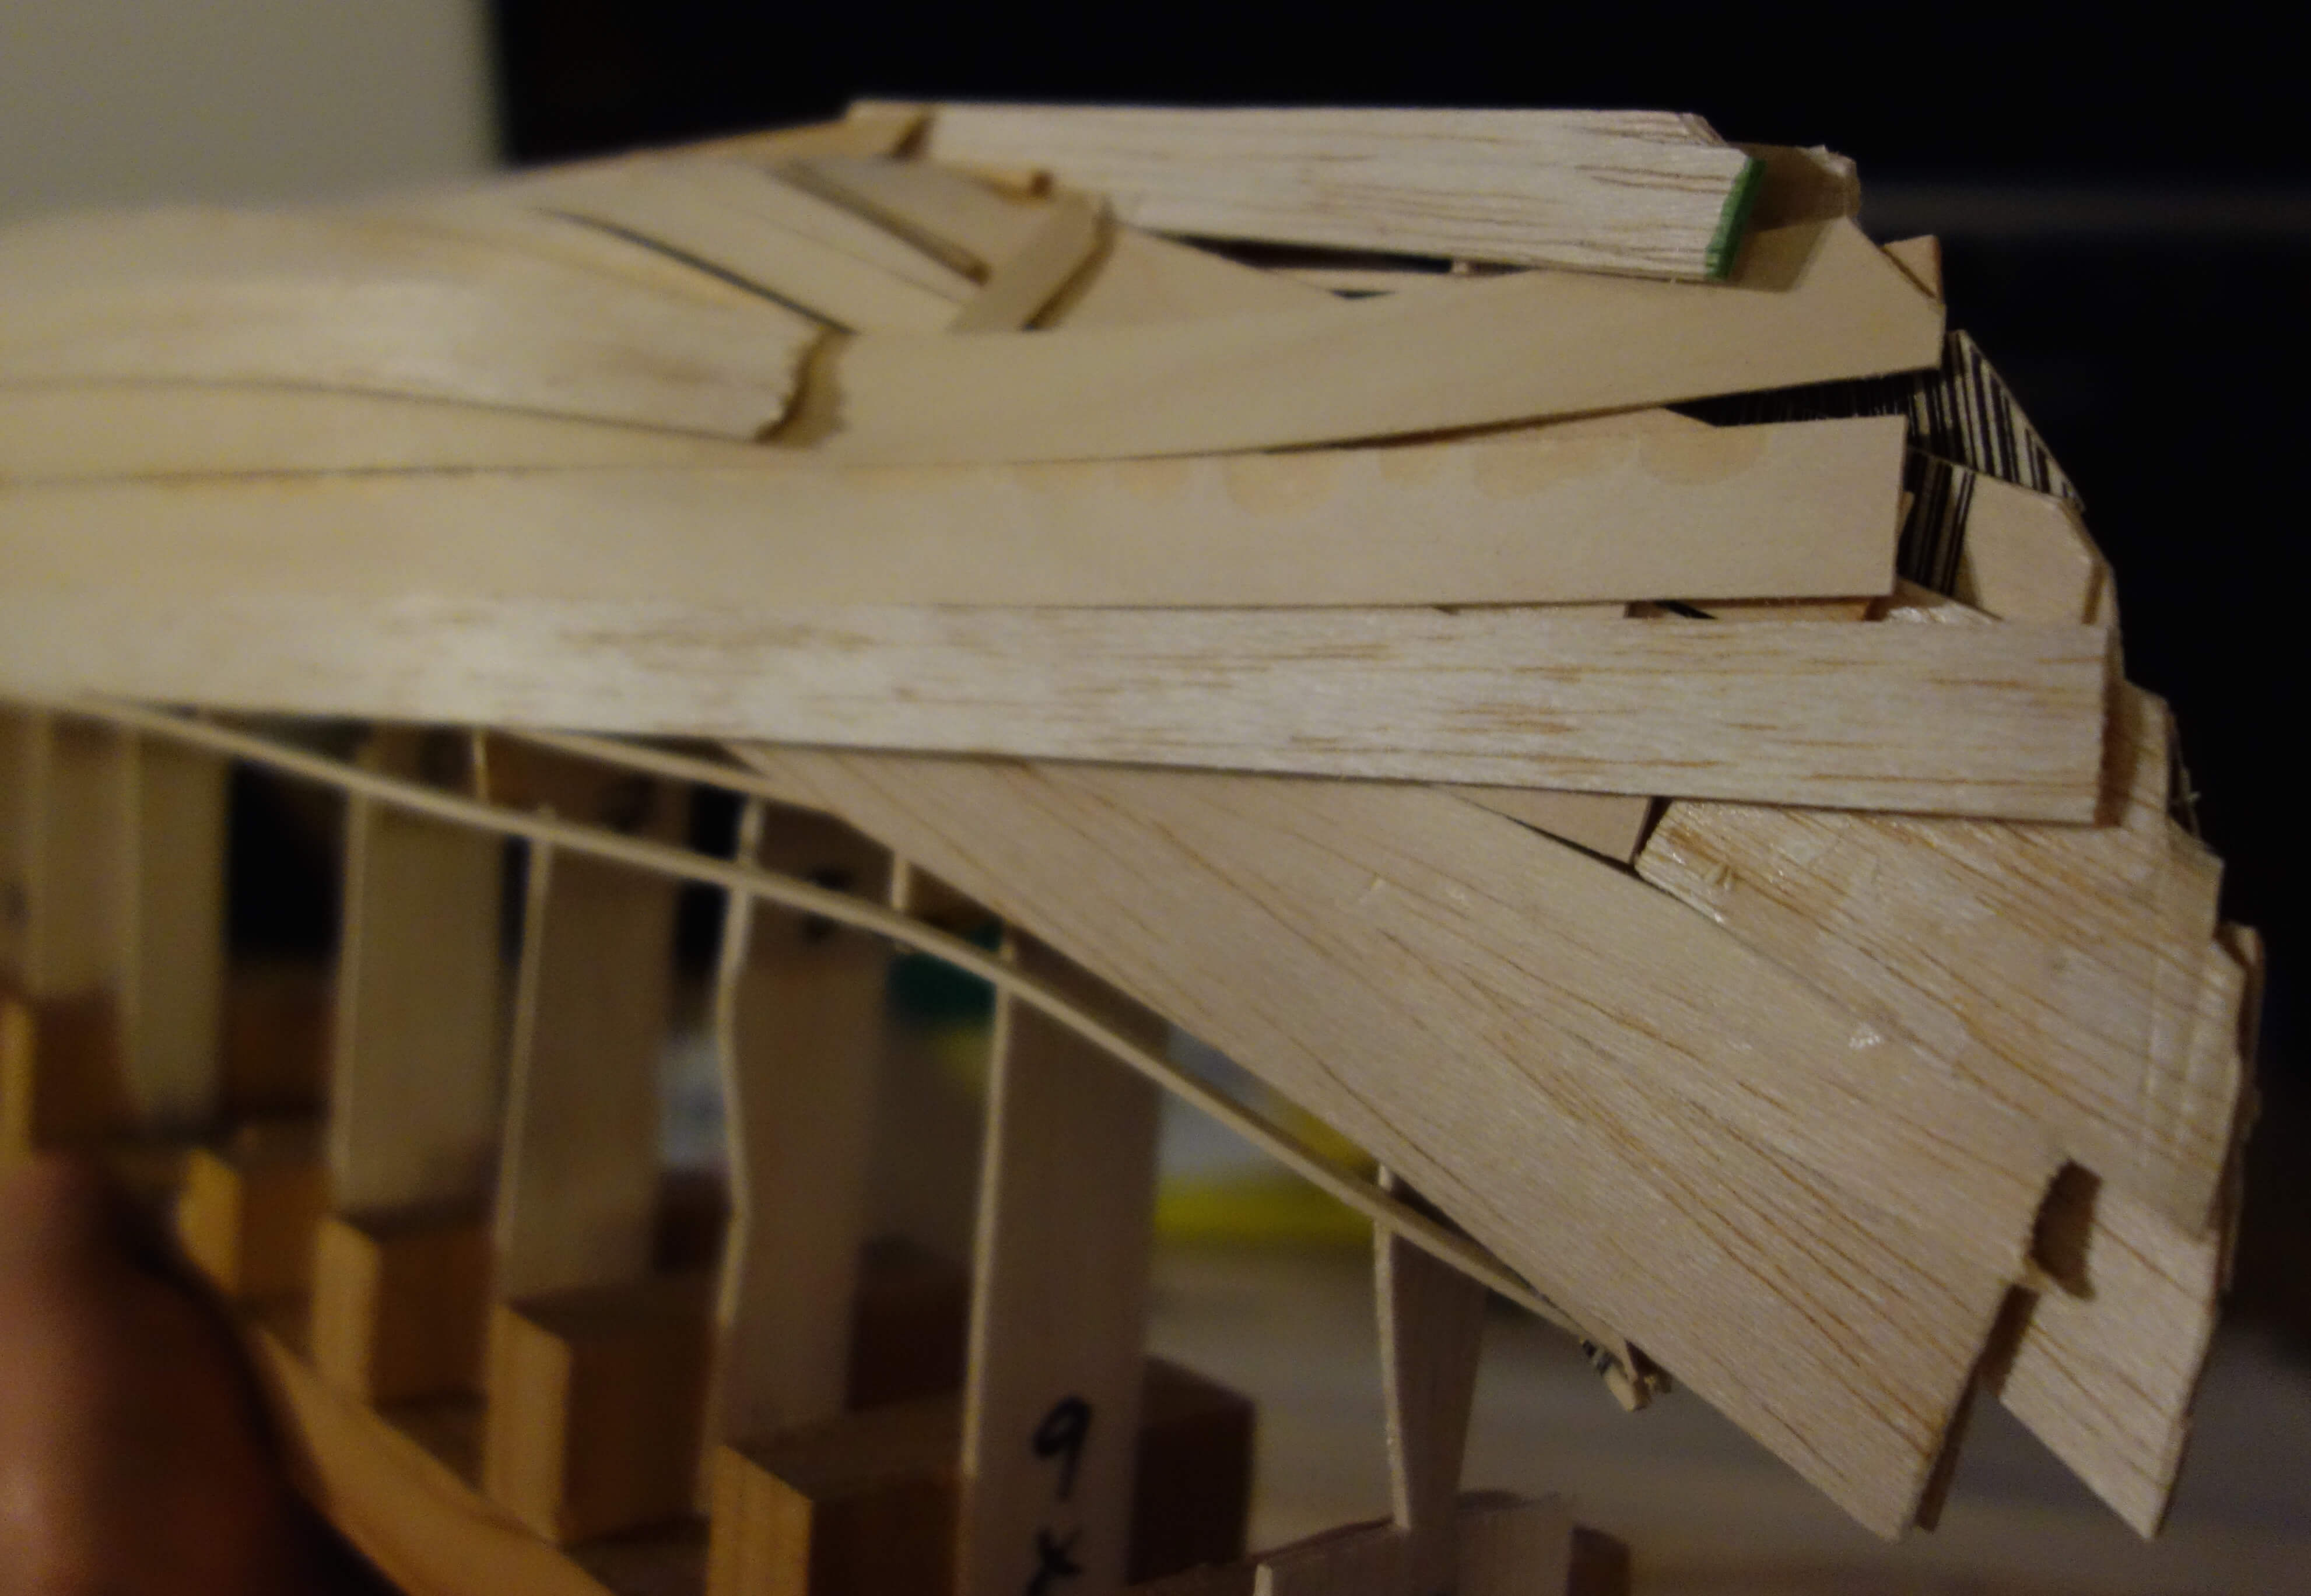
I added the planks starting from the middle of the hull and working my way up the sides. Again gluing two bulkheads at a time, starting from the middle. It had a hard time bending the bass wood enough to lay each plank along the one before it. I ended up overlapping many of the planks with a less extreme curve. I didn’t worry about planking along the super steep keel part to start.
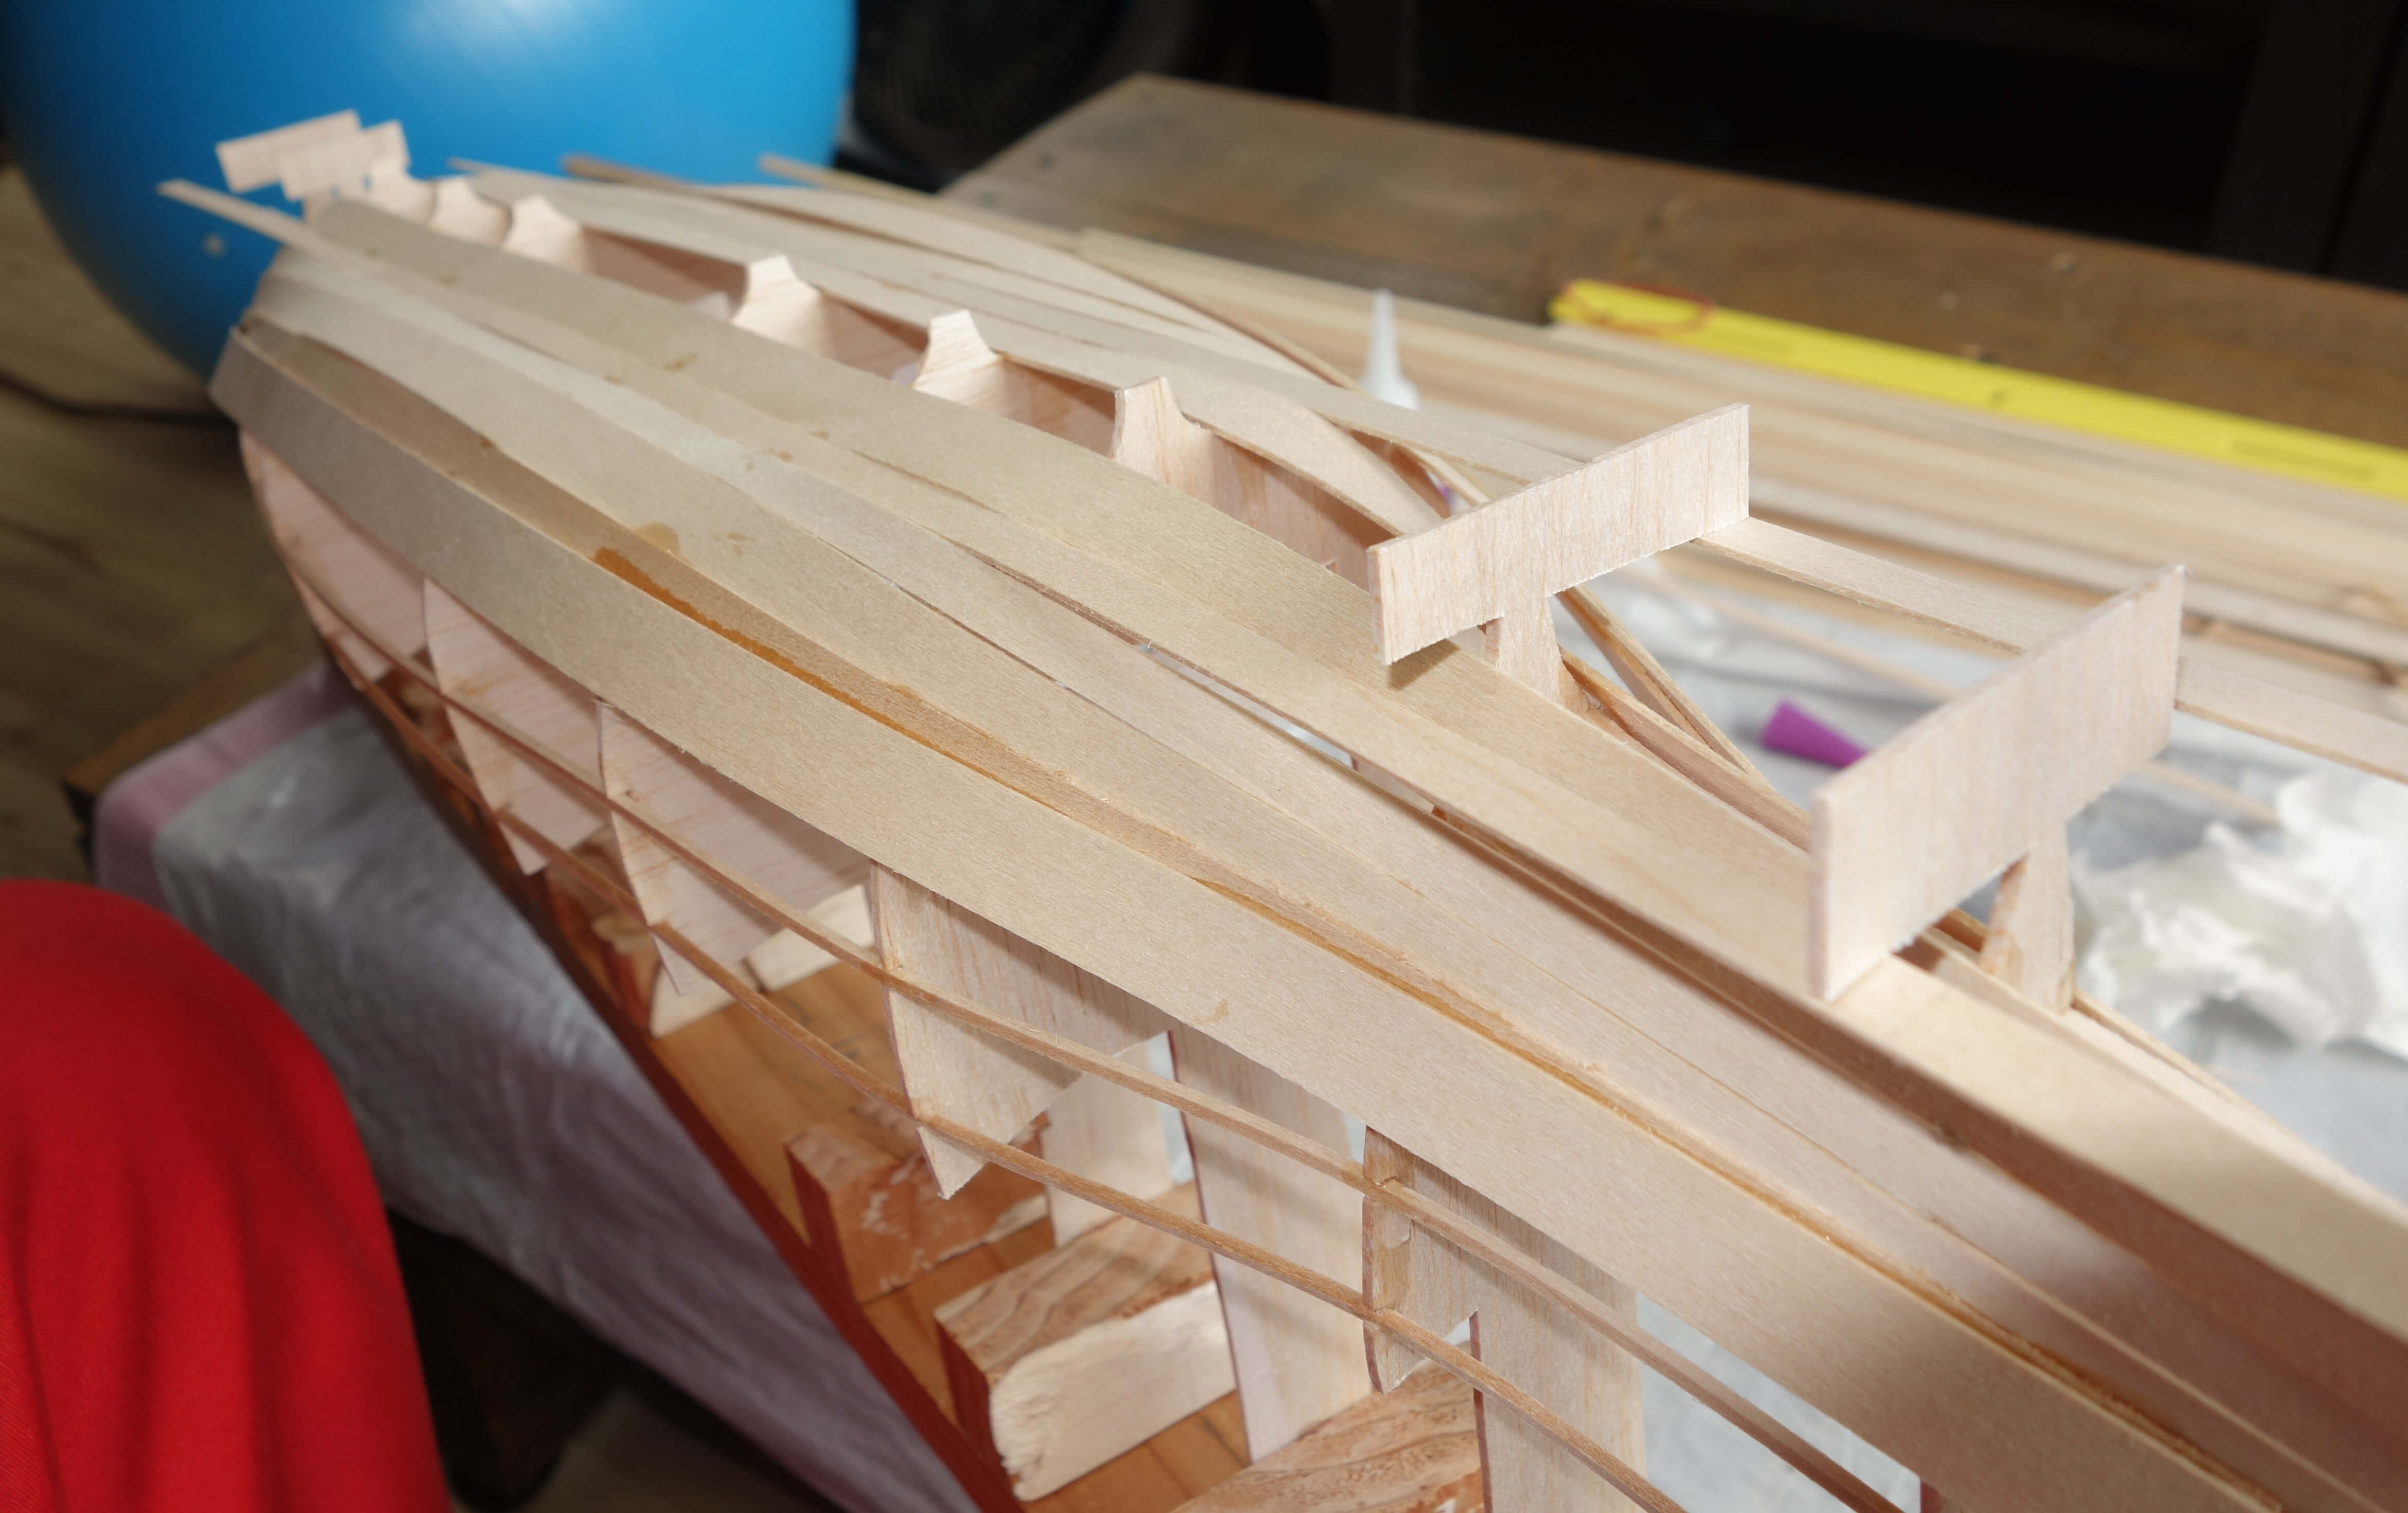
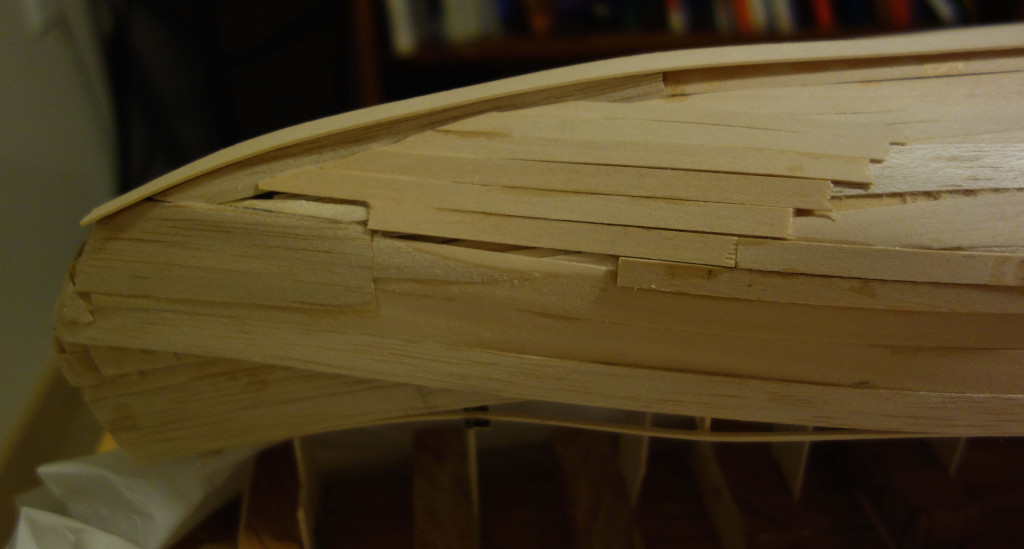
As you can see, I didn’t align the ends, after the planks were in place, I used a dremel tool to shape the ends.

Rough ends Ends shaped by the dremel tool
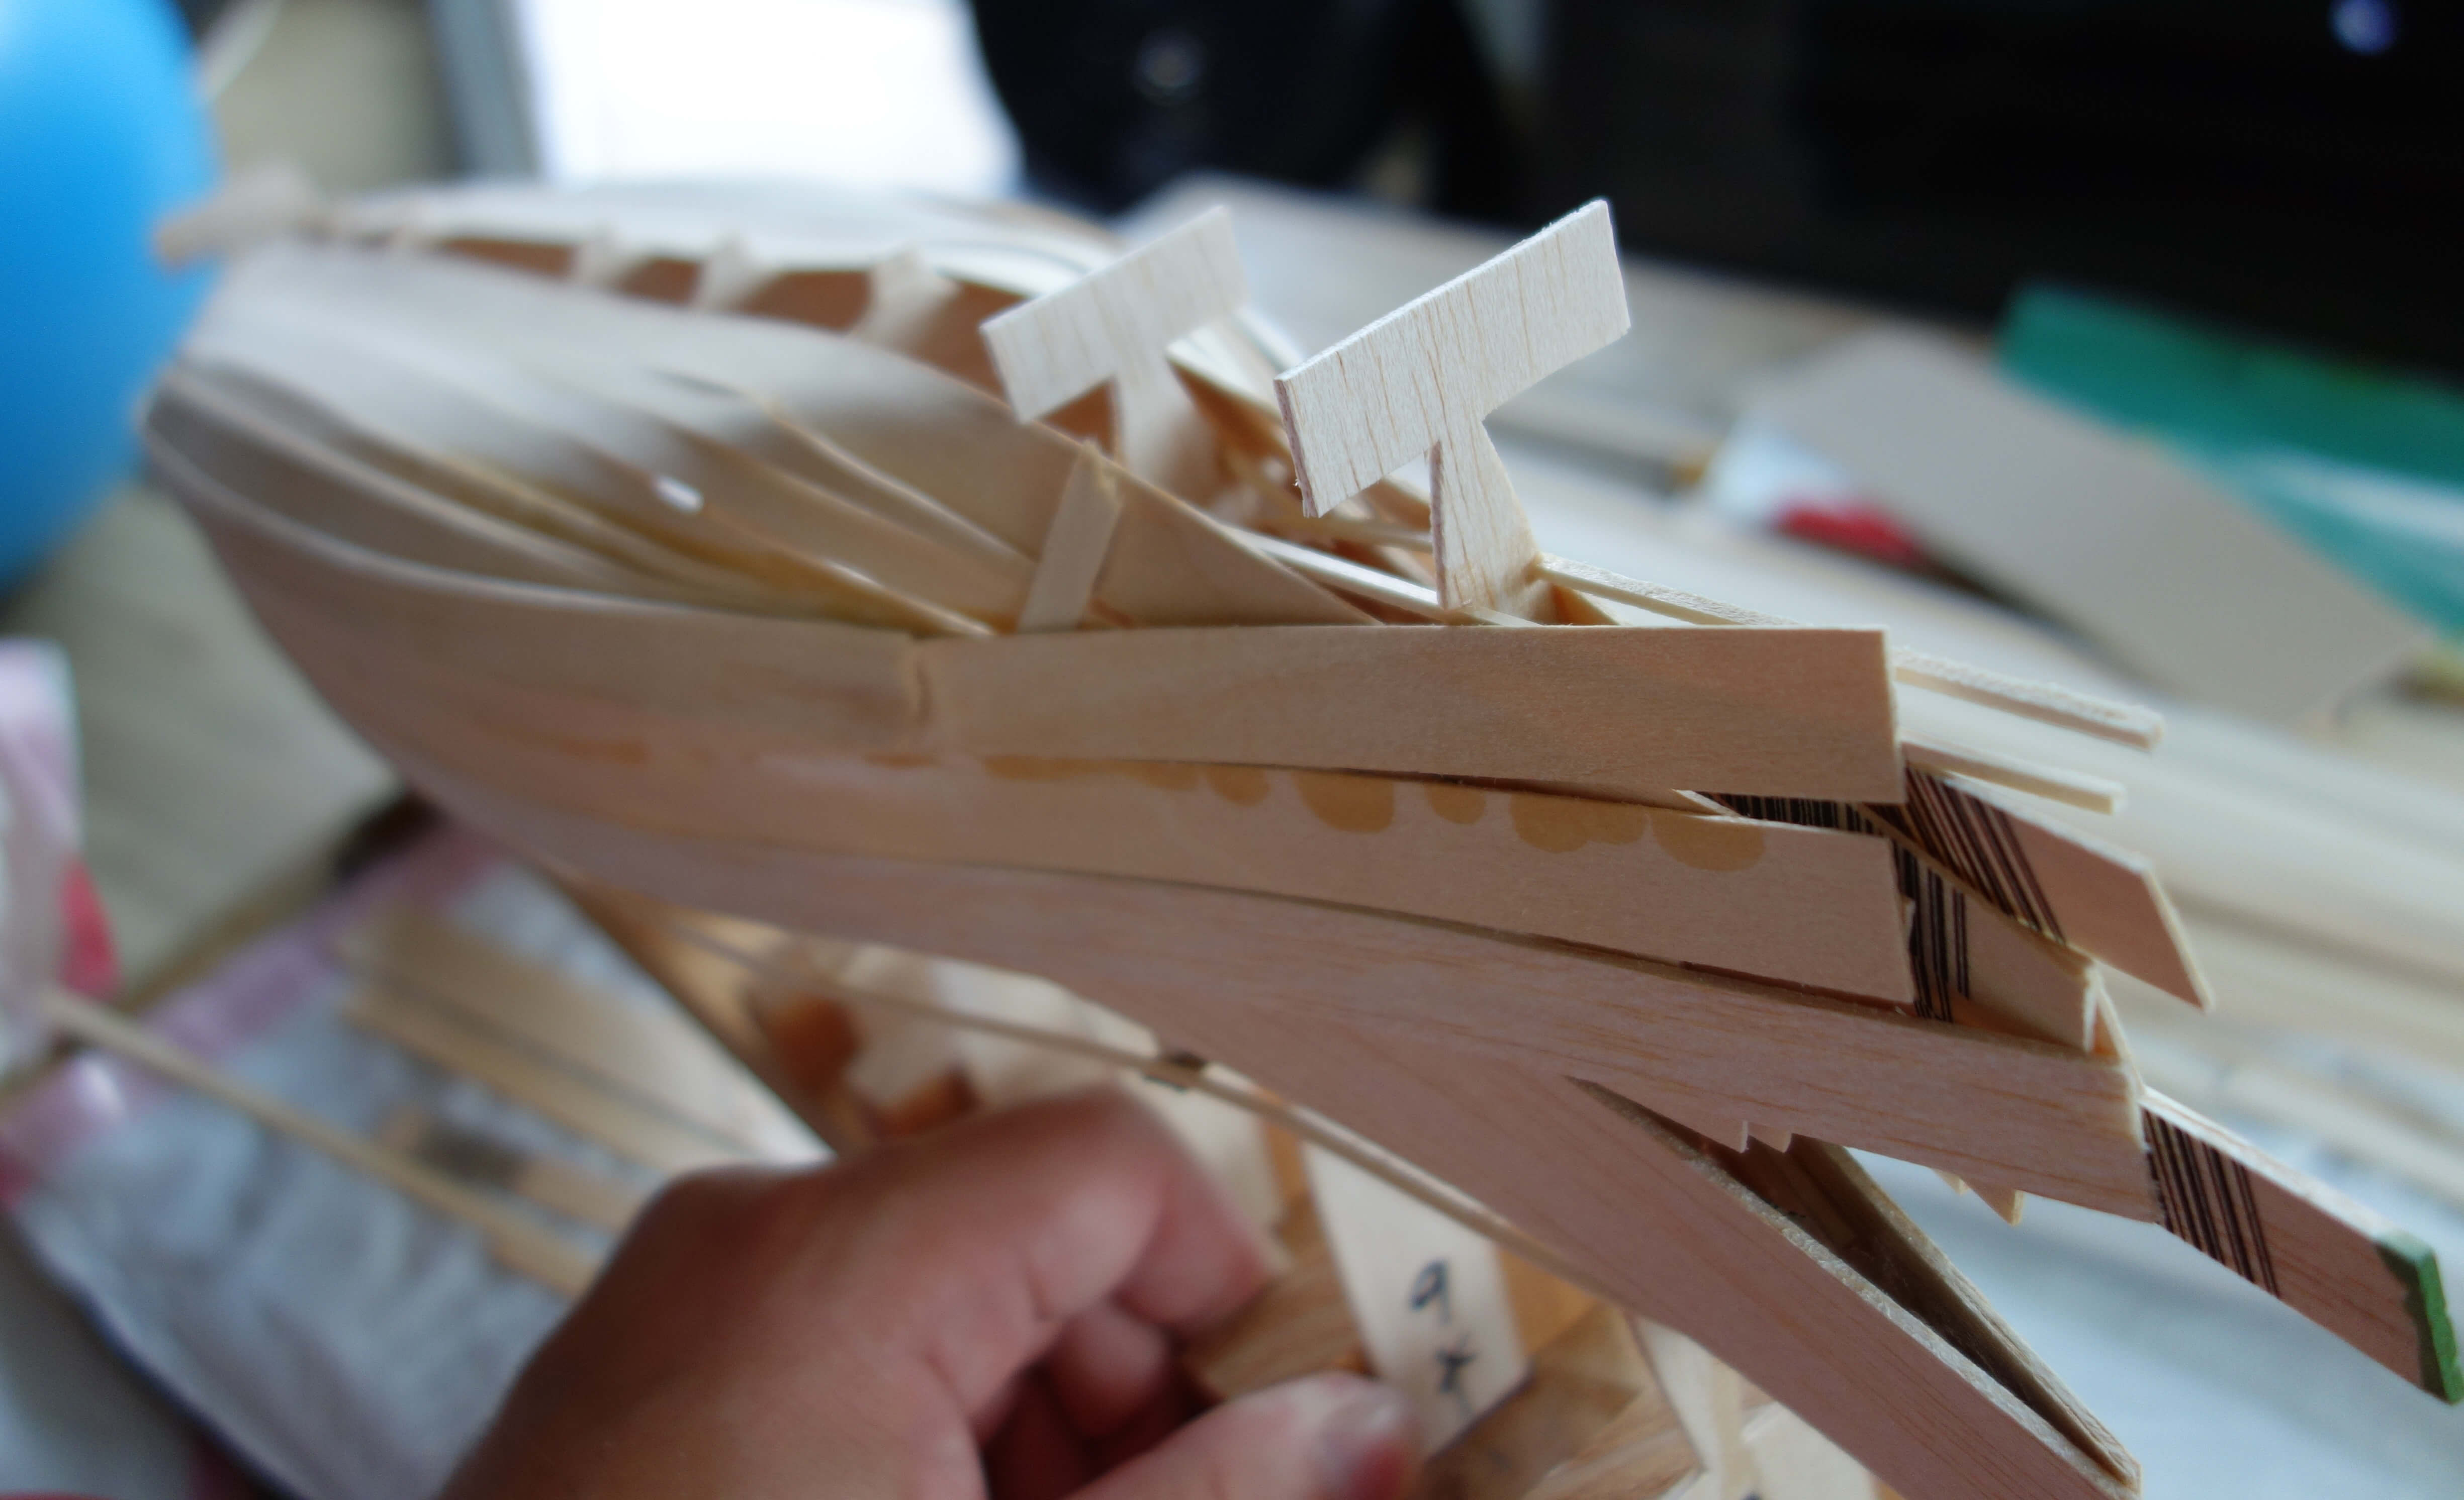
To fill in some gaps, I used smaller planking cut to length. I found the easiest way was to just eyeball the length, score the wood and then break it by hand. You can see this planking in the pictures below.
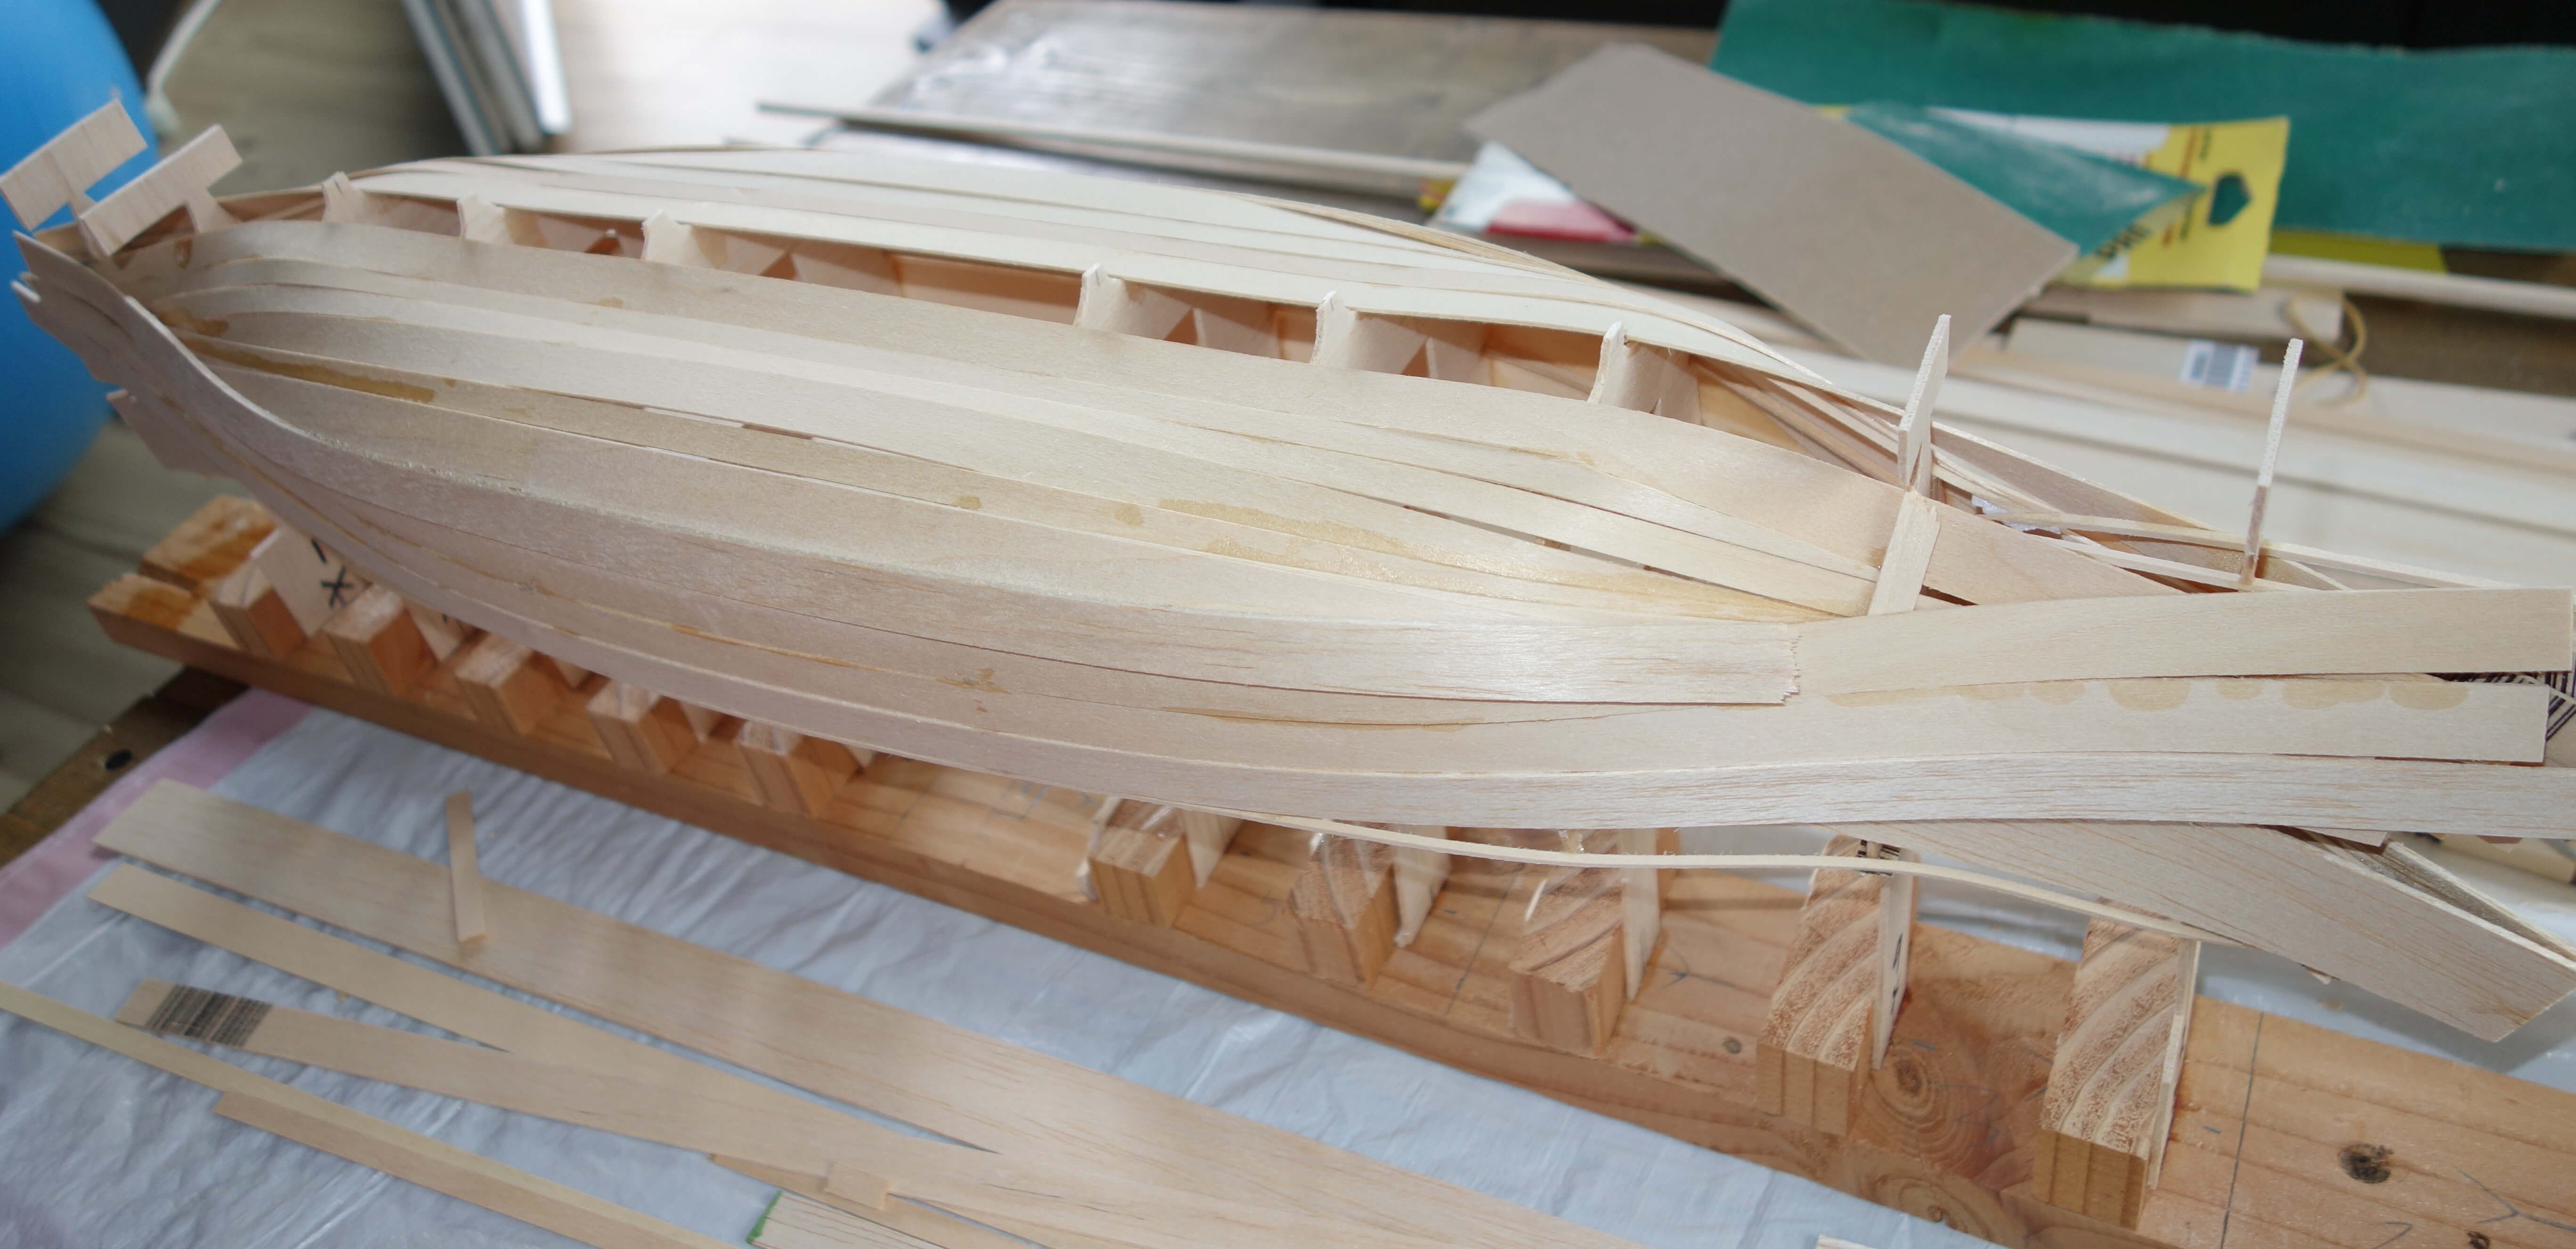
The keel
I used 1/4 in. wide balsa to build up the keel on the steep part of the bulkheads. Then I capped the keel with another 1/4 in. piece. Once this was in place I used an exacto knife to trim the excess and then sanded it to be flush with the planking. I then added thicker pieces on top to make the keel deeper.
I also added some thin pieces to the end of the bow and stern to smooth them out a bit.
At this point I cut the boat away from the jig with scissors.
Before trimming the excess Keel with extra depth and bow cap in place
The towers
While adding the planks, I didn’t worry about building up the towers on the bow and stern. I added some pieces after the fact that added probably 6 in. of height. I then used the dremel tool to shape them. I broke the bow dragon while shaping it, so I ended up creating a new one with thicker wood and just glued it to the bow.
Waterproofing
I wanted the boat to float, and use materials that were ok to burn in a pond with fish. I figured that paraffin wax was a good material for waterproofing.
I started by lining the boat with tissue paper and pouring wax over it. I thought that this would create a barrier and that I could then add wax on the outside. I then poured wax over the outside to fill in the bigger gaps.
The wax on the outside of the boat helped prevent the wood from soaking up water. I found the best method was to pour some wax on the boat and then work it into the cracks using a small piece of wood like a squeegee.
The tissue paper didn’t stick well to the hull, and it allowed small leaks, so I removed it and just pouring wax on the inside and moving it around to fill in the holes.
Throughout the waterproofing I floated the boat a couple of times to identify leaks. I used a lot more wax than I would if I wasn’t burning the boat, but I wasn’t too concerned about how the inside looked.
Finishing touches
I added some decking on the bow and stern to give a more finished look, and also built up the deck on the inside to hold Freddie. I added bottlecaps as shields along the side.


Excellent, what a webpage it is! This web site
presents helpful data to us, keep it up.